Learning right from the start…the right way
January 1, 2012
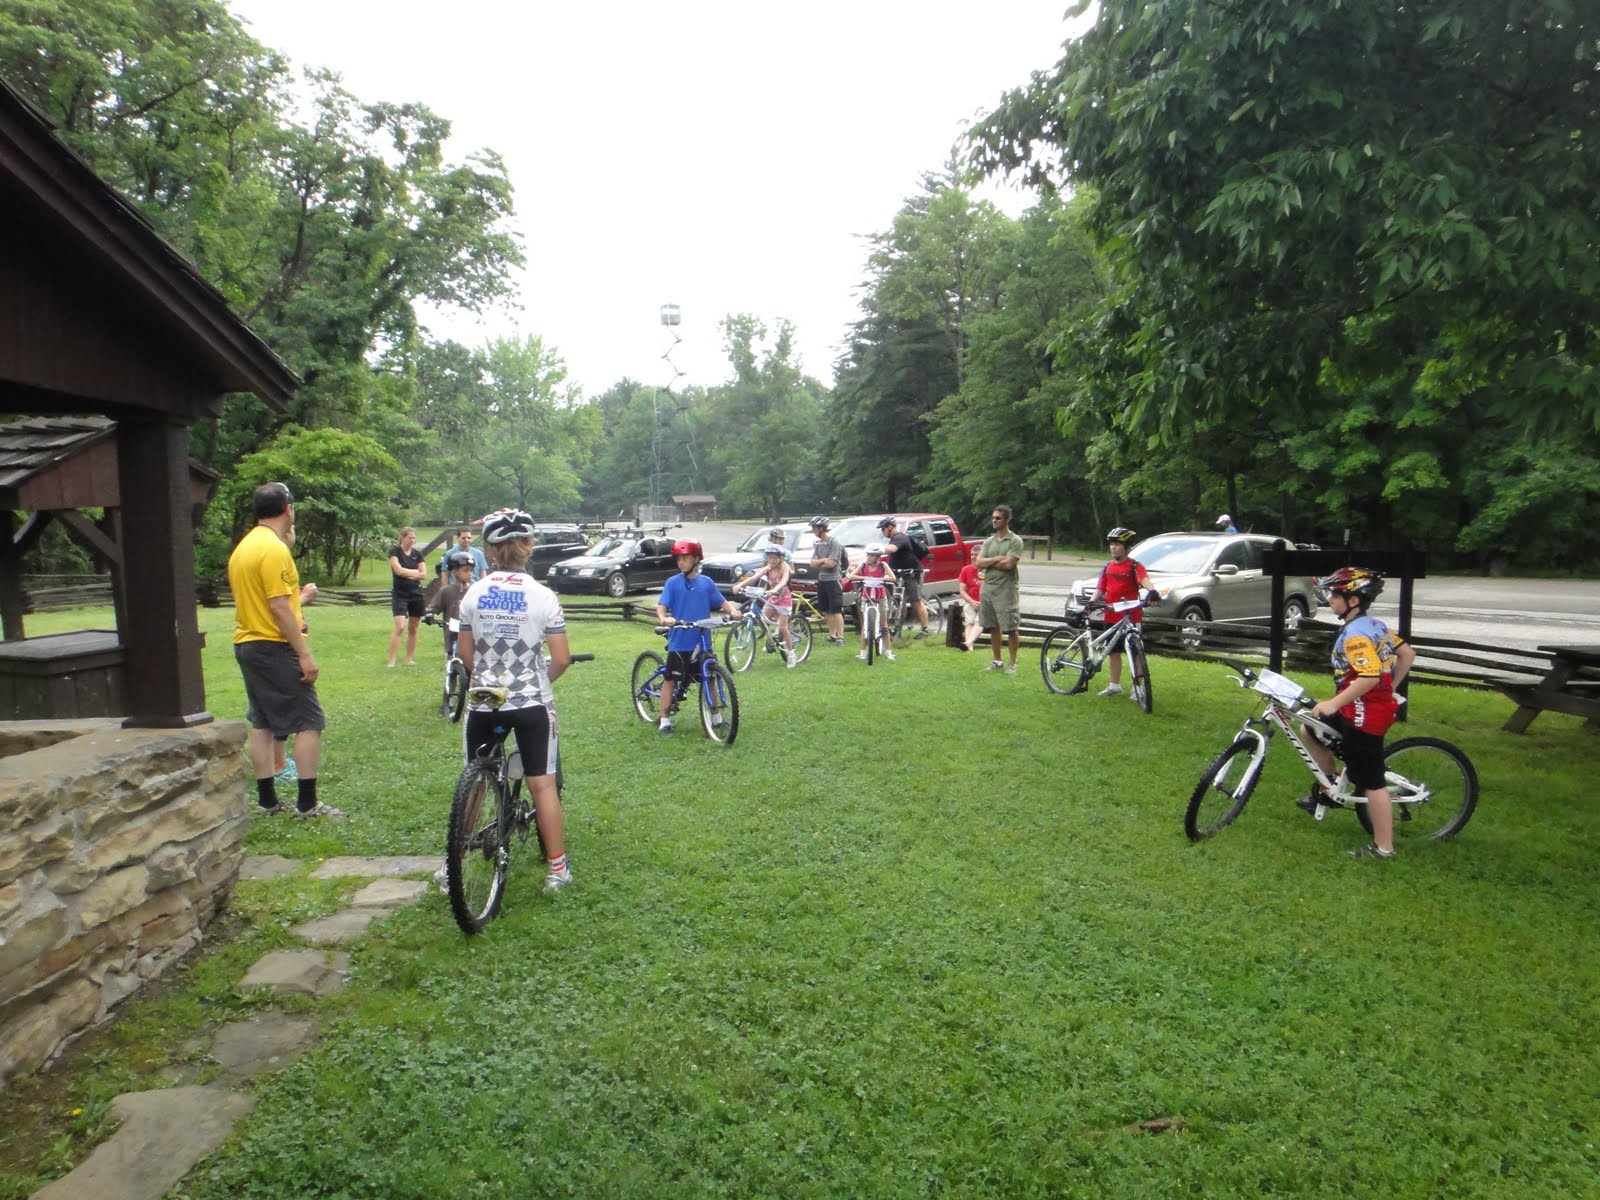
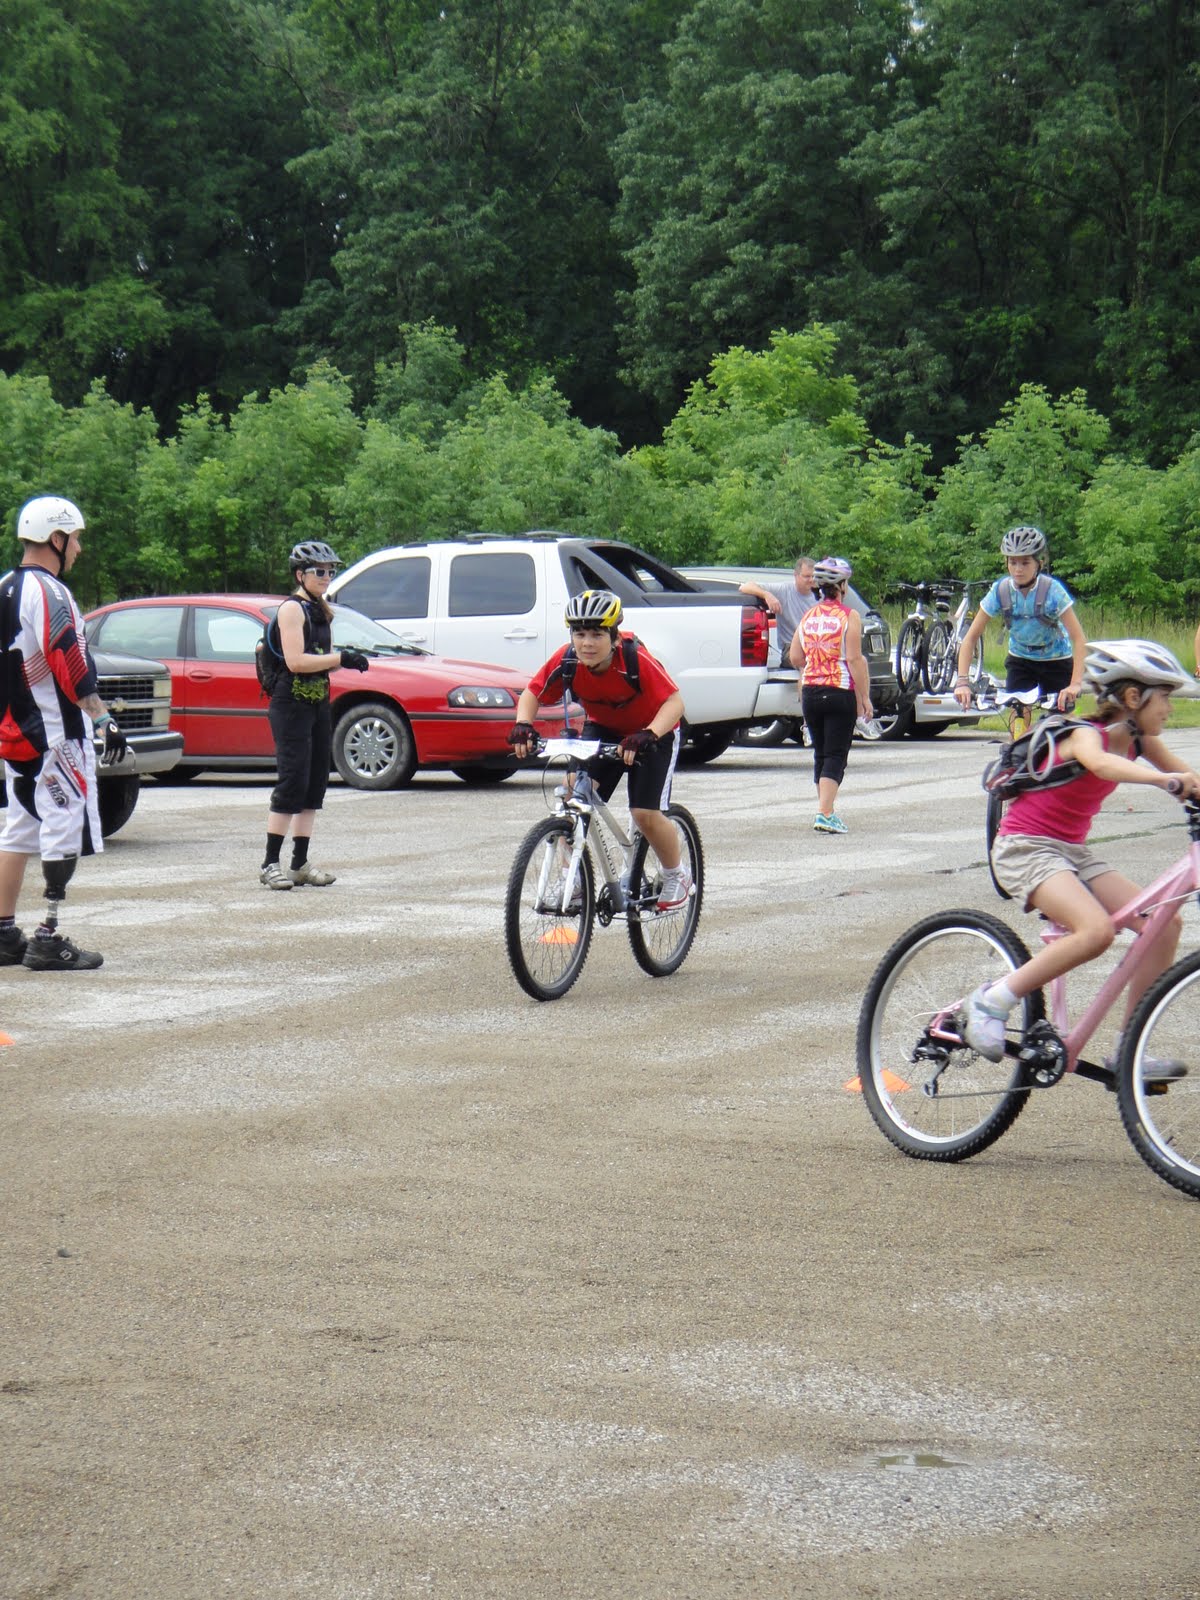 I’ve written on this blog how a couple of women’s only clinics are what got me started mountain biking. The first one at the Fall Colors Festival in the Kettle Moraine. This was a casual affair, almost better described as demo, which introduced me to some great trails, and got me over my fear of leaving the pavement and trying out some dirt. The next at the Ray’s Mountain Bike Park was a more formal clinic following the International Mountain Bike Instruction Certification guidelines for teaching. Beginning to learn proper body position made immediate improvements in my riding.


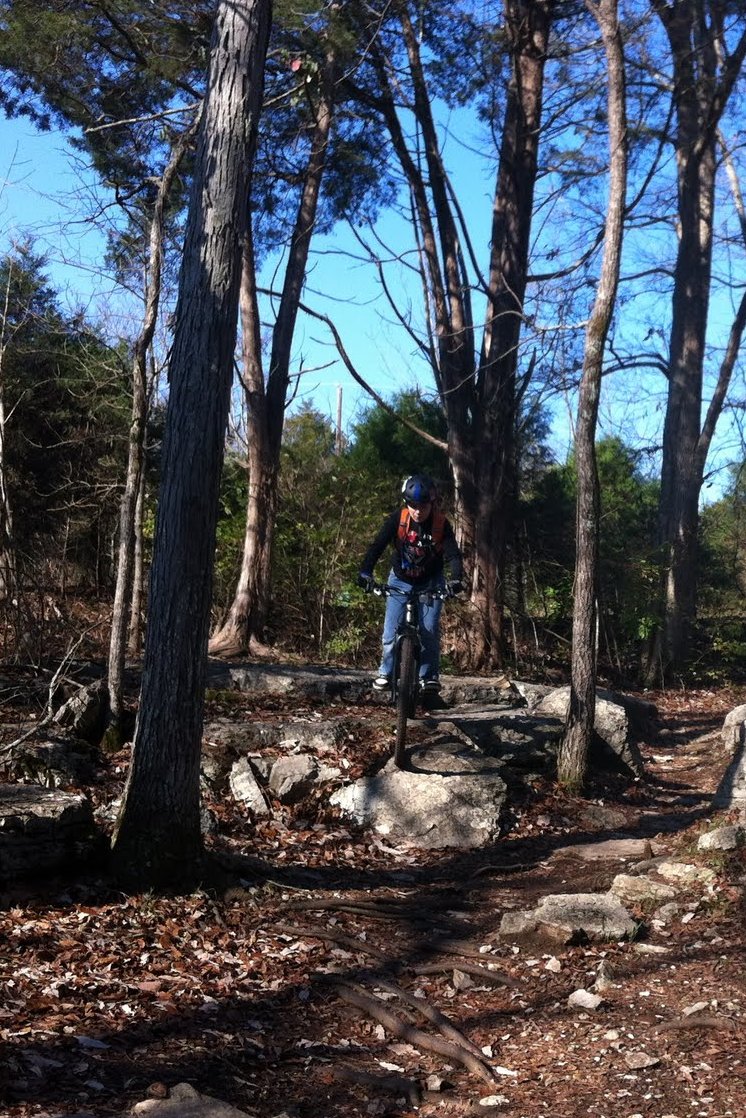 As an added benefit, because he learned to ride correctly at the time I was also just learning mountain biking, as a family we have been able to push each other. Kiddo doesn’t let me take the bail line around obstacles. Instead there’s a lot of “Mom, you can do that, you’ve been over bigger logs (or drop offs, or jumps or whatever)”. We now feel confident on all the local trails from intro to more advanced. Our weekends typically include getting in weekend rides at our in city trails (Hoyt, Oak Hill or Crystal Ridge), or at the more extensive Muir/Carlin trails in Kettle Moraine of southeastern WI.


Mountain biking has become part of our family travels. I was able to work in a couple of days of Brown County riding around a business trip in September, and over Thanksgiving, we tackled trails in the Nashville area. To keep active over the Wisconsin winter, the entire family are season members at Rays Indoor Mountain Bike Park (where kiddo is also taking up BMX and jumping). Next summer we’ll try our hand at riding Keystone in Summit County, Colorado, our first trip to a downhill/lift shuttled bike park.


#BeefFest
December 29, 2011

A holiday tradition of mine is enjoying a standing rib roast with the immediate family on Christmas Eve. I made my first one 14 years ago. While I’ve had several significant life changes in that time, I’ve followed the same basic method each year since. If memory serves, the original recipe was from epicurious. However, I’ve long since stopped referring to a recipe and made it my own. It’s easy peasy to do, even if it does take some advance prep wok for best flavor.
The beauty of this recipe is that there are no exact portions needed. Really don’t think it’s possible to mess this one up.
Garlic/Horseradish/Rosemary Beef Rib Roast.
Ingredients
Standing Beef Rib roast (I typically use a 3-4 bone roast)
3-5 heads of garlic
Ground horseradish
Fresh rosemary
Extra virgin olive oil
Coarse Sea Salt& Fresh ground Pepper
Beef Broth (optional)
Meat Thermometer
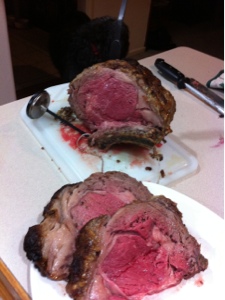
This year I had a 6.5 lb, 4 rib roast. My butcher cuts the meat from the bone for ease of serving, but then ties it all back together for flavor. I’ve found the flavors of this recipe are consistently great with a regular high quality rib roast, so no longer pay the extra for a Prime Rib roast. In the future I would pay extra for grass fed/ grass finished if I could get locally. Buy the roast a day or so ahead to allow time for thepaste to infuse the flavors.
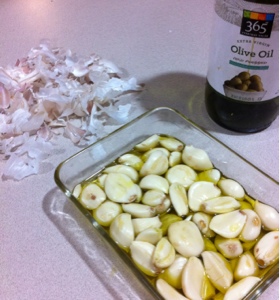 At least 24 hours ahead peel the garlic….the more the better in my mind. As with recipes calling for bacon, you can never have too much! This year I used 4 full heads and a bit of a leftover 5th head. Place them in a small oven safe dish, cover with EVOO and roast in a 300 degree oven for 25-30 minutes.

Remove and allow to cool.This year I roasted the garlic the evening of the 22nd. Stored in fridge overnight and made the paste the following day after work.

When cool pull out your food processor, dump roasted garlic and olive oil, about half a jar of horseradish (1/3 cup?), leaves from 2-3 sprigs of rosemary, and a healthy does of fresh ground pepper and pinch of sea salt. Puree into a paste.

Place roast on rack, bones down. I stab the top a few times to make pockets to push some of the puree into. Then I get my hands dirty (after washing them well of course), and rub the puree all over the top and sides of the roast. Cover loosely (I stick blunted toothpicks in to hold foil off rub paste.), and into the fridge for 12-24 hours. This year I had the paste on for the full 24 hours.
Remove from fridge 30-45 minutes prior to roasting to bring up to a room temperature and take some of the chill off. Pour beef broth into the base of the pan to catch the drippings (water works, too but broth tastier, for a final au jus or gravy)
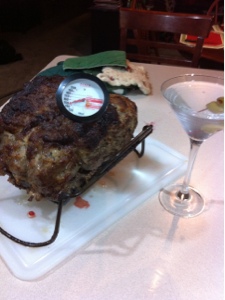 Pre-heat oven to 450 degrees. Place roast in 450 degree oven for 20 minutes to sear and crust the paste. If you are like me and tend to forget things, set a timer NOW. At end of 20 minutes, turn oven to 325, loosely tent the roast. Insert a thermometer into middle and roast to your desired temp. We like medium rare (Mom likes medium well, so she gets end with some extra cooking in pan). On my thermometer this is around 140 degrees.
This always takes longer than I expect. I think it was 2 1/2 hours this year. Maybe tad longer.
Allow roast to rest for 15-20 minutes. This is the prefect time to relax w/ Ketel-One-up-olives.Especially if your Mom is visiting and likes to cook down the pan drippings as an au jus or gravy (add flour or not, your choice, moving forward we’ll skip the flour, for paleo / gluten free goodness)
Slice and enjoy.

Accidental Artwork
December 28, 2011
 Don’t try this at home, kiddies.
Since beginning to flirt around with the paleo/ primal lifestyle, I’ve been cooking a lot. Which I’ve discovered, I really enjoy.
One of the benefits of doing a bunch of cooking, especially cooking from whole ingredients, is that it gets me up and moving, versus sitting on the couch mindlessly watching TV ( while simultaneously surfing the web on my iPad and checking email on my iPhone – two fisted techno junkie that I am).
 Recently, tho, I was taking advantage of a quiet house and soup stock simmering to curl up on the couch with Gael Greene’s “Blue Skies, No Candy”. As I read, I began to notice the smell of rosemary and other herbs toasting. At first, I thought it was the yumminess of the soup. Then it started to hit me that this soup did not contain those herbs.
I was too into the book to go check. Oh. My. Steamy. Is that why there’s now smoke in here?
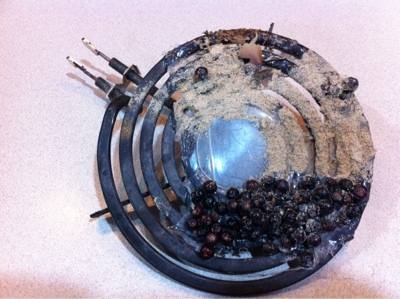
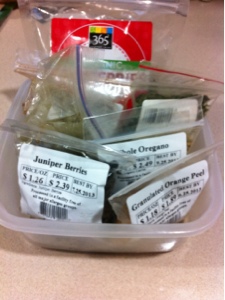
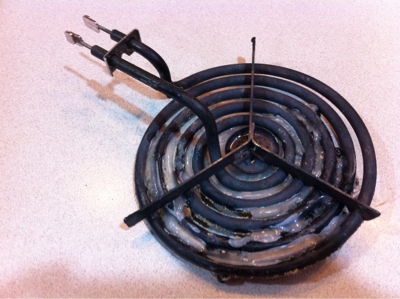
Finally checked. Had set a plastic tub of small bags of herbs, juniper berries and spices on one of the burners. A burner accidentally turned to low. Bottom of box melted through, berries and spices permanently affixed to burner.
Damn electric range. I hate you. But thankfully I was home when it happened.
Paleo / Primal or not…..
December 10, 2011
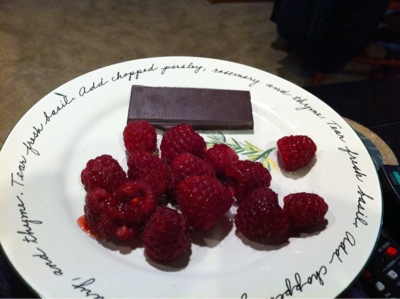 Sometimes a girl needs a bit of dessert. One square of 86% cocoa organic dark chocolate and a few fresh berries hits the spot!
Herbed roast turkey breast
December 8, 2011
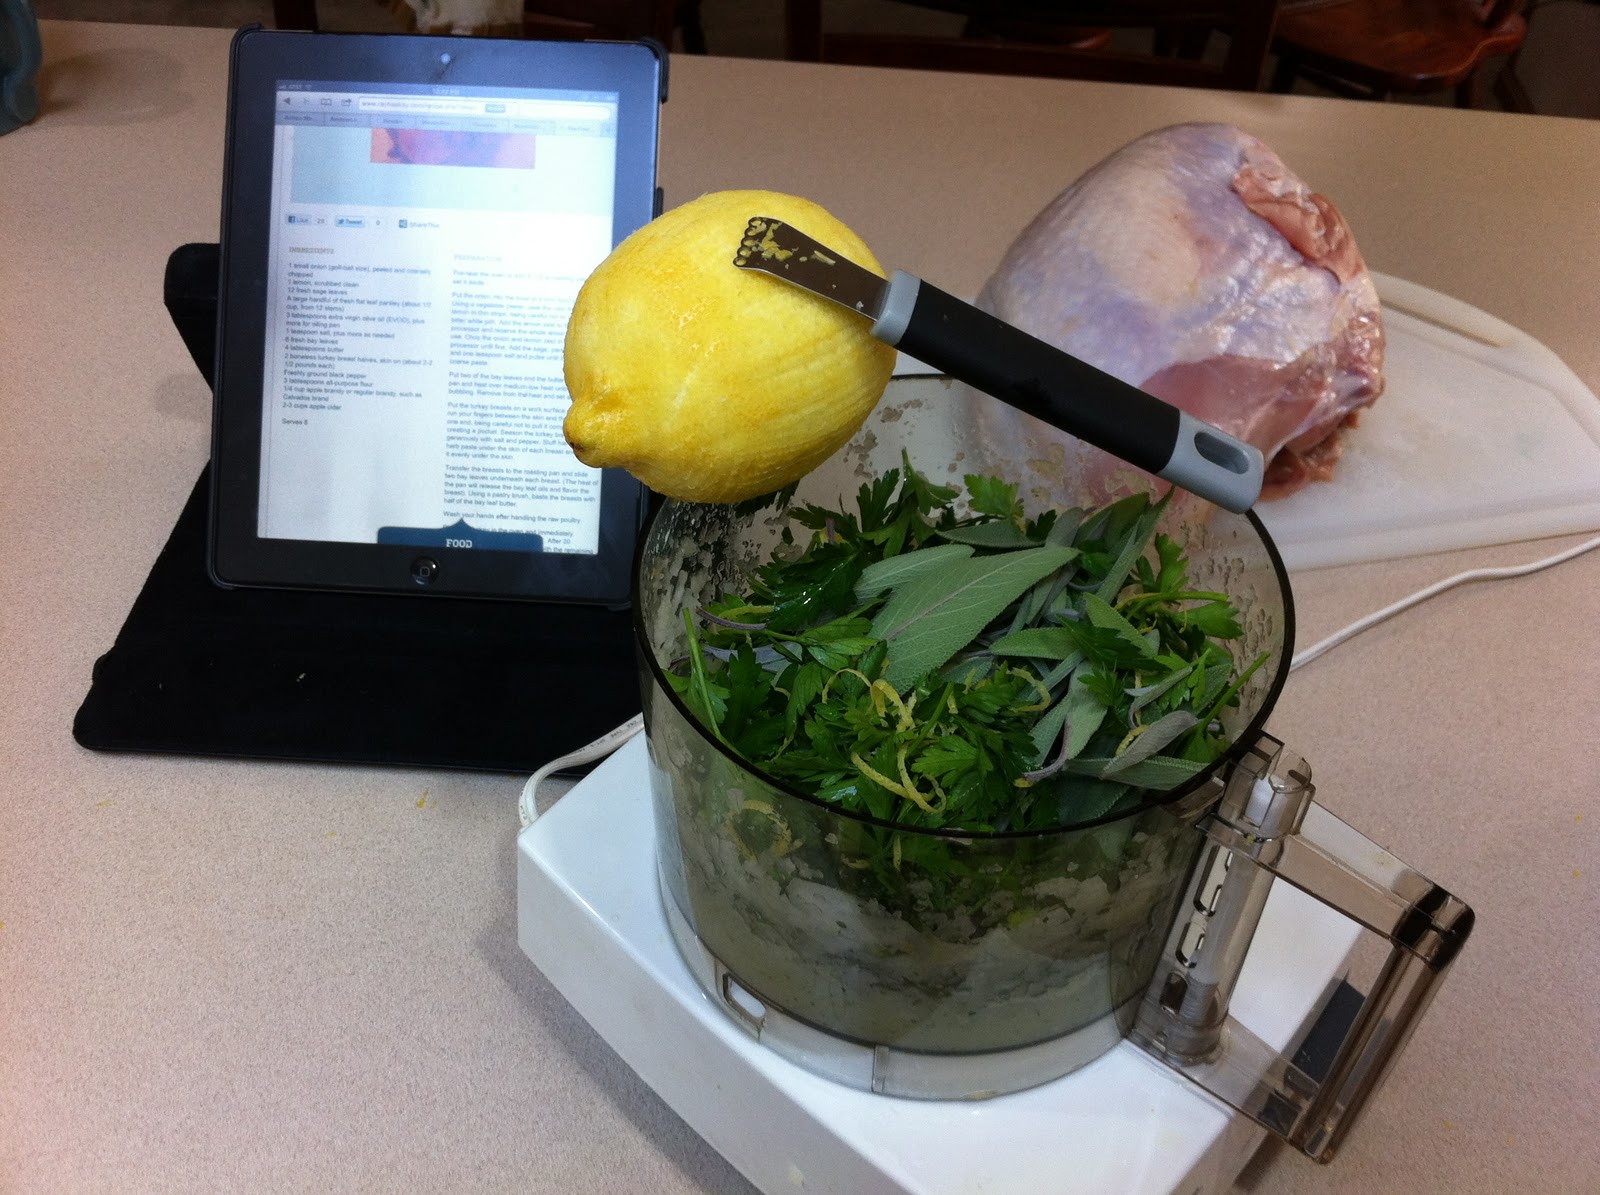 Last night’s Paleo/Primal goodness was one of my fav go to recipes – Rachel Ray’s Herbed Turkey Breast (without pan gravy- since I’m trying to be paleo/primal, I’ll skip that part).
Luckily we still haven’t had a hard enough freeze to make the sage and parsley in the garden unusable. Grabbed handfuls of each. Pulled out my trusty lemon zester. (there’s a story behind my love of this tool…someday I might share).
Hardest part of the recipe for me is de-boning the turkey breast. Knife skills I do not possess. Nor knowledge of butchering technique. I know you can buy boneless turkey breasts – but they usually also are skinless, and you need the skin in this recipe. I have had my local market butcher de-bone, but I like to use the carcass for broth. So I hack away.
Once deboned, the herb, onion, olive oil and lemon zest paste is tucked under the skin before roasting. A couple of bay leaves are tucked below, and a bit of bay butter drizzled on top.


