Category: DIY renovating an old garden
The cool, wet spring (probably better described as long wet winter) combined with a significant amount of both work and personal travel has put me a bit behind on gardening. Did a bit of work a couple weeks ago, and this past weekend finally got out and got dirty – setting back up the driveway farm.
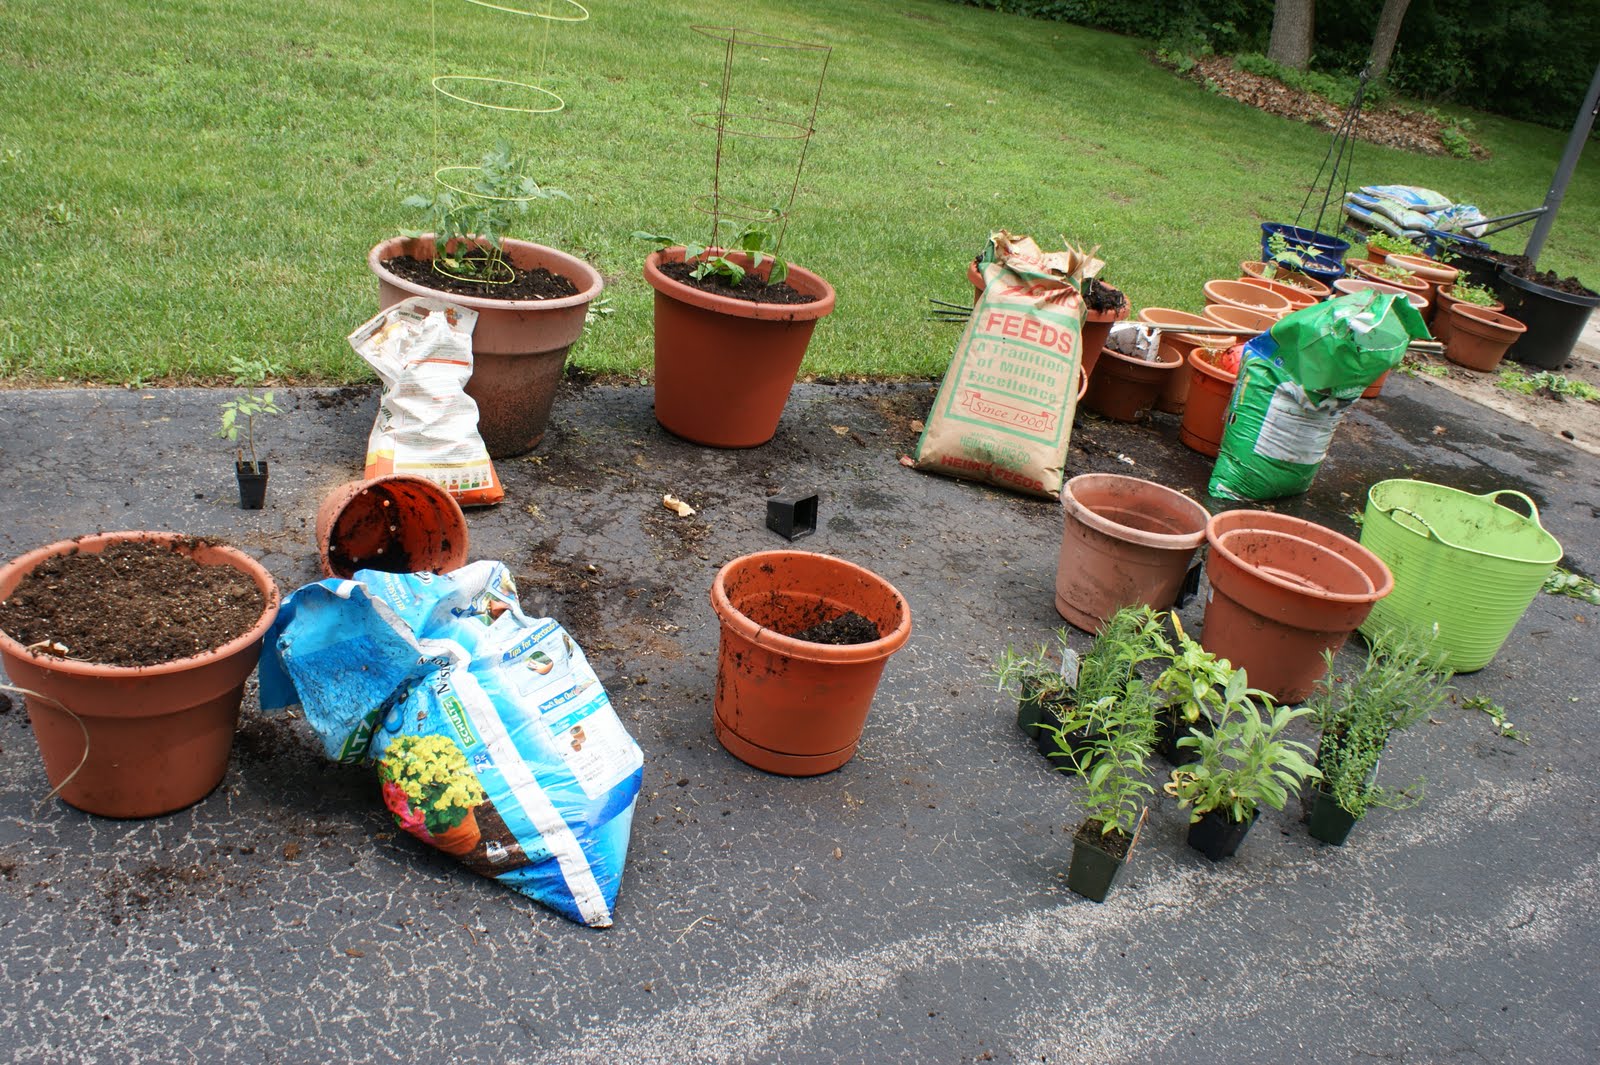
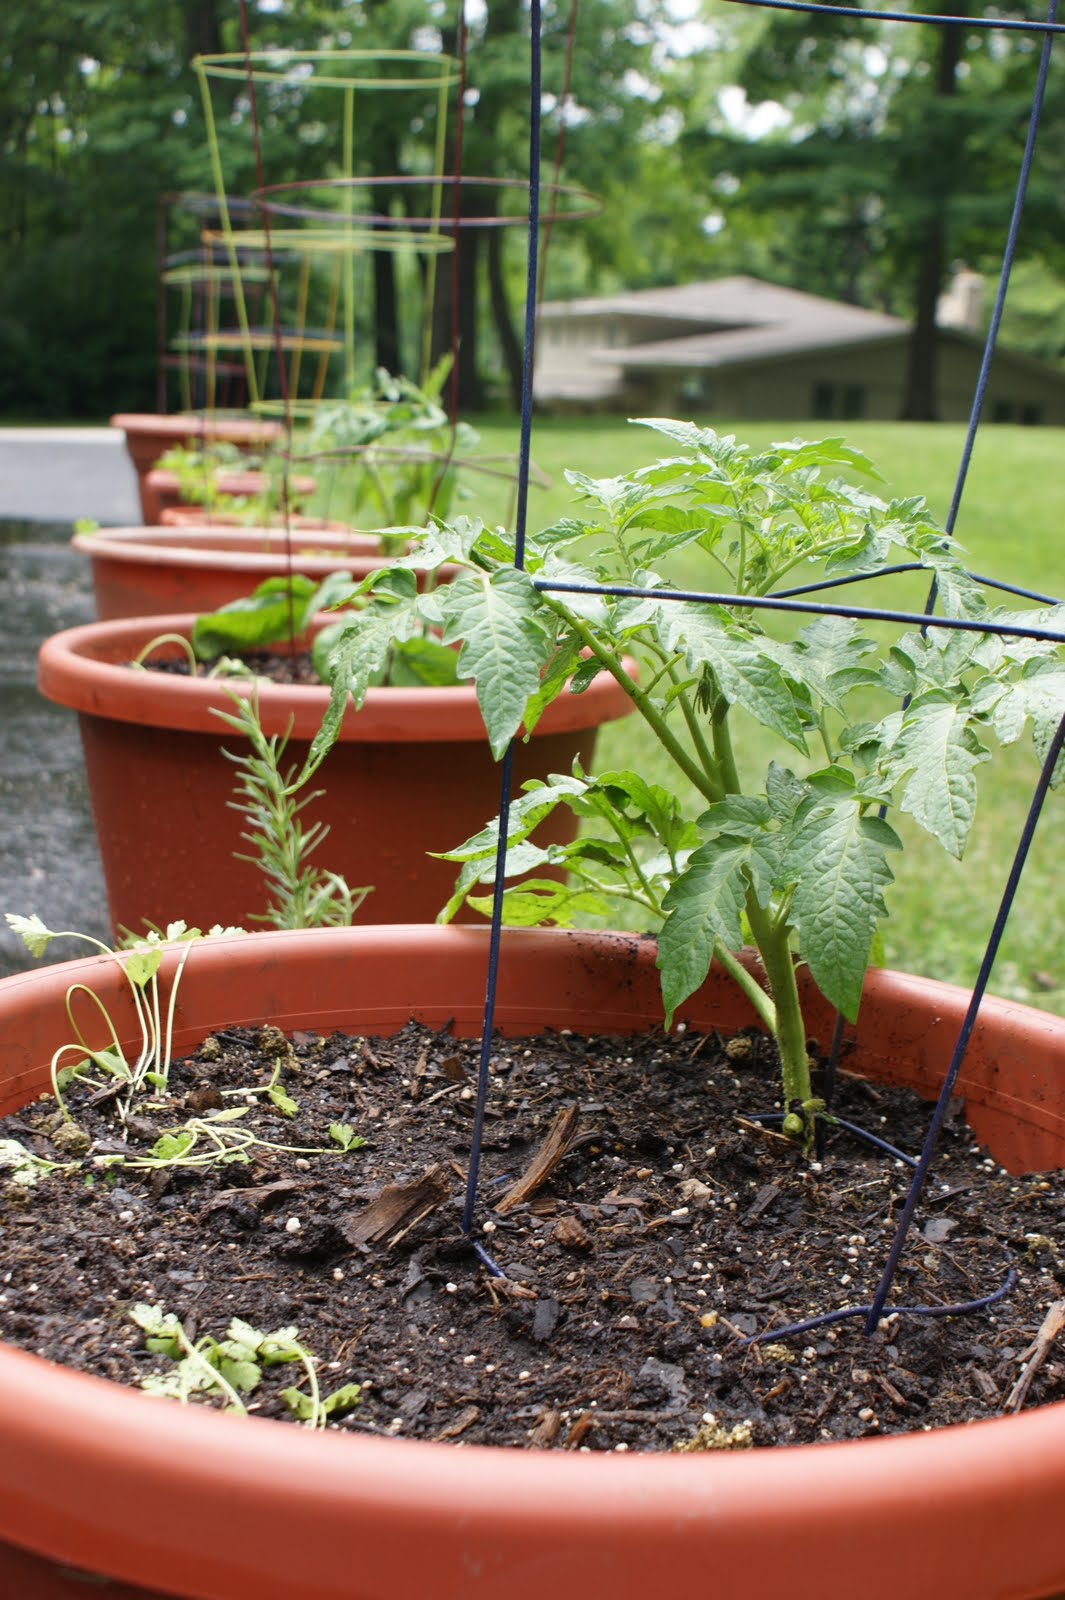
My yard and garden are heavily shaded with only a small area offering enough sun to successfully grow food. And that small spot is centered around and on my driveway. Last year I started experimenting with growing herbs and veggies in pots along the driveway edge. This experiment was mostly successful and has created what I call my driveway farm.
This year I’m focusing mainly on heirloom tomatoes and herbs with a pepper or two thrown into the mix. I started the day with last year’s pots filled with last year’s dirt and more than a few volunteer weeds. I look like a bit of a mad scientist as I rejuvenate the soil in the containers. Mixing in a bit of new potting mix, compost, fertilizer and my secret ingredient of alfalfa pellets.
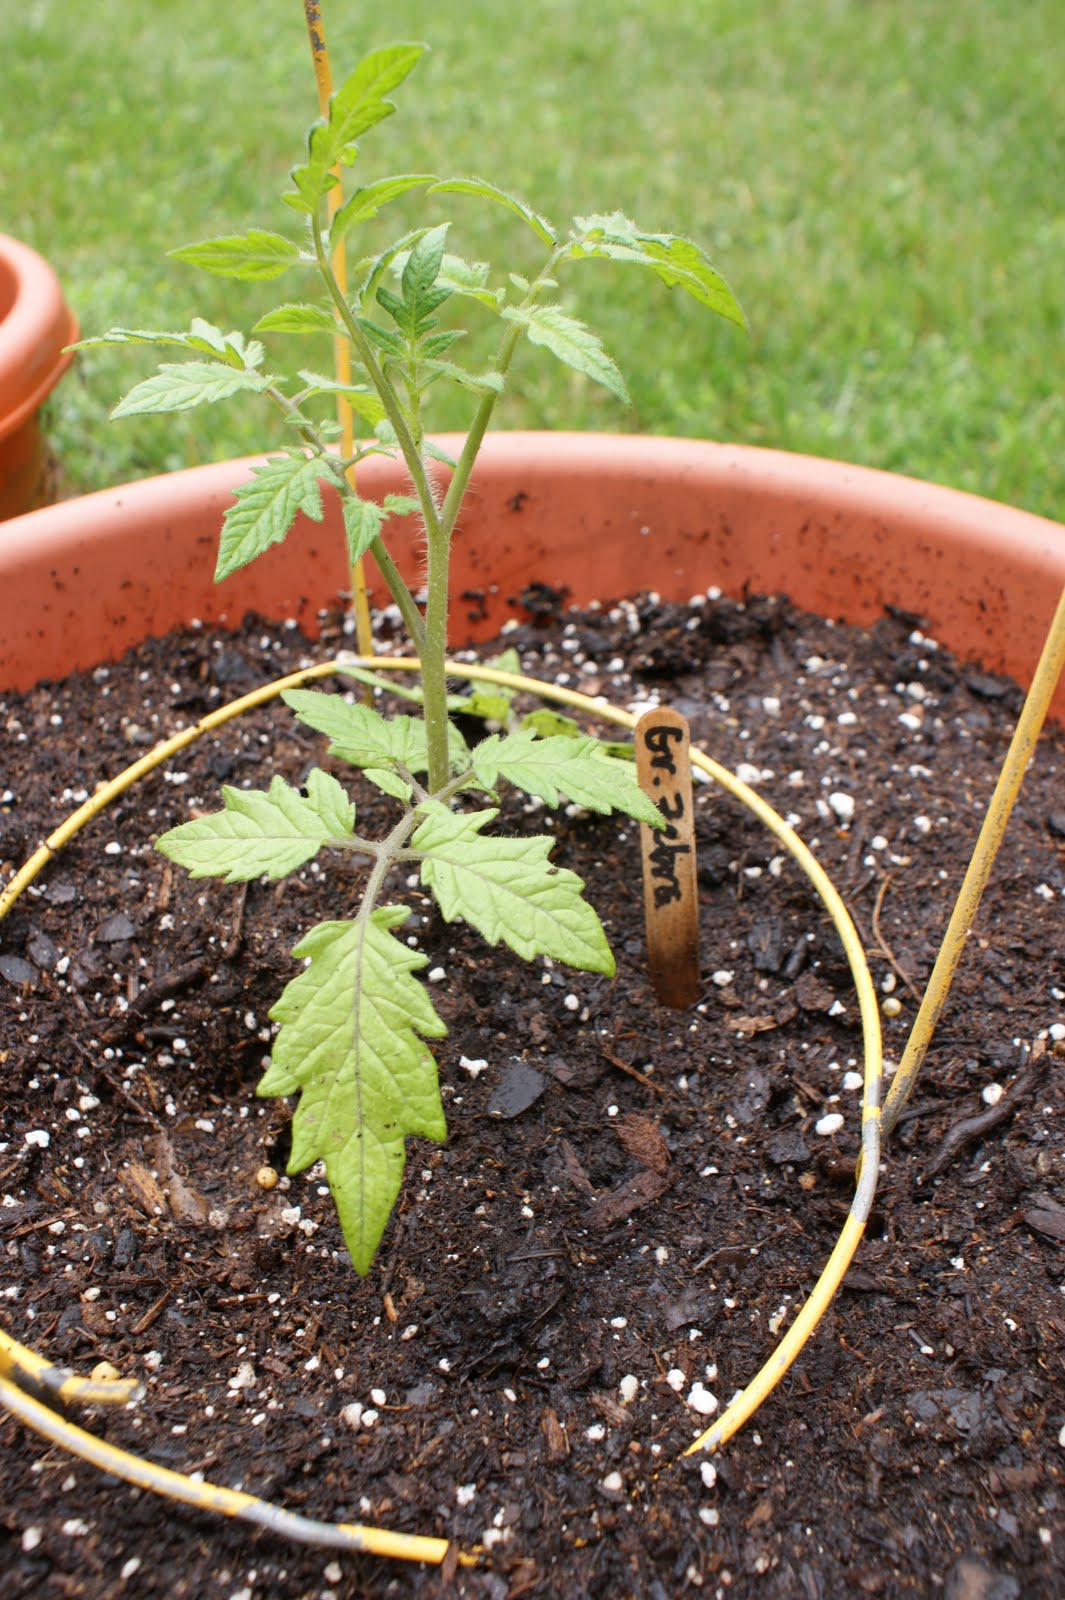
I use the largest pots I have for the tomatos, filling between them with the smaller herb pots. I’ll be sticking in nasturium and other small plants such parsley at the base of the tomatoes. Also need to rig up some kind of automatic drip irrigation system, but all and all good progress on the farm.
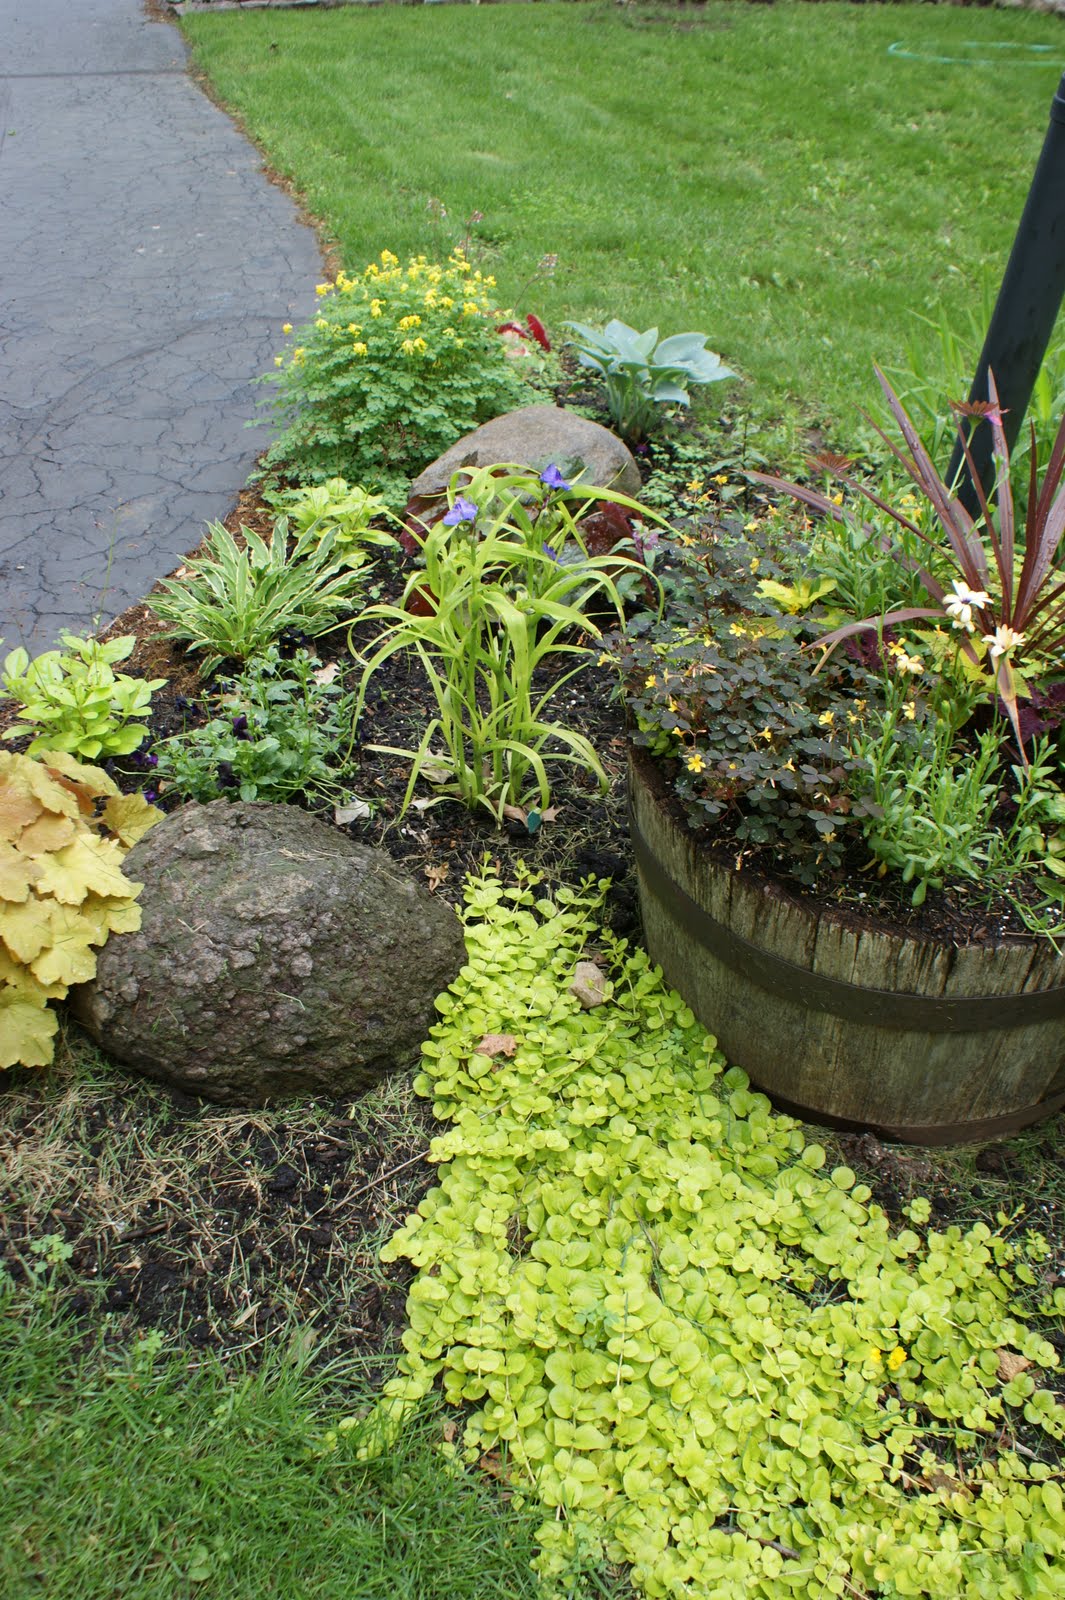
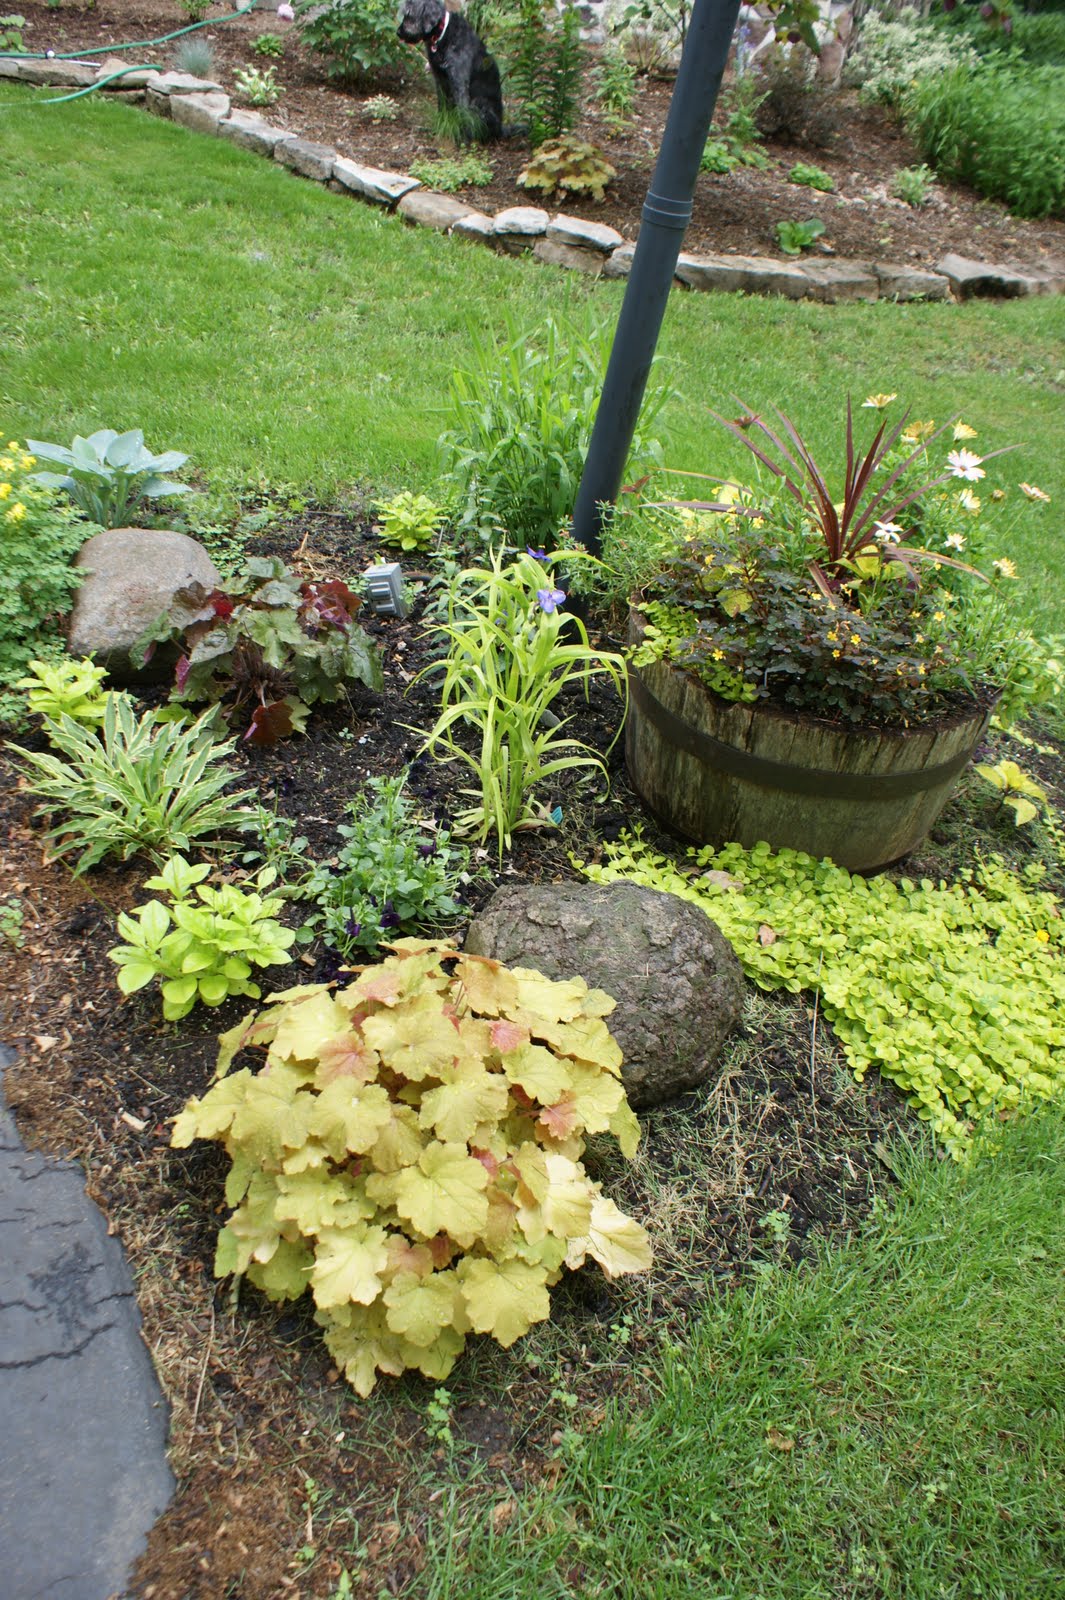
The area I think of as the lampost bed is filling in nicely. Planted the barrel with annuals a couple weeks ago, but it really is the perennials stealing the show – and proving the value of foliage for color in a garden. Love the brightess of the yellow foliage in this shaded yard.
On the other hand, the bed under the walnut tree is not quite as successful. Several of the pernenials did not return. Some corners of the bed are fine, other a bit bare. Still experimenting here on what will grow successfully beneath a walnut.

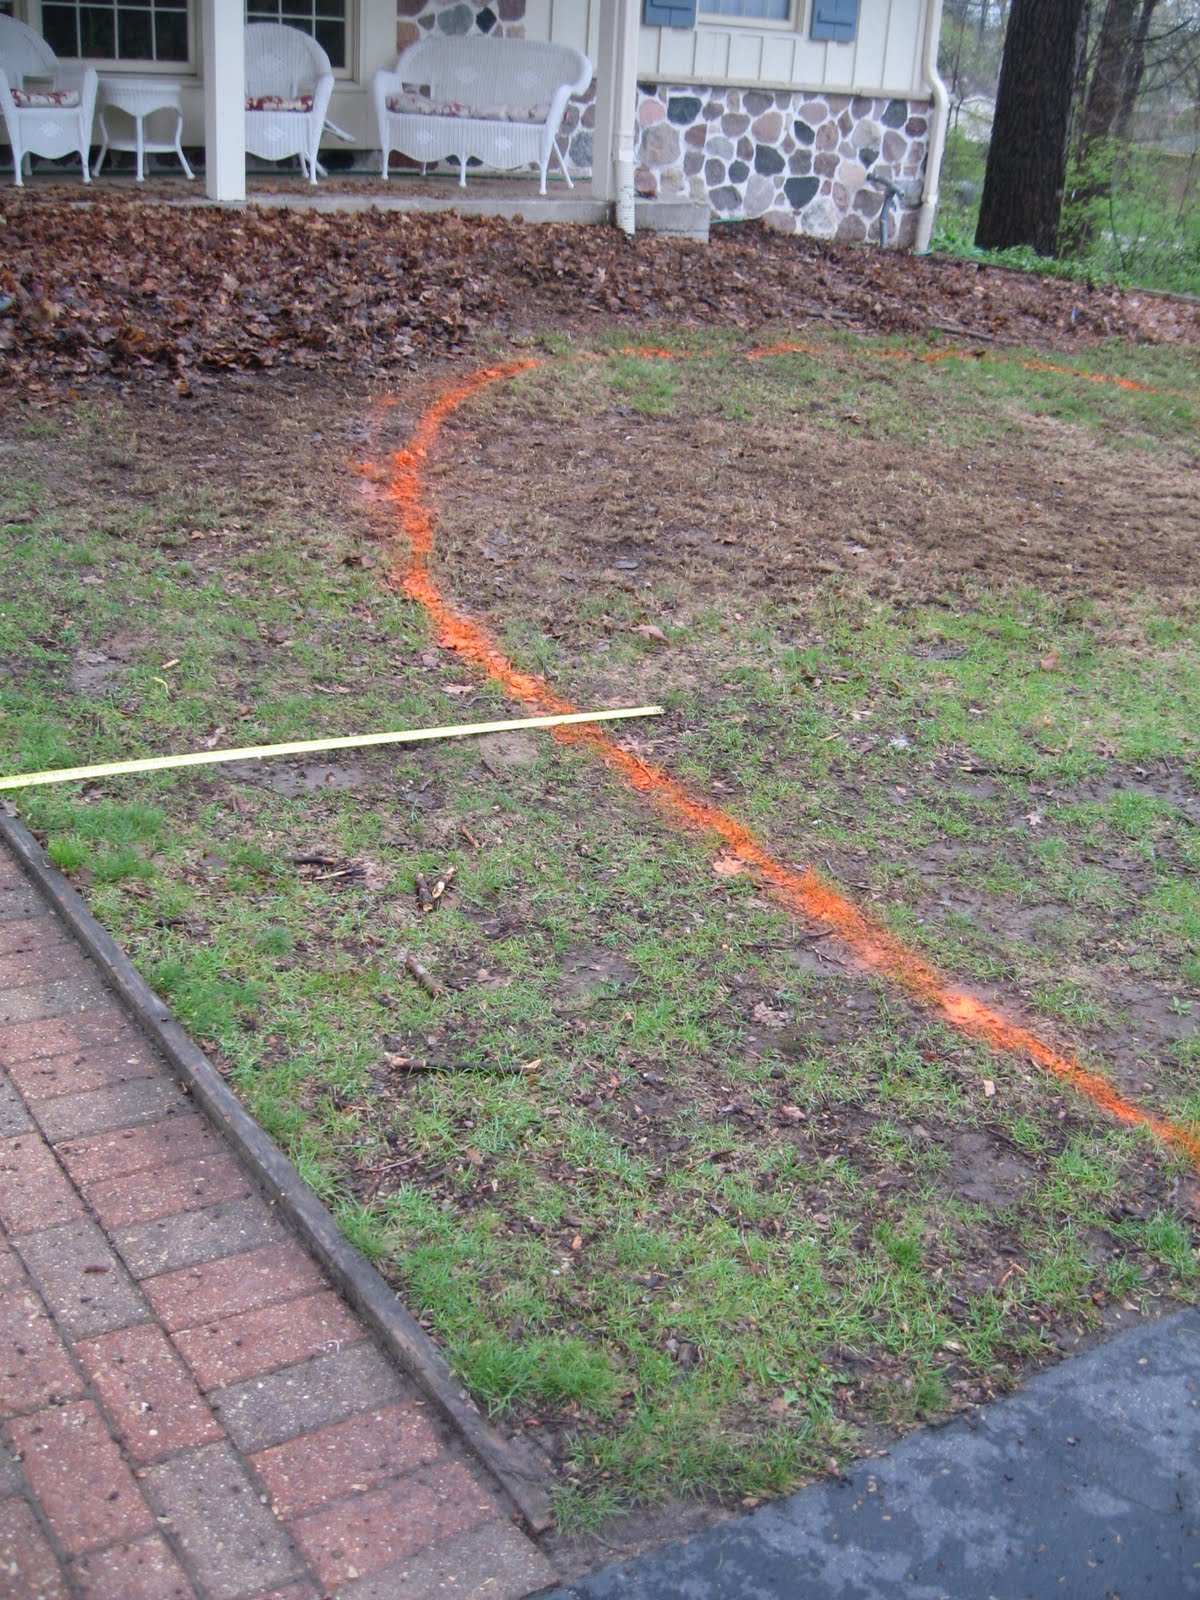
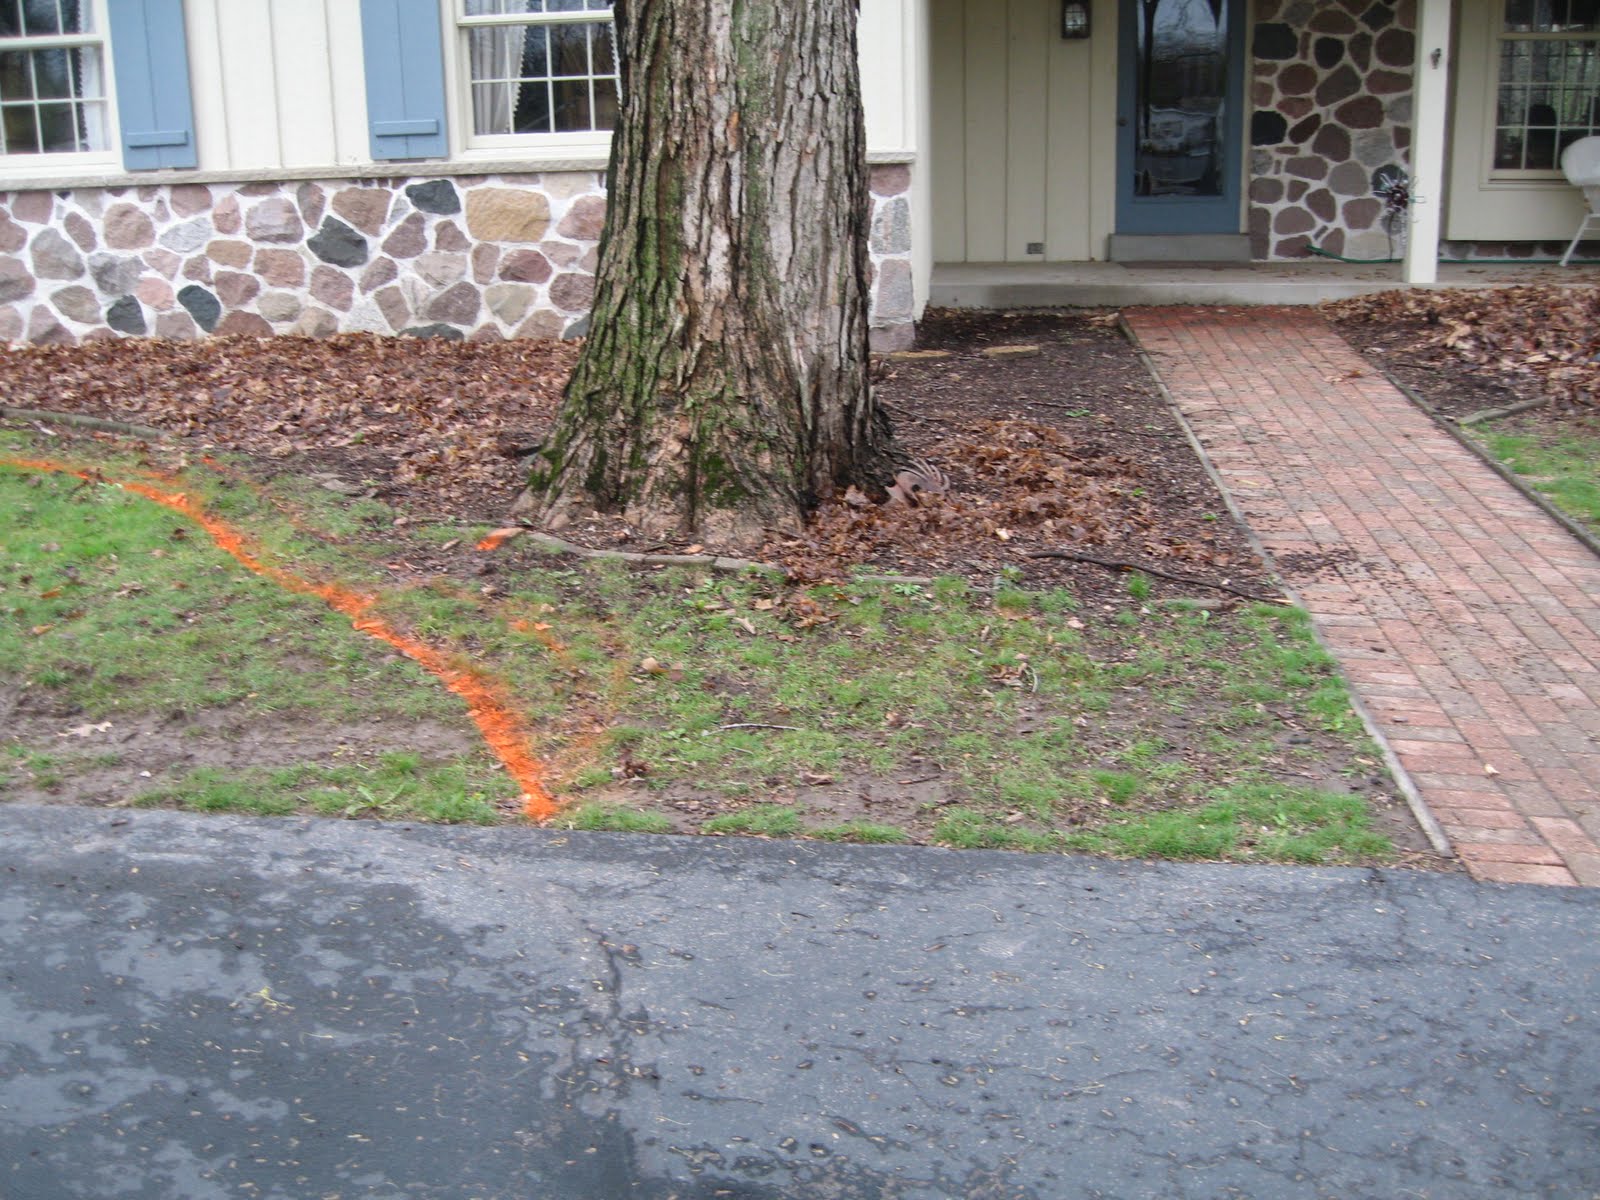
As I worked and took pictures around the garden, I realized that last year I kinda lost steam on updating garden progress on this blog. I think the last phot I did of the front beds looks something like this:
Nothing but spray painted bed lines on both sides of the front walk. Readers digest version: We tilled it up, I planted in a variety of shade and part sun plants, sticking to a green/white/burgundy color scheme, relying on foliage color more than flowers, and finally used stones from other areas of the yard to create an edging. If I can say so myself, it has all turned out quite well.
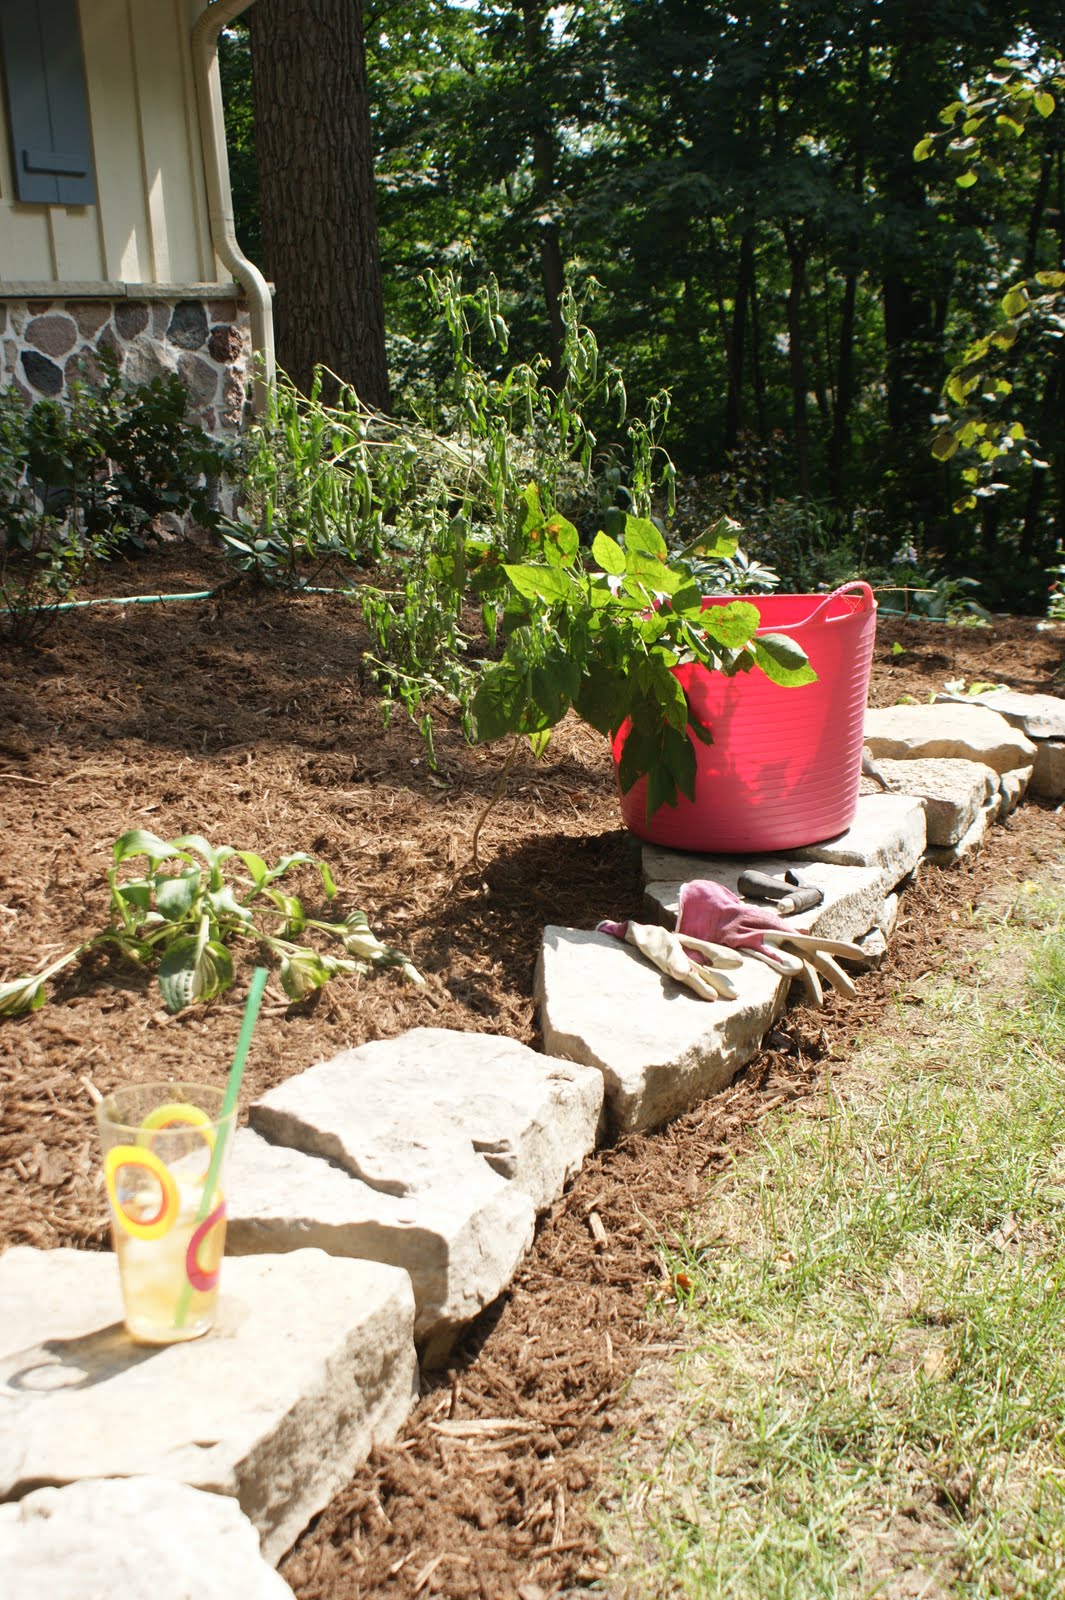
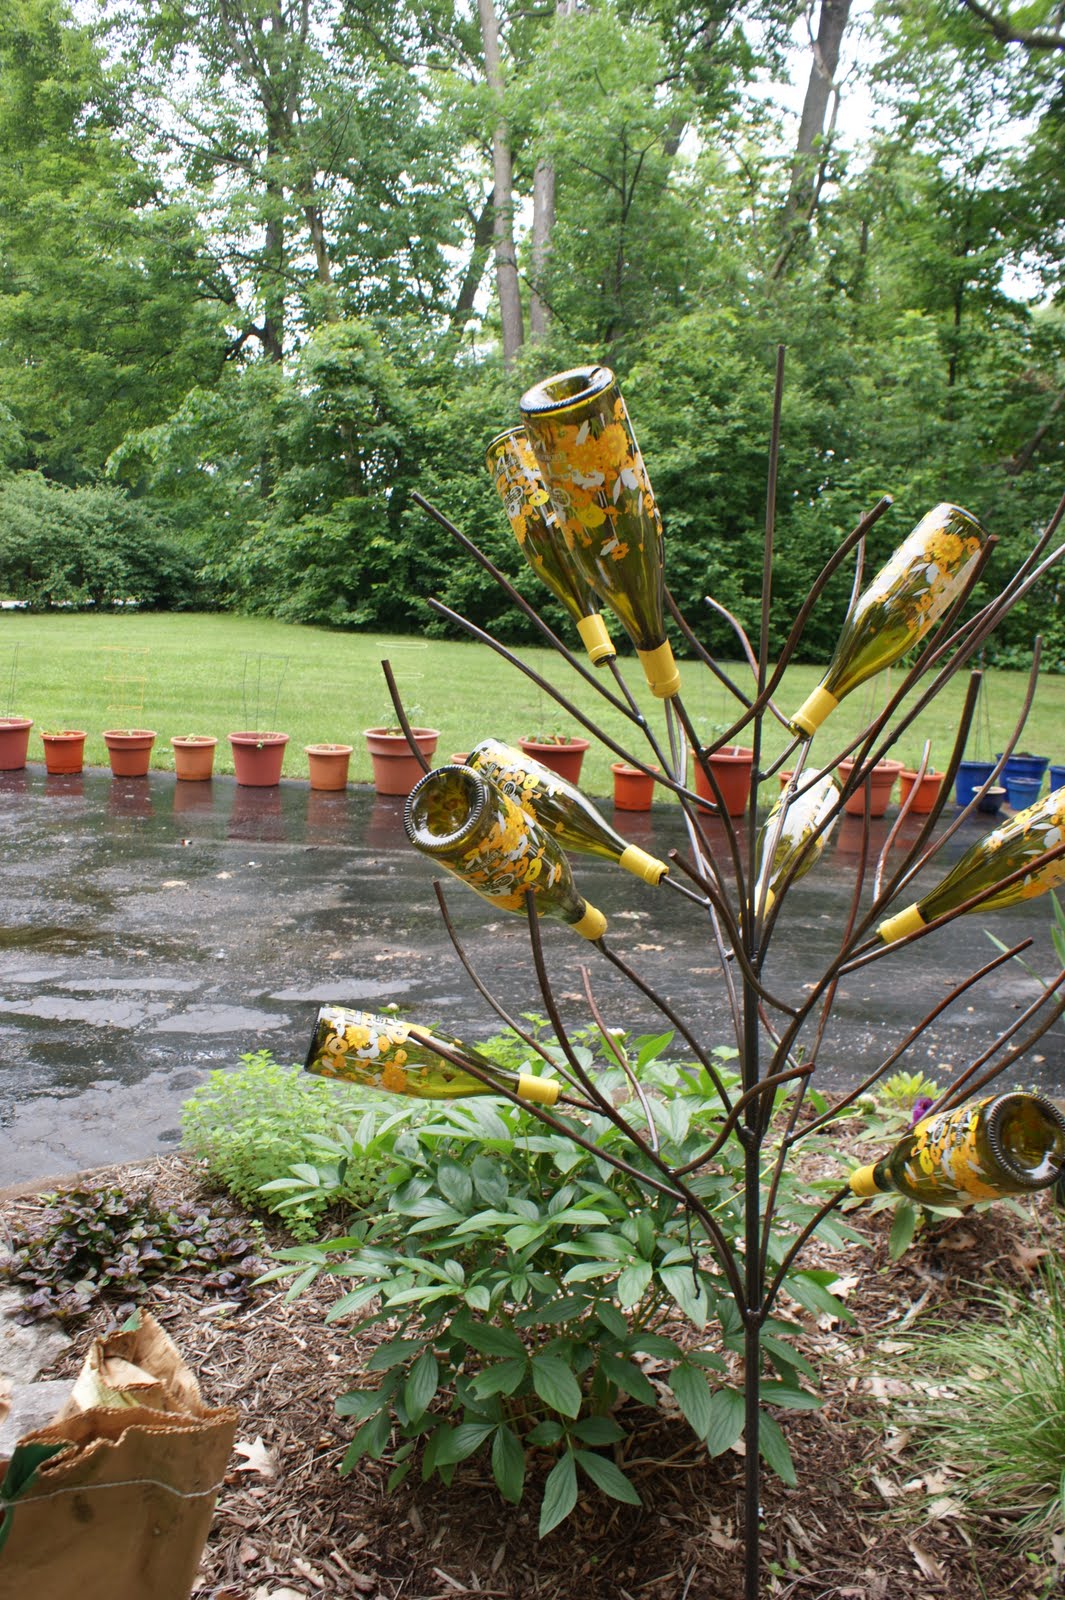
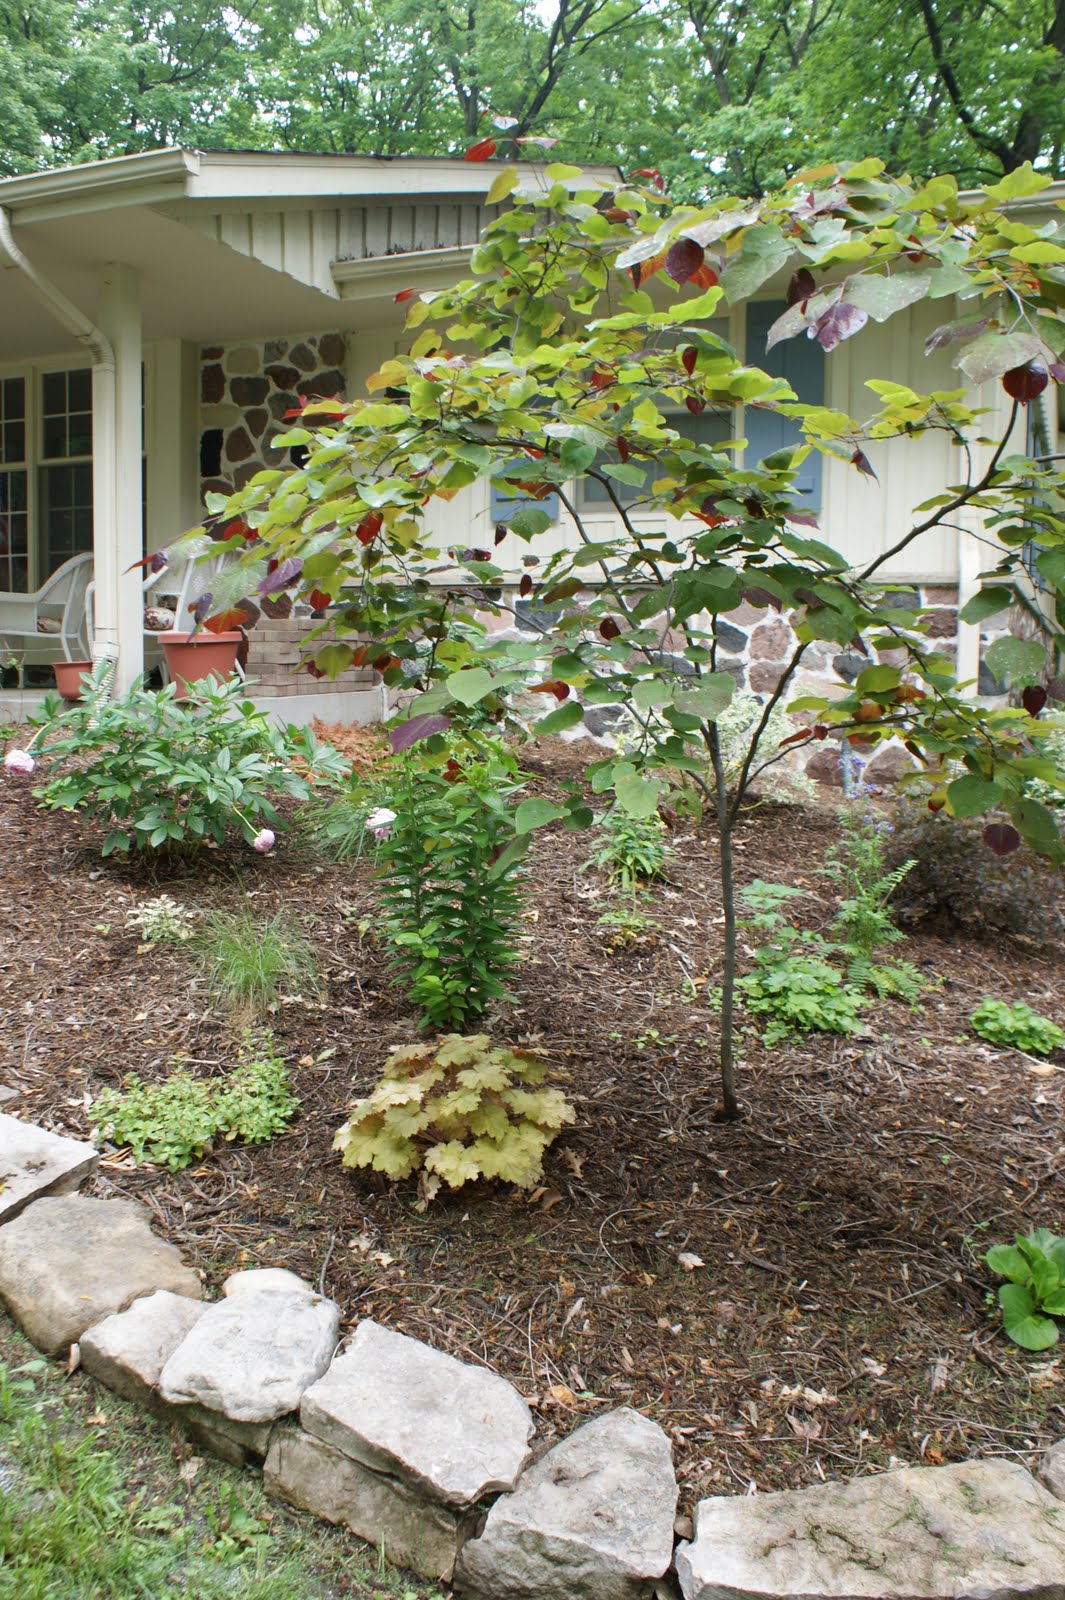
This spring we added the bottle tree, and bottle bug earlier this year. I lost few if any of the perennials over the winter. Most of all, I am thrilled with the Cercis canadensis ‘Forest Pansy’ (aka red leaved redbudtree). One of my favorite small trees. I find the deep color of the young leaves enchanting. Cannot imagine a garden without this tree.
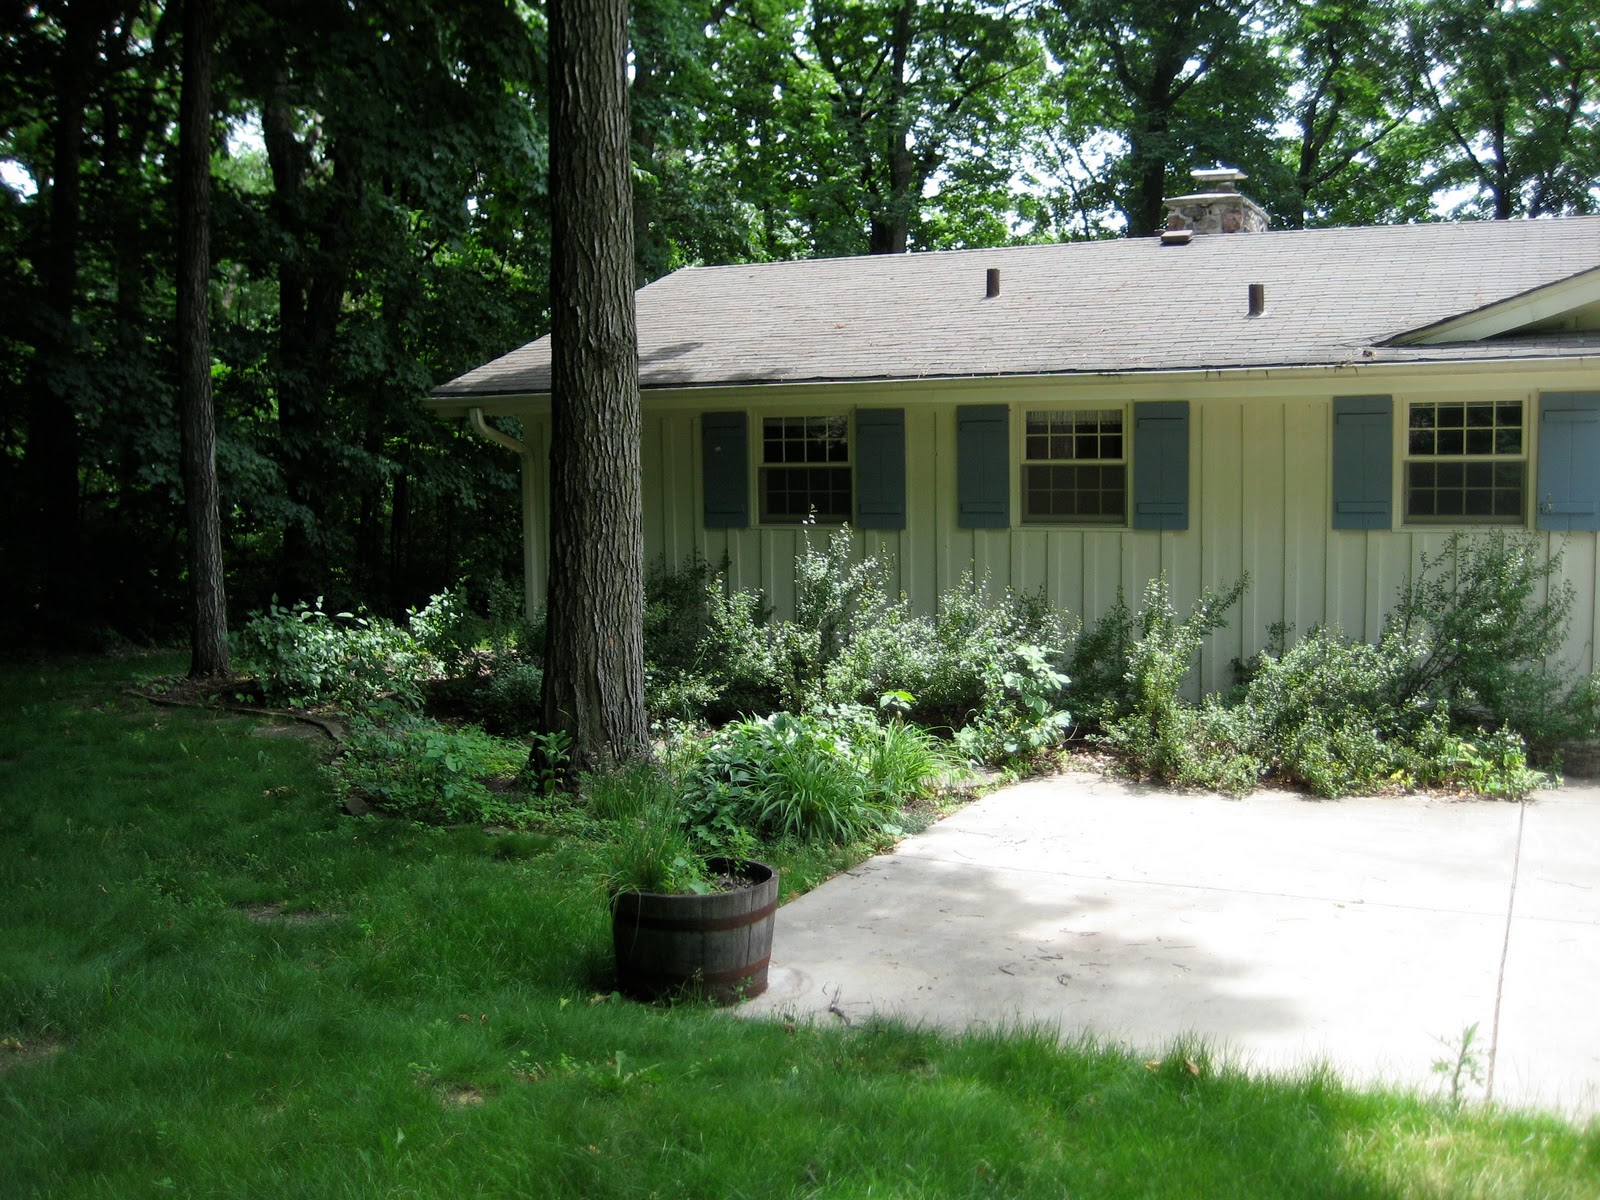
The other side of the house. The one I wasn’t going to touch this year – but then realized if I didn’t tame this, it would make me crazy. First two are last summer, rest from 2010.

My serious garden project of the season is re-doing the beds along the front of the house. When we first bought the house two summers ago, this area was solid yews. To say that I am not a fan of yews, would be a gross understatement. I detest them.
This was the view in July of 2008.
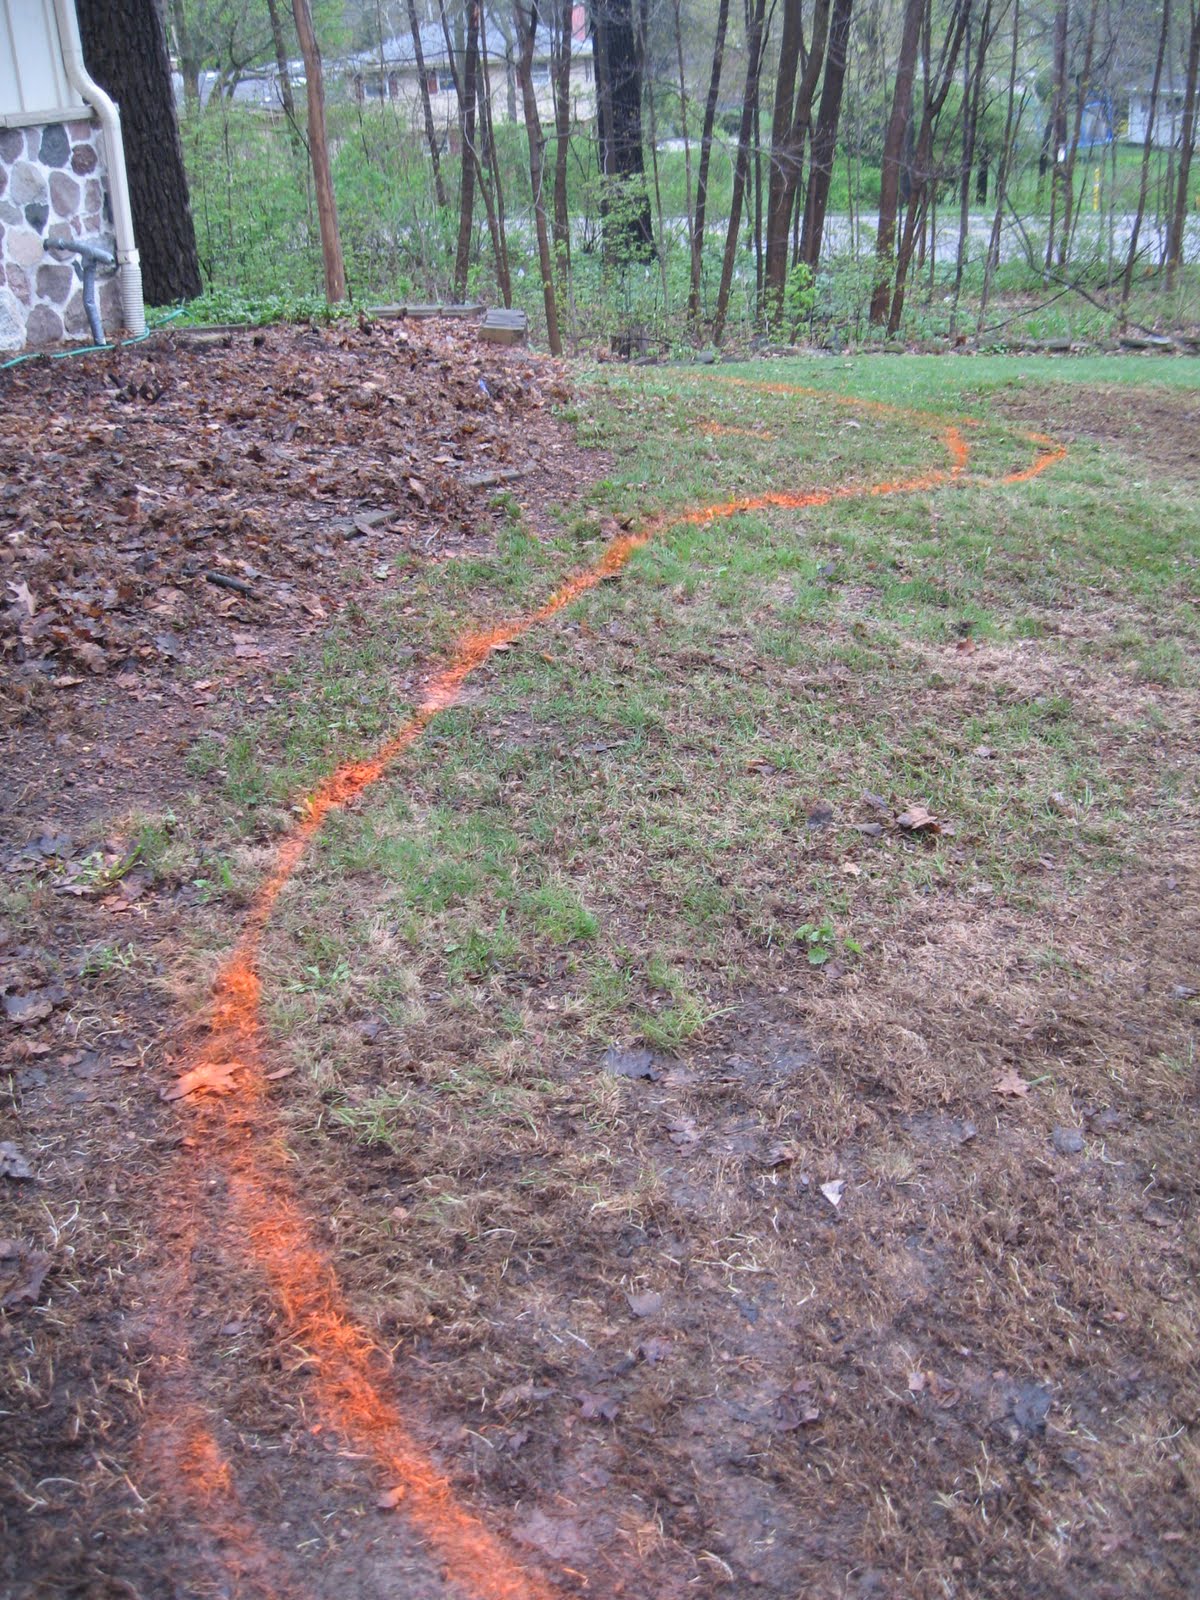
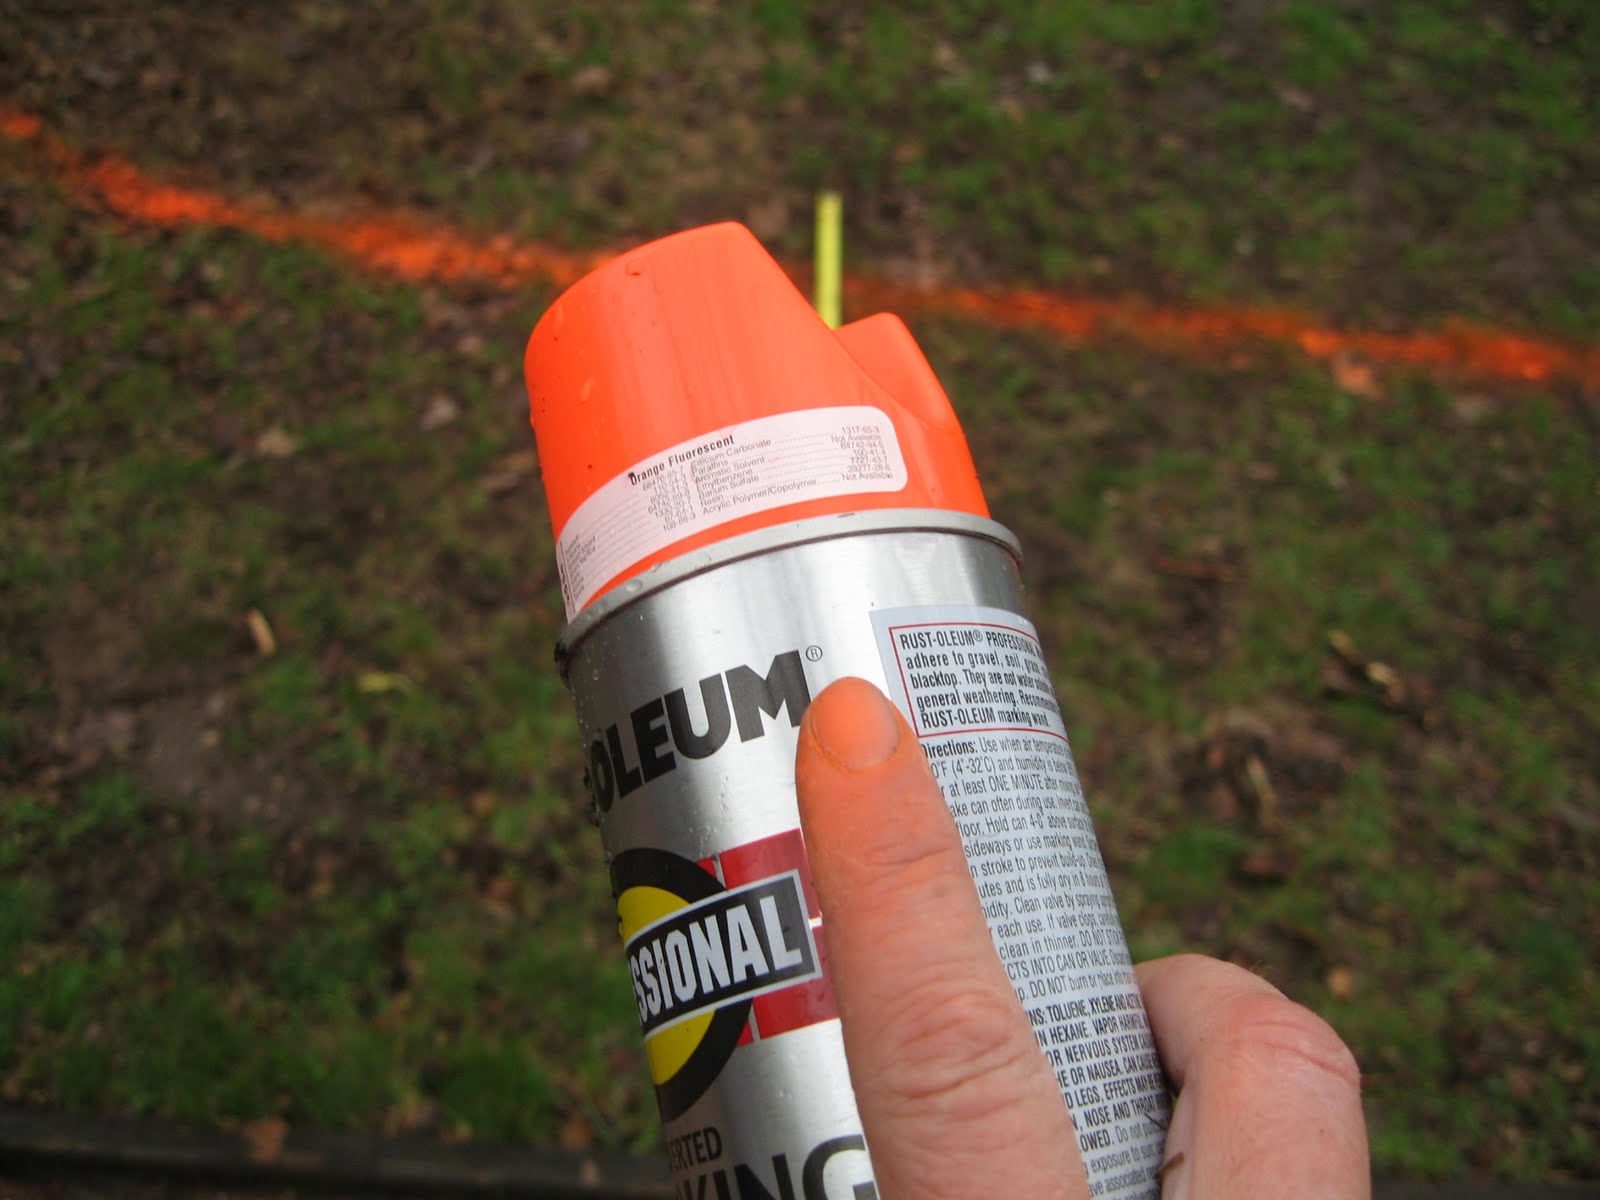
Last summer we cut down all the yews. But got no further. I wanted time to live with the space, observe the amount of sunlight, get to know the soil. This year I’m ready to tackle the space. First step determining the bedlines. Which meant pulling out one of my favorite garden “tools”. Inverted marking paint. I know books and magazines tell you to use a line of lime or other chalky powder, or to lay out a garden hose. I prefer spray paint – downward spraying marking paint to be exact. Easily found at the large box home improvement stores. Usually in a variety of colors.
The large tree to the left of the front path makes it impossible to make this a symmetrical design. I knew I wanted to take the bed in front of the tree out to the driveway and slightly widen the border along the front of the garage.
Notice how as I play with the bed lines, the garden part gets larger, not smaller?
On the right side of the front walk, I wanted to bring a bed to the driveway along the walk. I originally thought a 6′ wide bed, but after eyeballing and measuring realized 4 feet made more sense.
From there I’m trying to create a flowing line that is mower friendly.
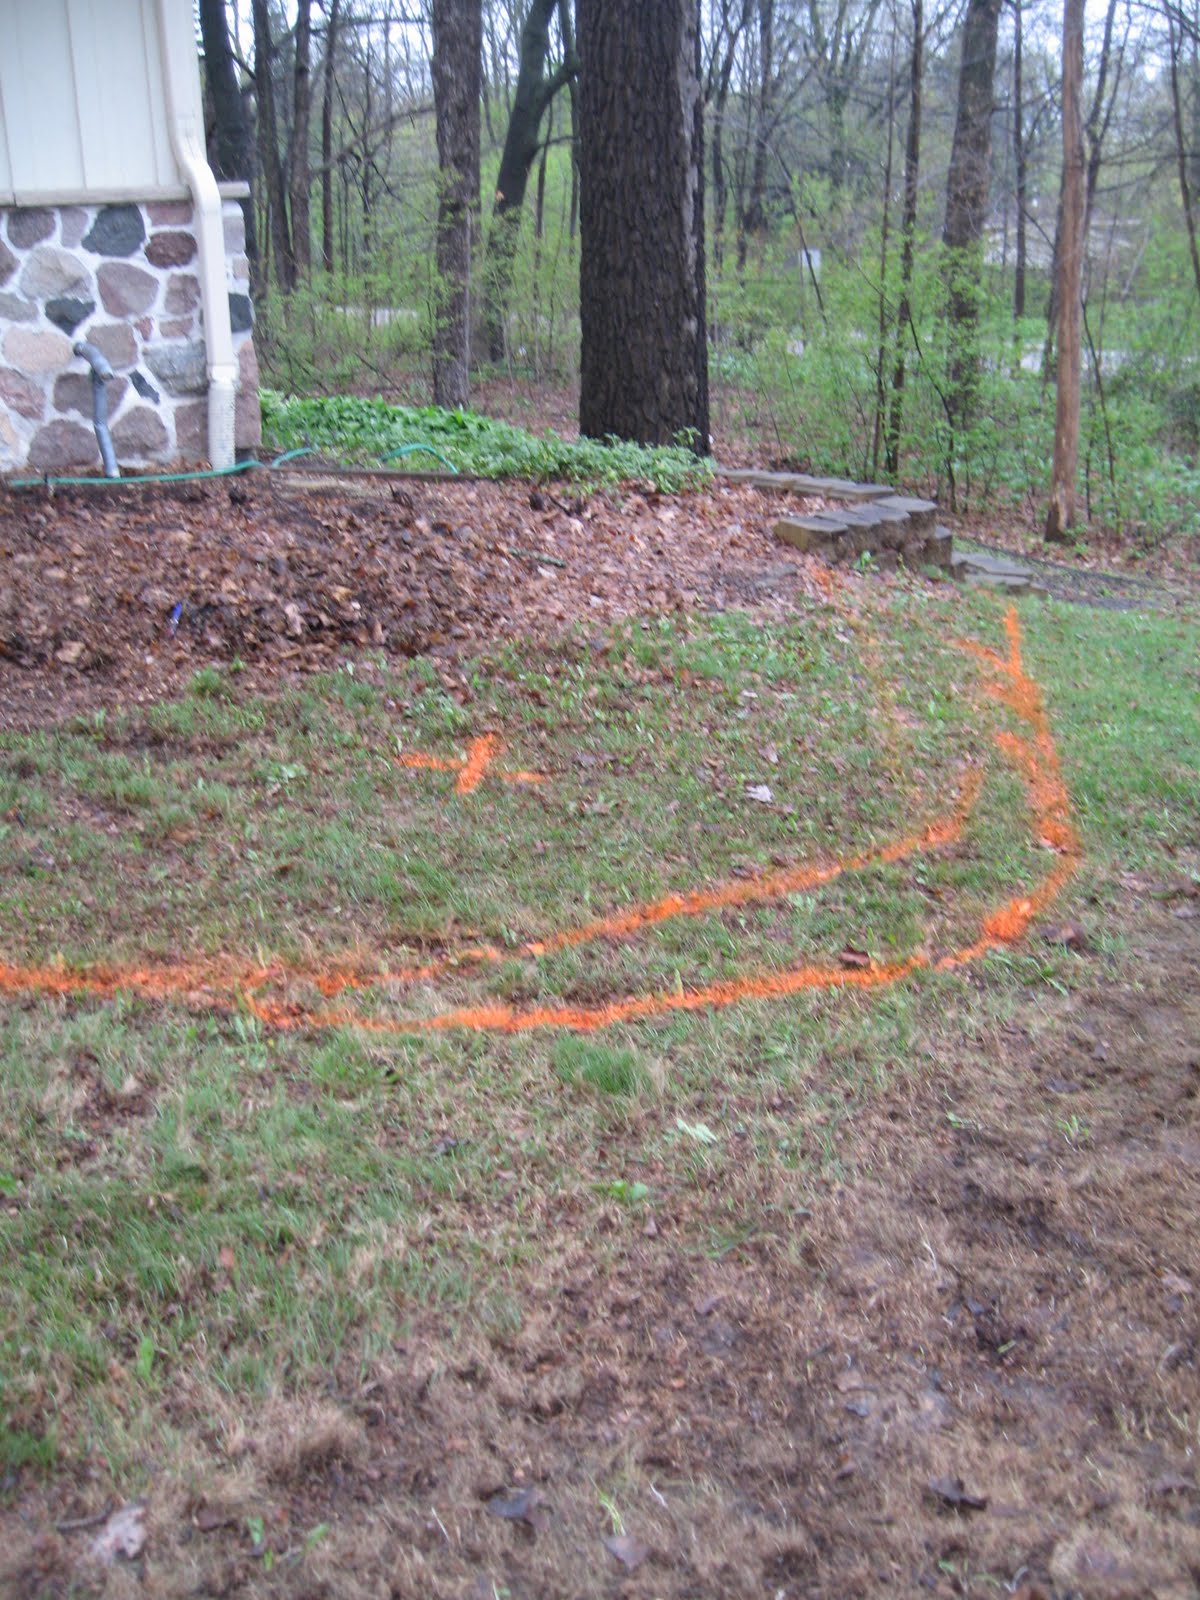
At the far end, there is an area that gets 4-6 hours of mid day sun. I curved back out to allow me to expand my plant palette into more sun friendly specimens. And where I’ve marked an “X”, I am going to plant the ‘Princess Diana’ Amelanchier I purchased at the Missouri Botanic Garden plant sale in May of 2007, and have been torturing in a succession of pots ever since.
Next steps, wash the orange off my thumb, and begin to plan the plants. Fun times……….
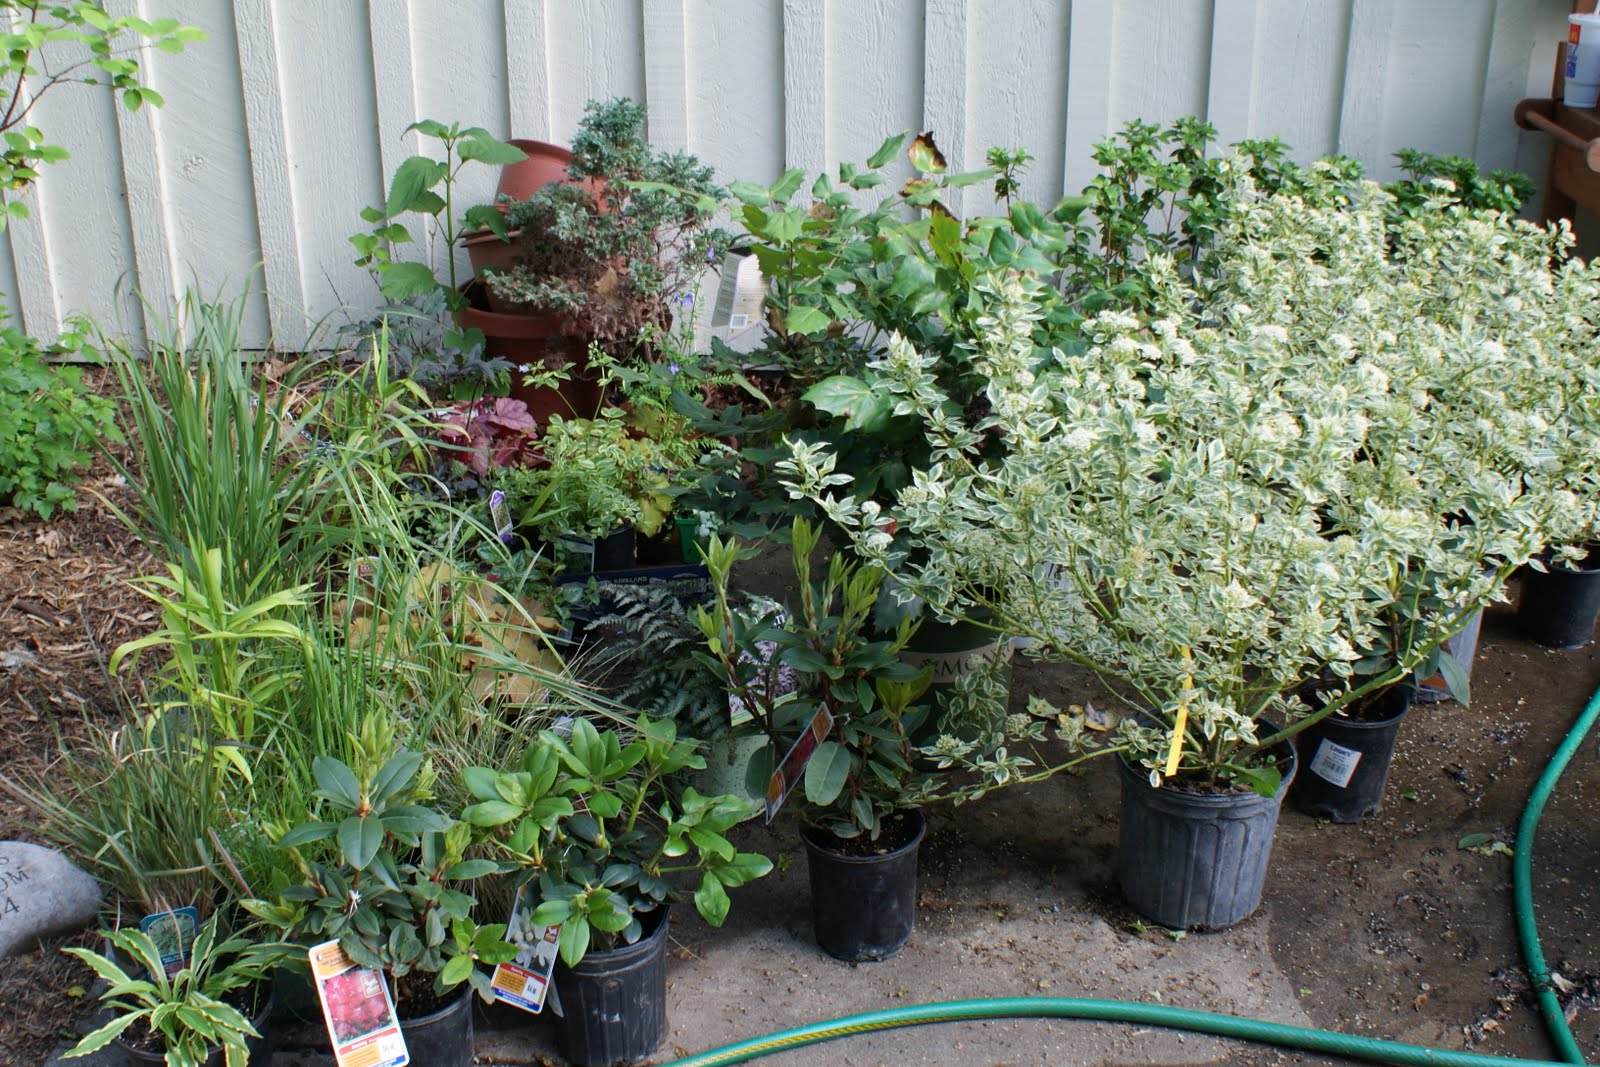
Still not time to plant, but there’s plenty to do in the meantime. Trying to work my way around the house cleaning up the existing beds. All of which appear to have been ignored for years.
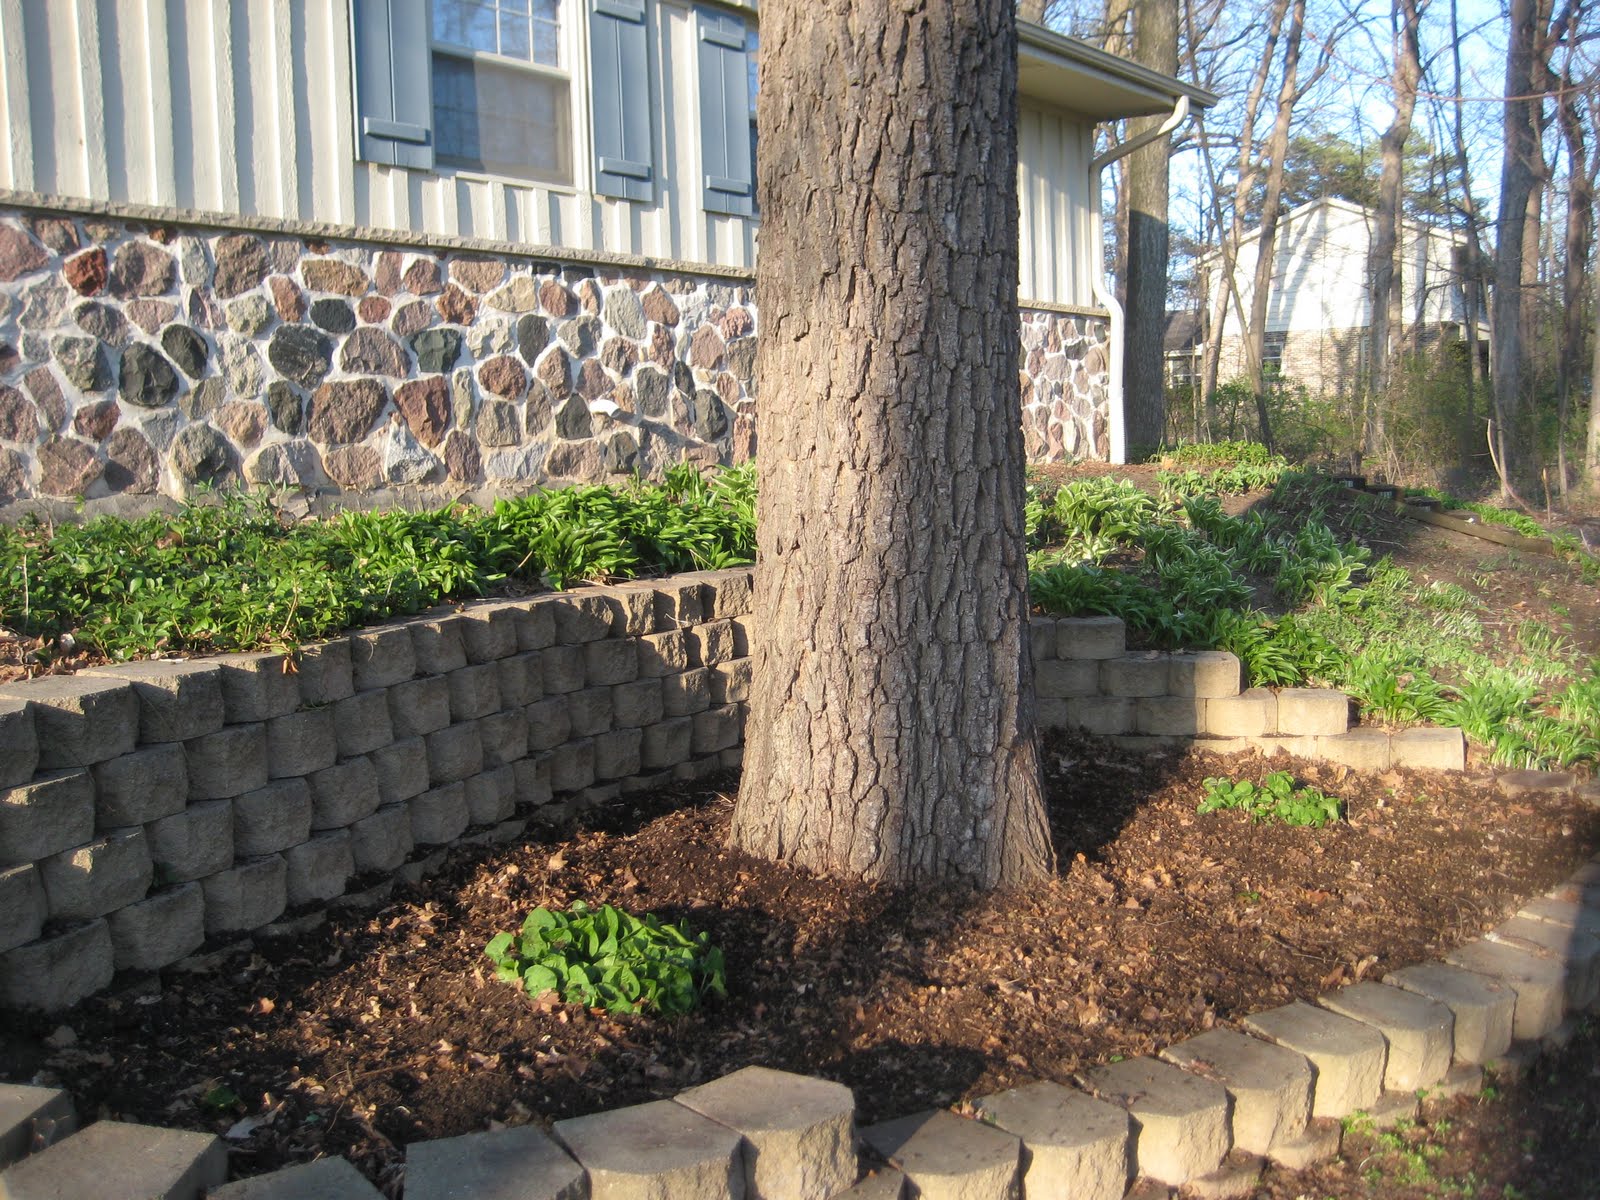
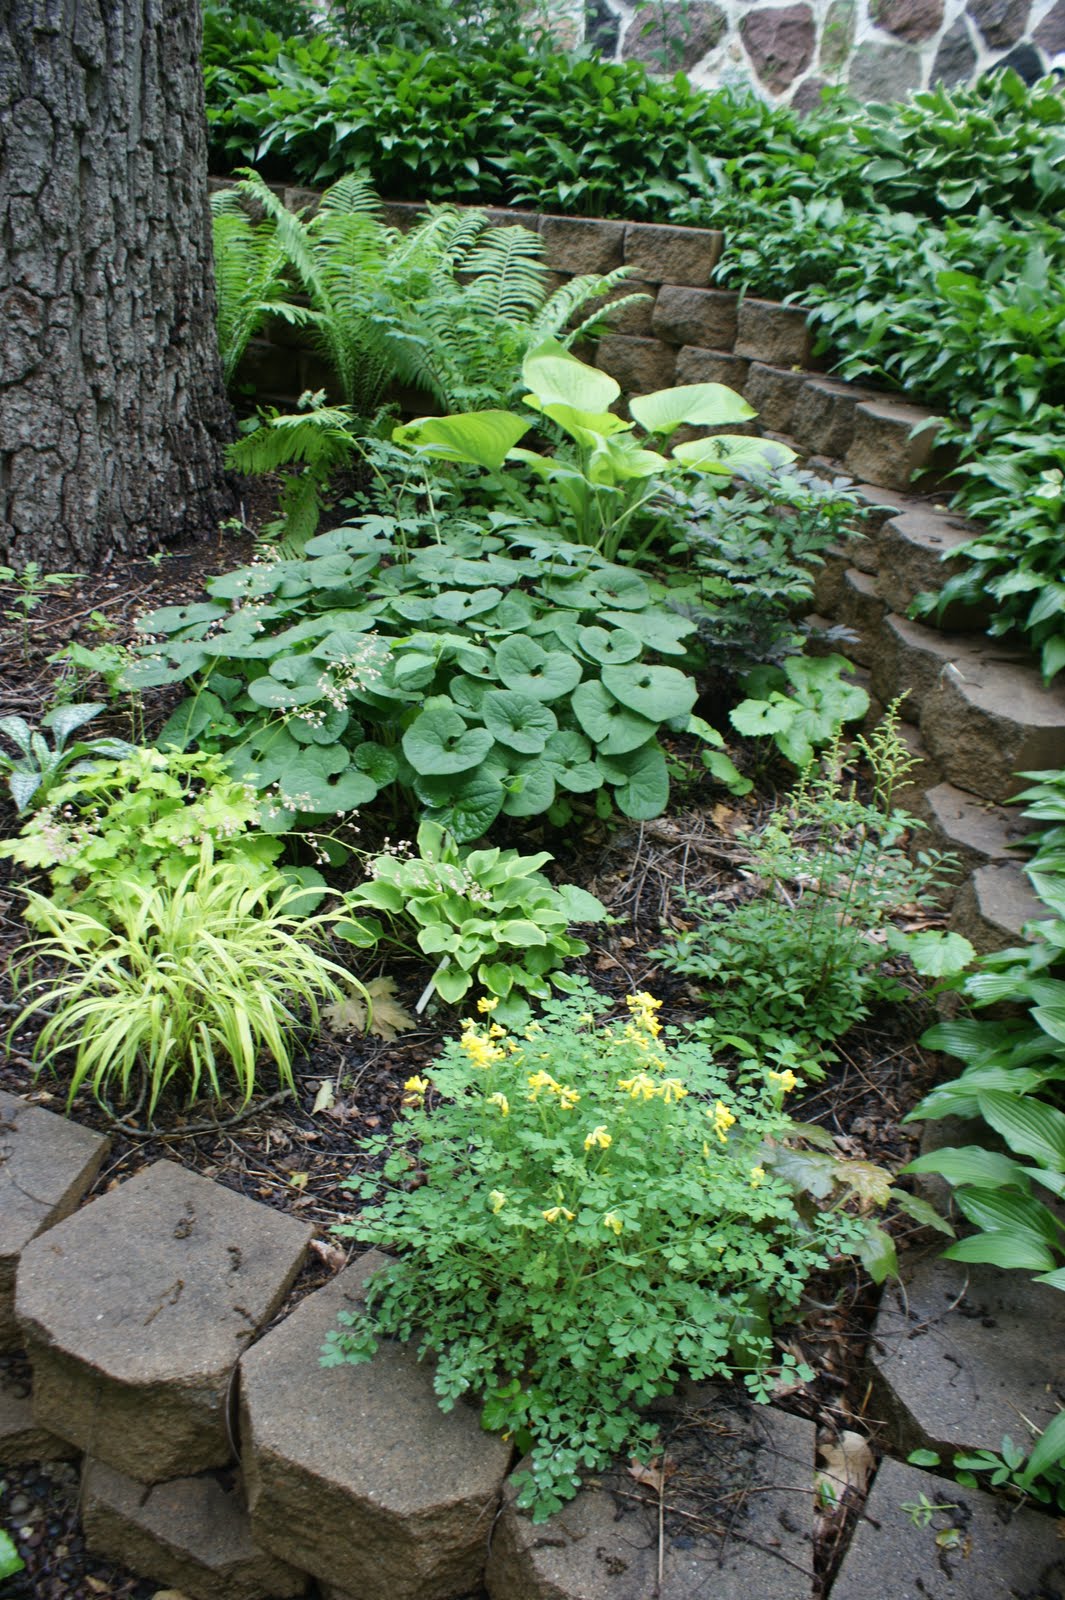
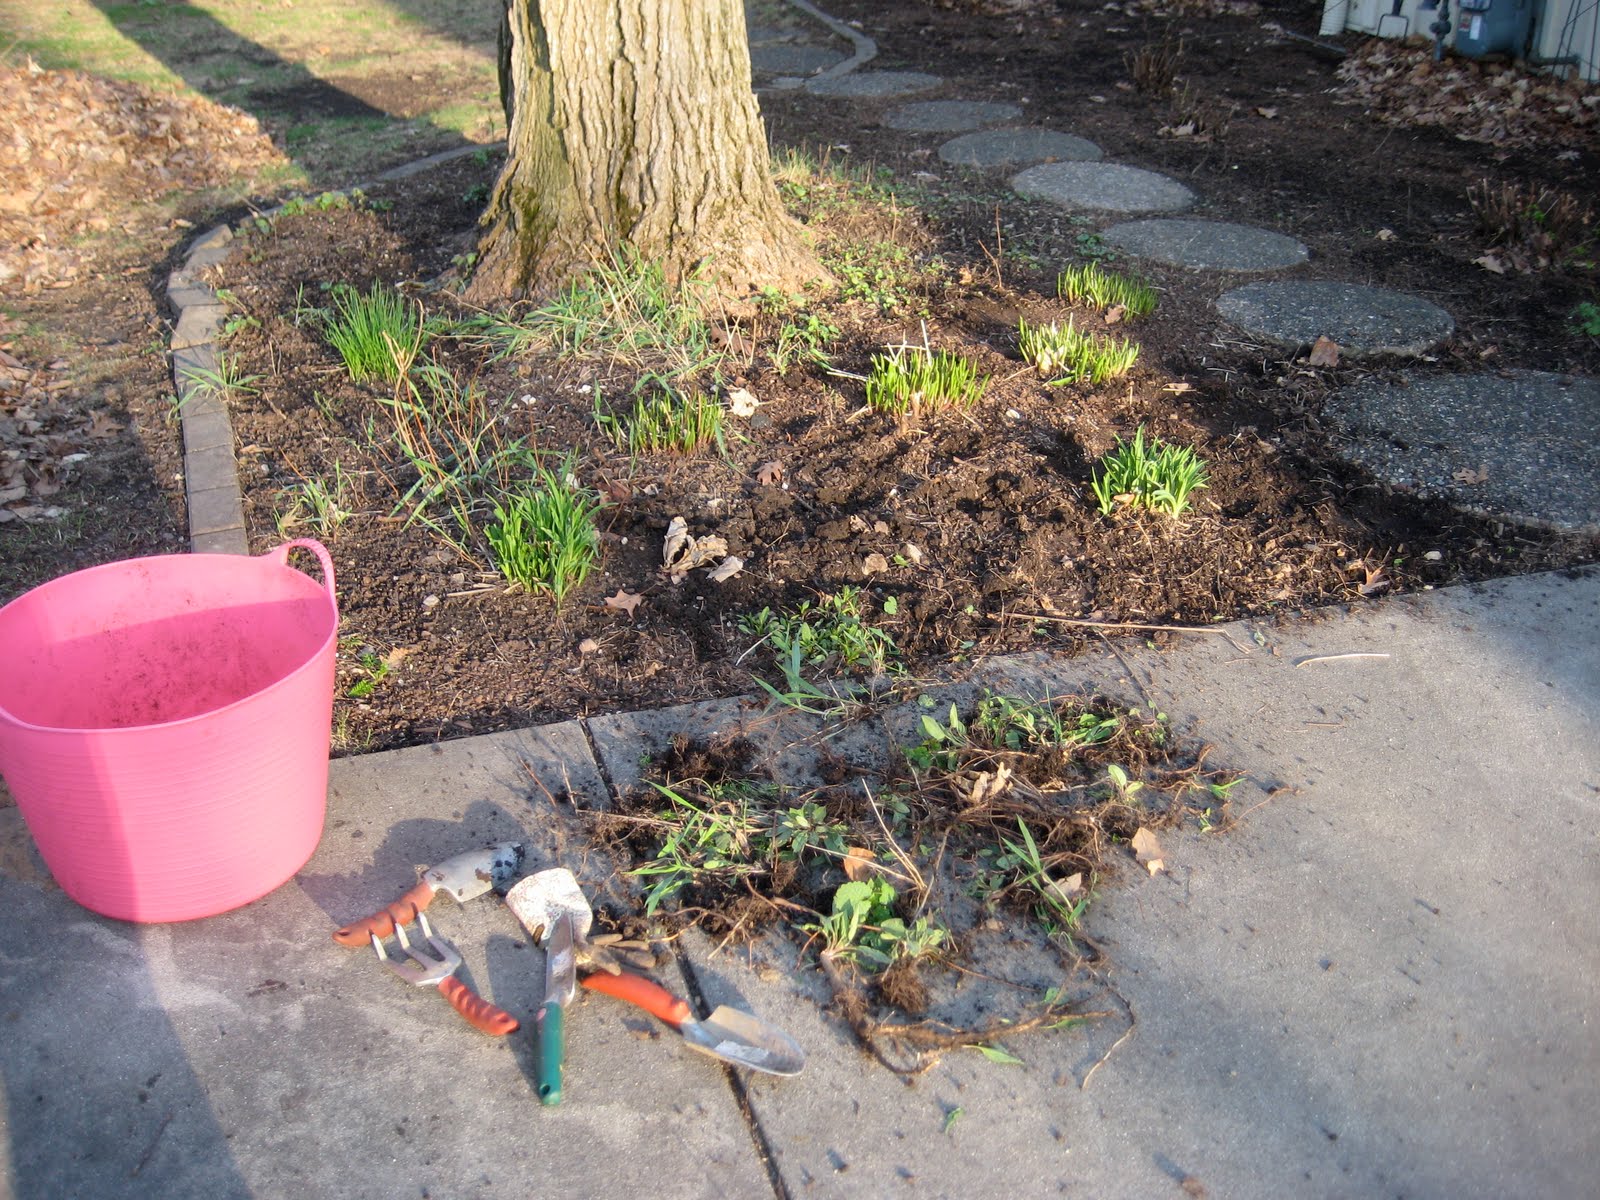
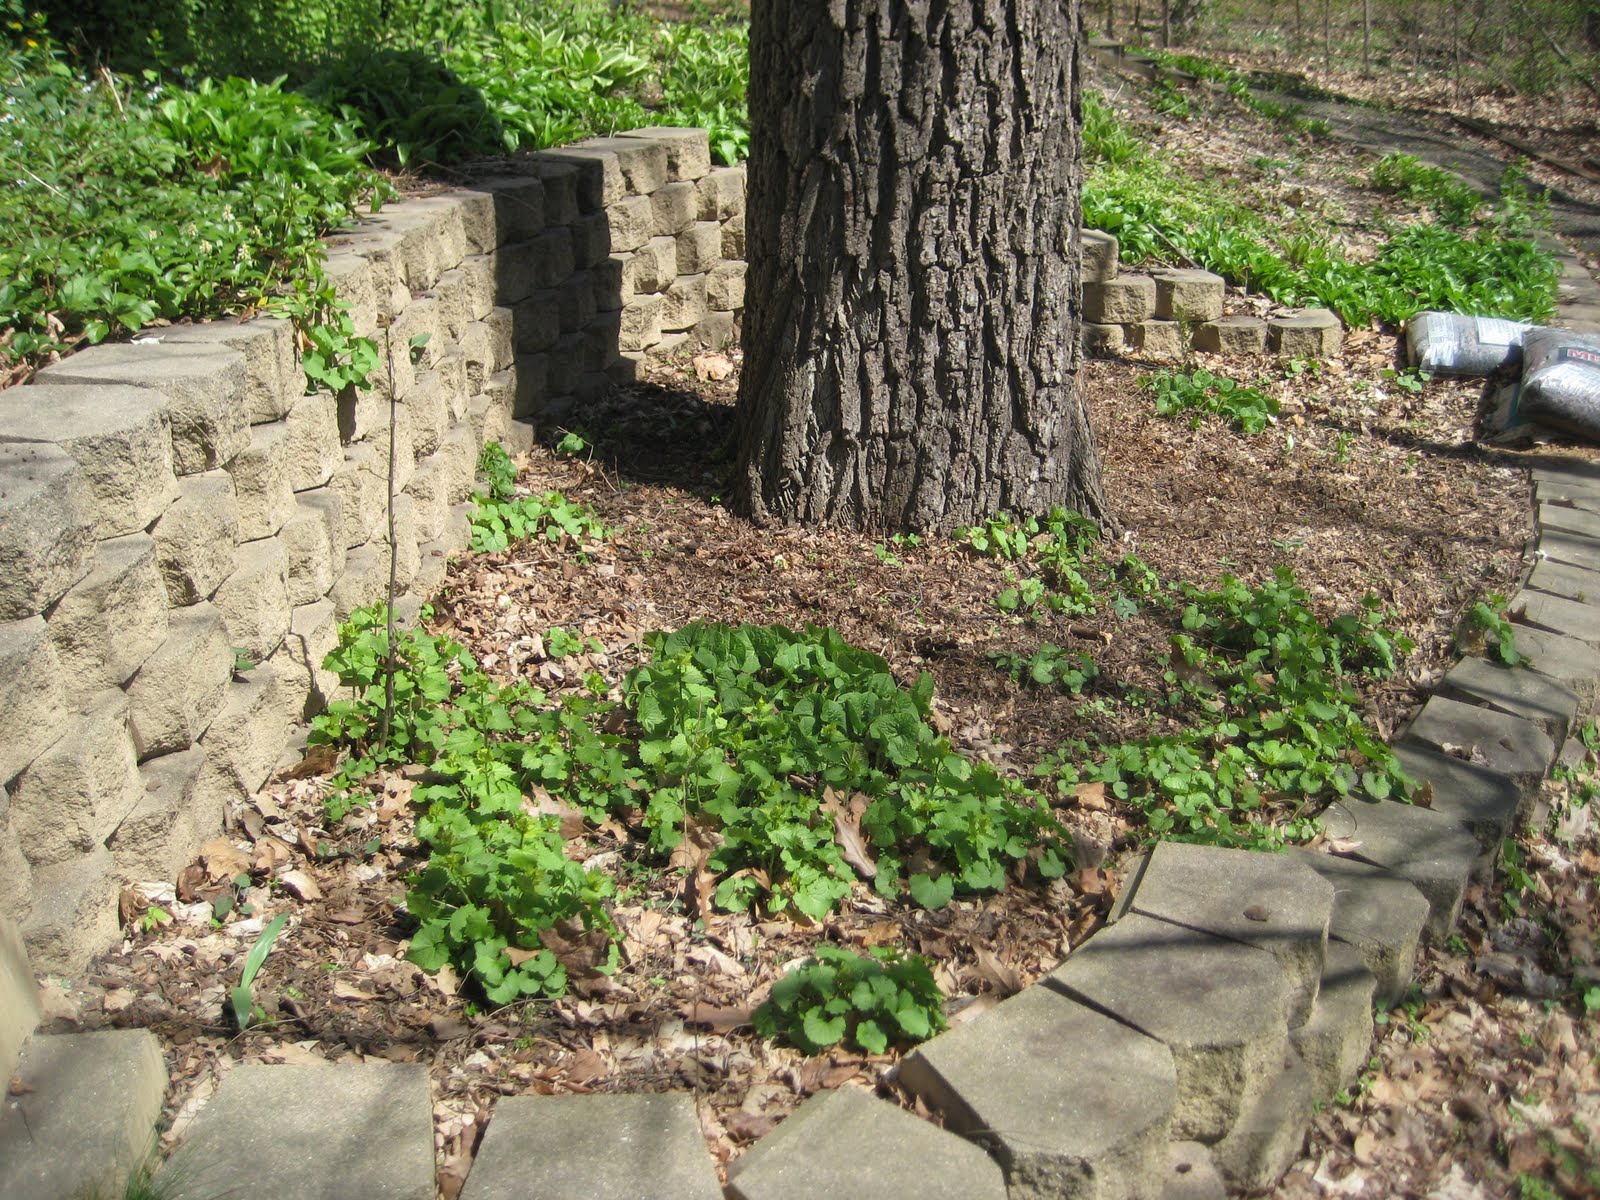
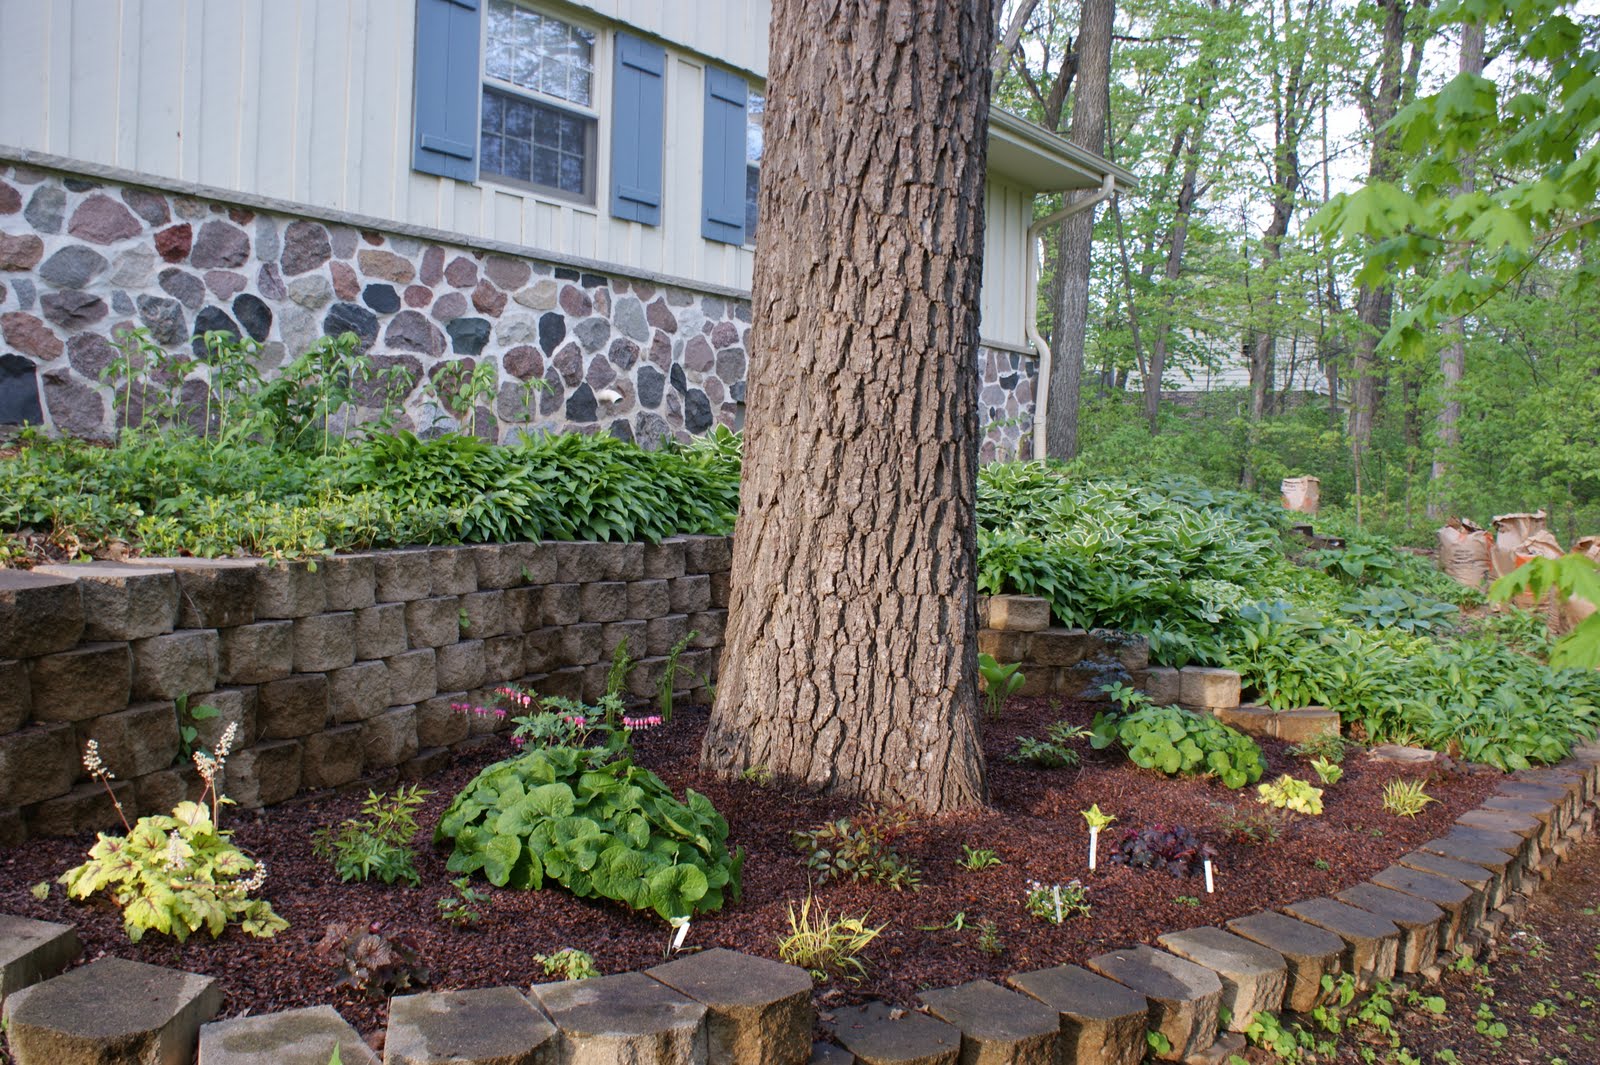
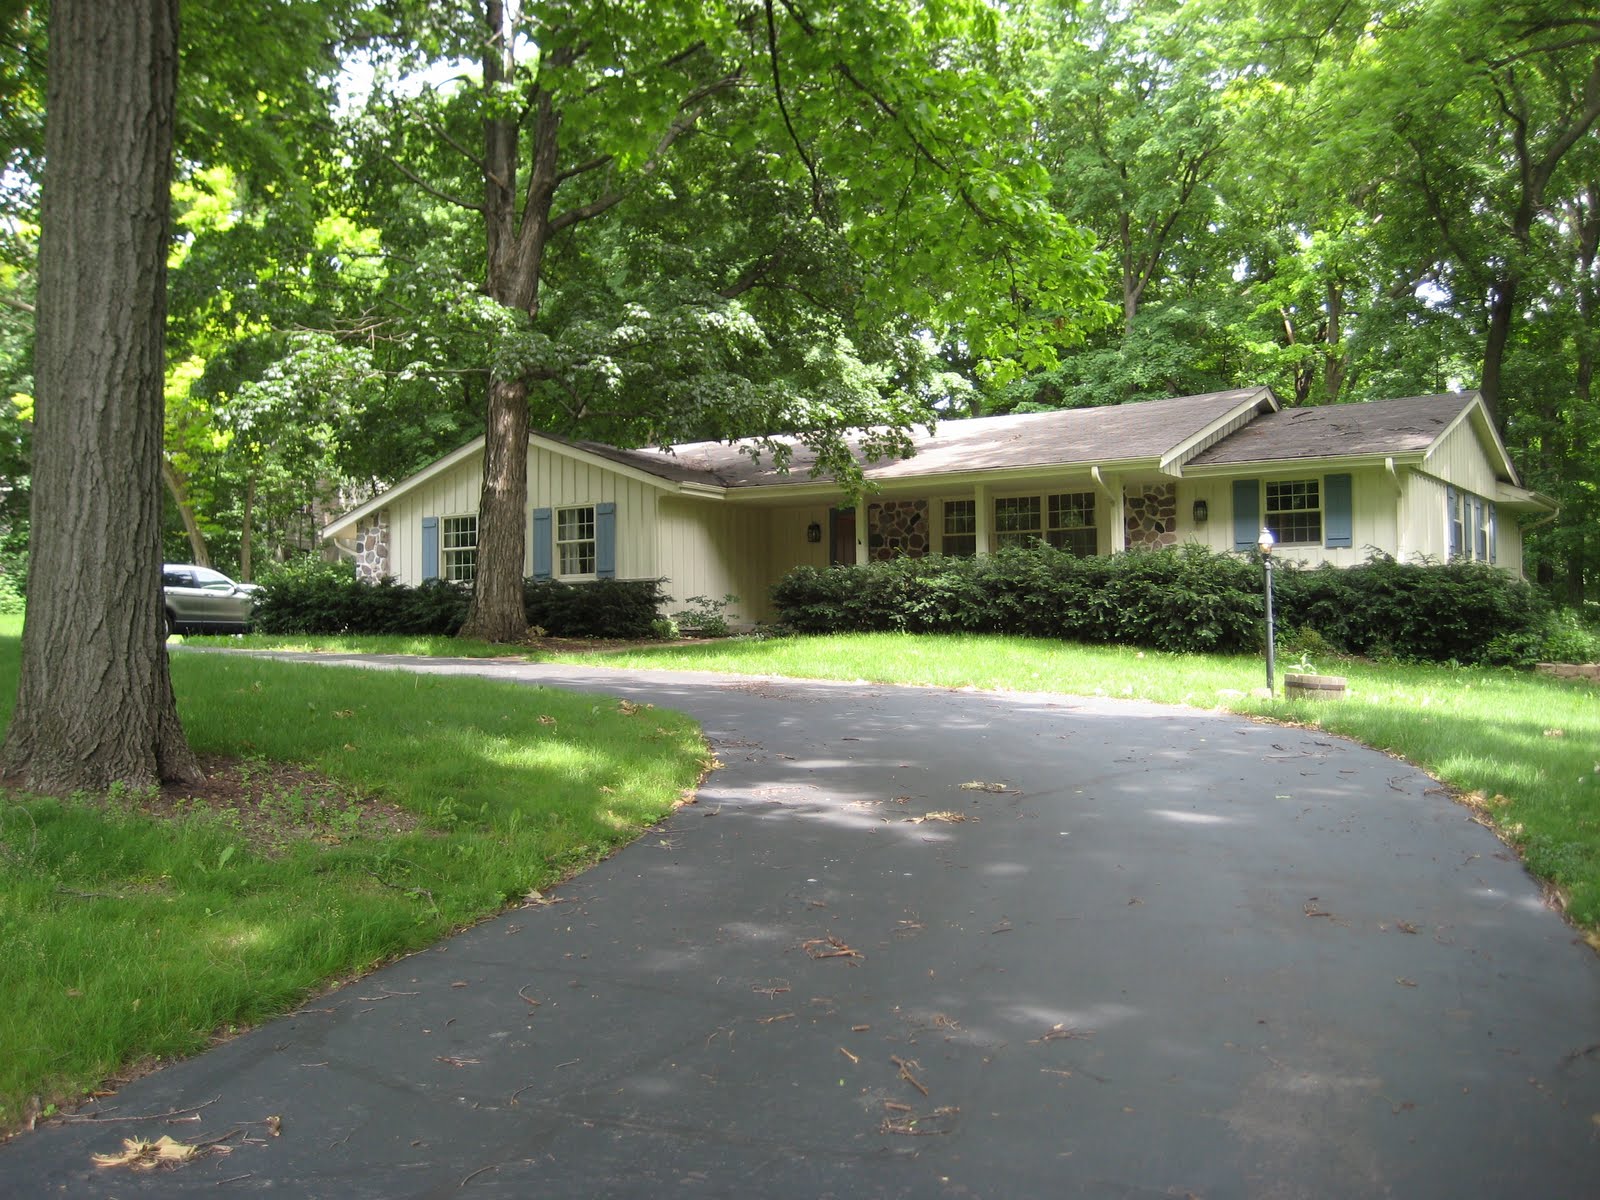
This weekend I decided to focus on cleaning up the south side of the house. This is the sloped area with the retaining wall and planted primarily in hostas with a touch of pachysandra, lamium and lily of the valley. In summer this area is in full shade.
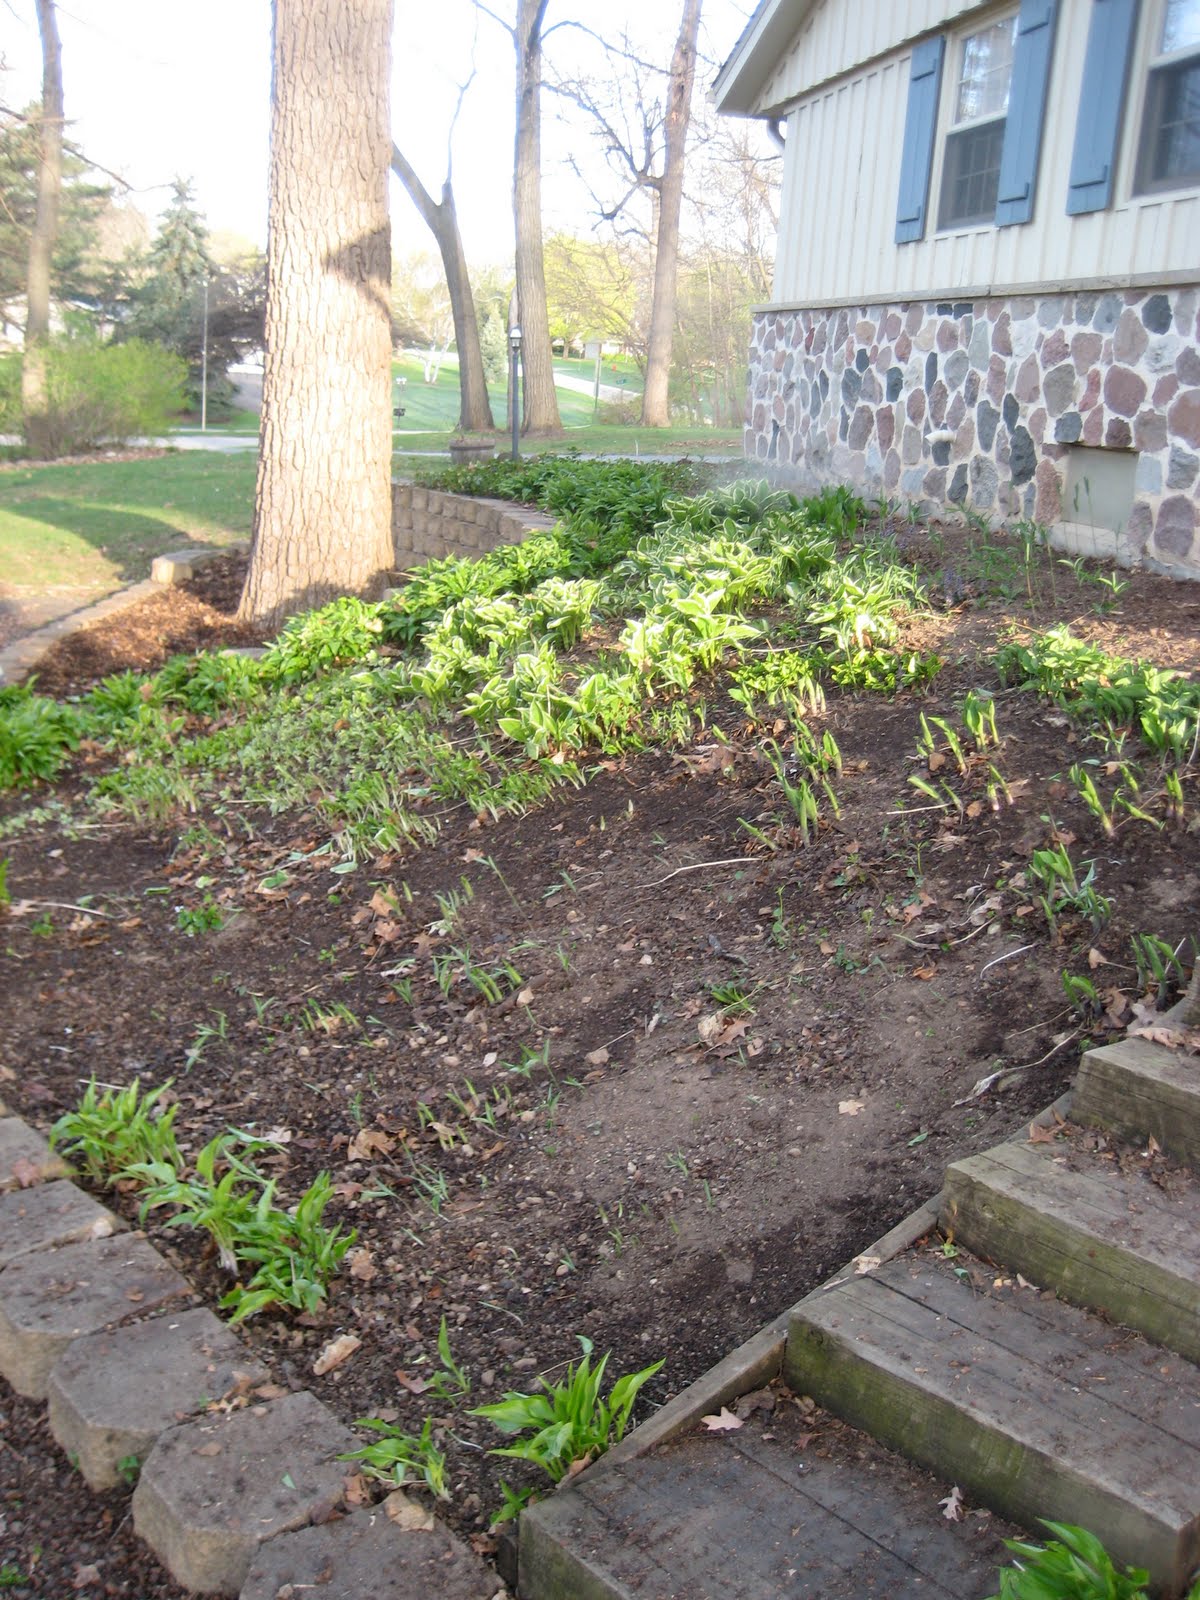
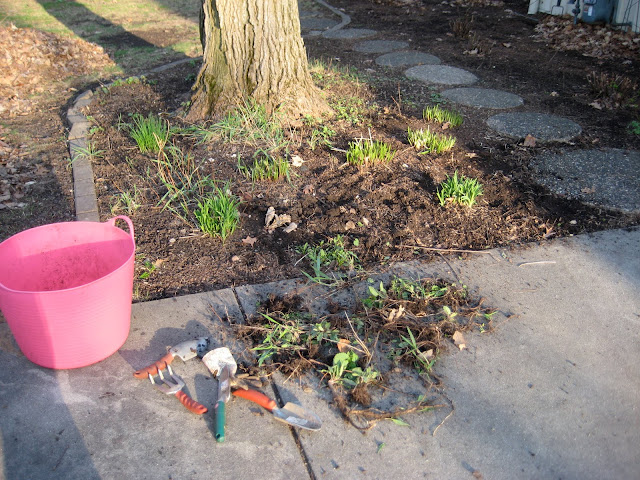
As of Friday it was also full of Garlic Mustard. Inspiring me to do some research and even write a post about it. Spent most of Saturday attacking the weeds.
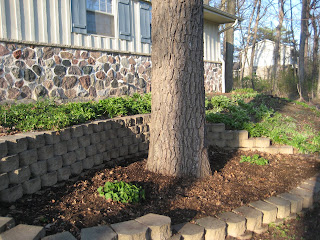
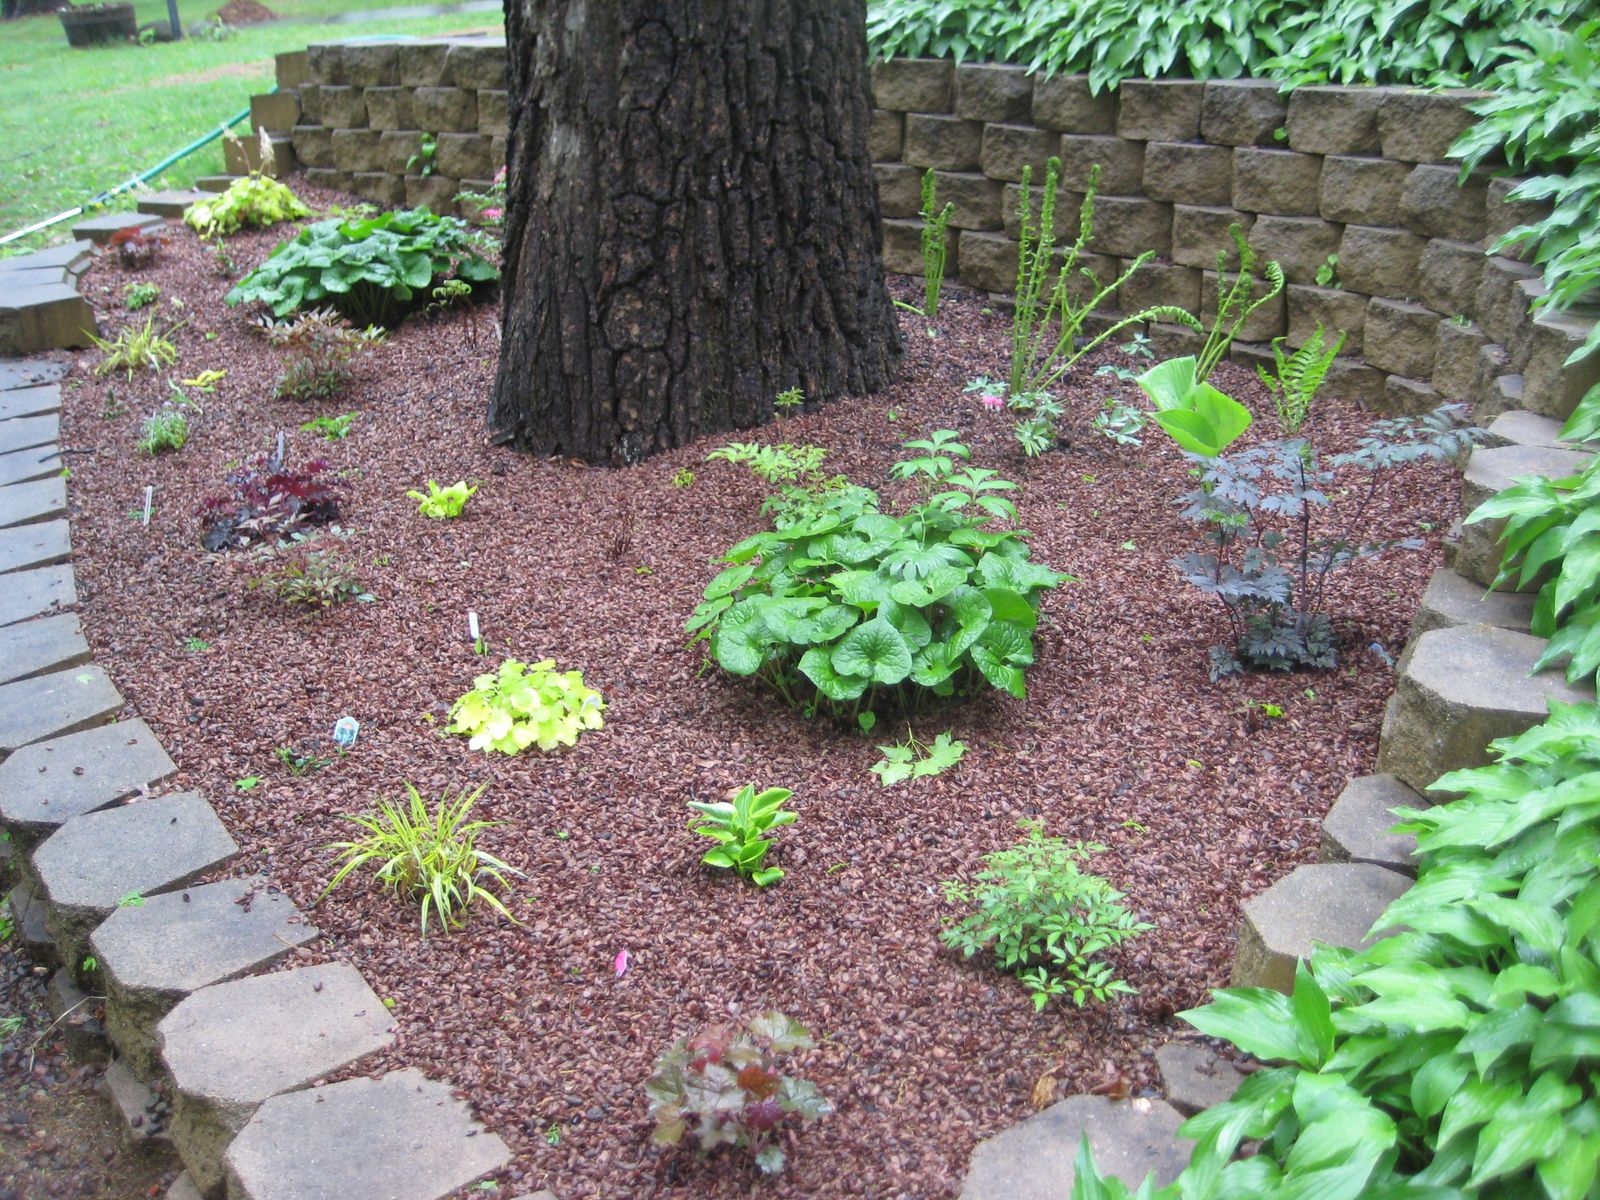
In addition to the retaining wall one of the primary features of the space is a planting bed around a large black walnut tree. This bed is an approximately 6′ by 15′ oval. Will be a shade perennials mixed border. One corner gets a few hours of sun, so plain on sneaking in a Hydrangea quercifolia ‘Little Honey’ there.
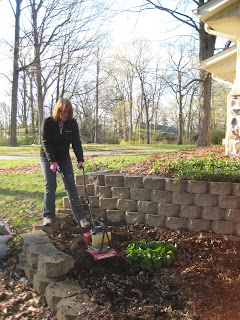
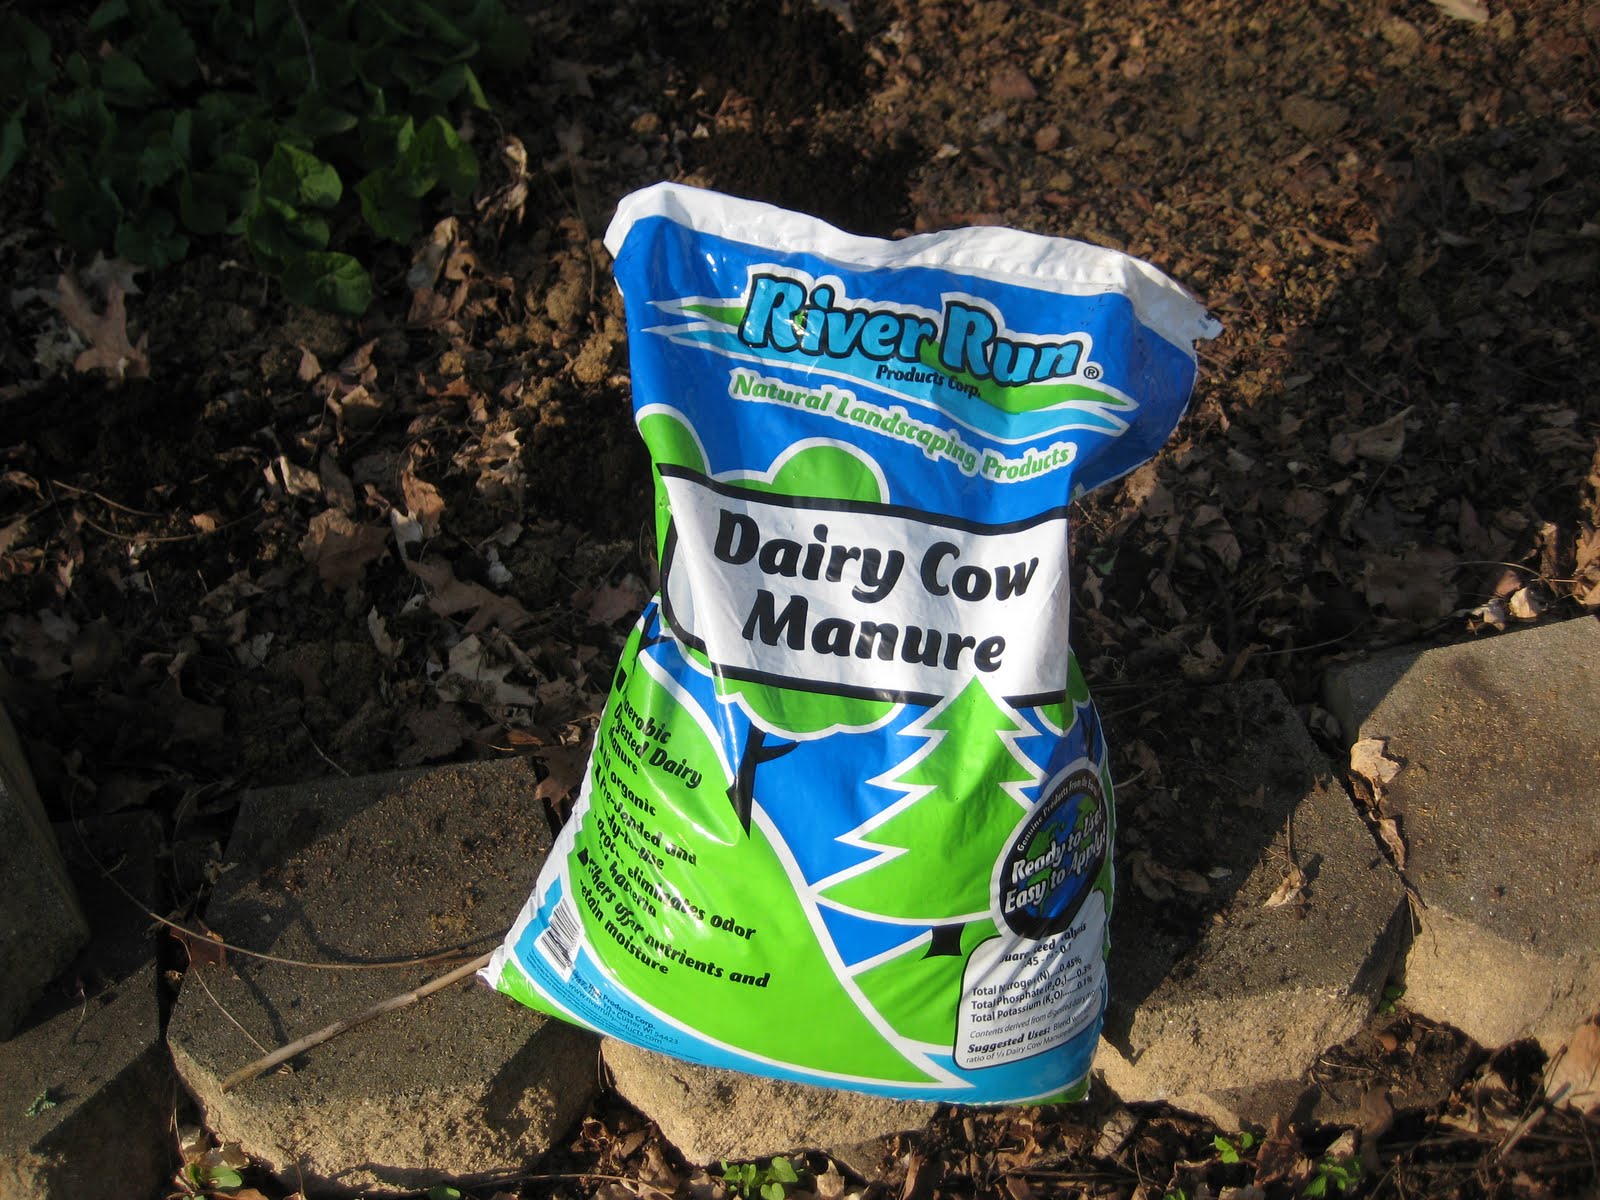
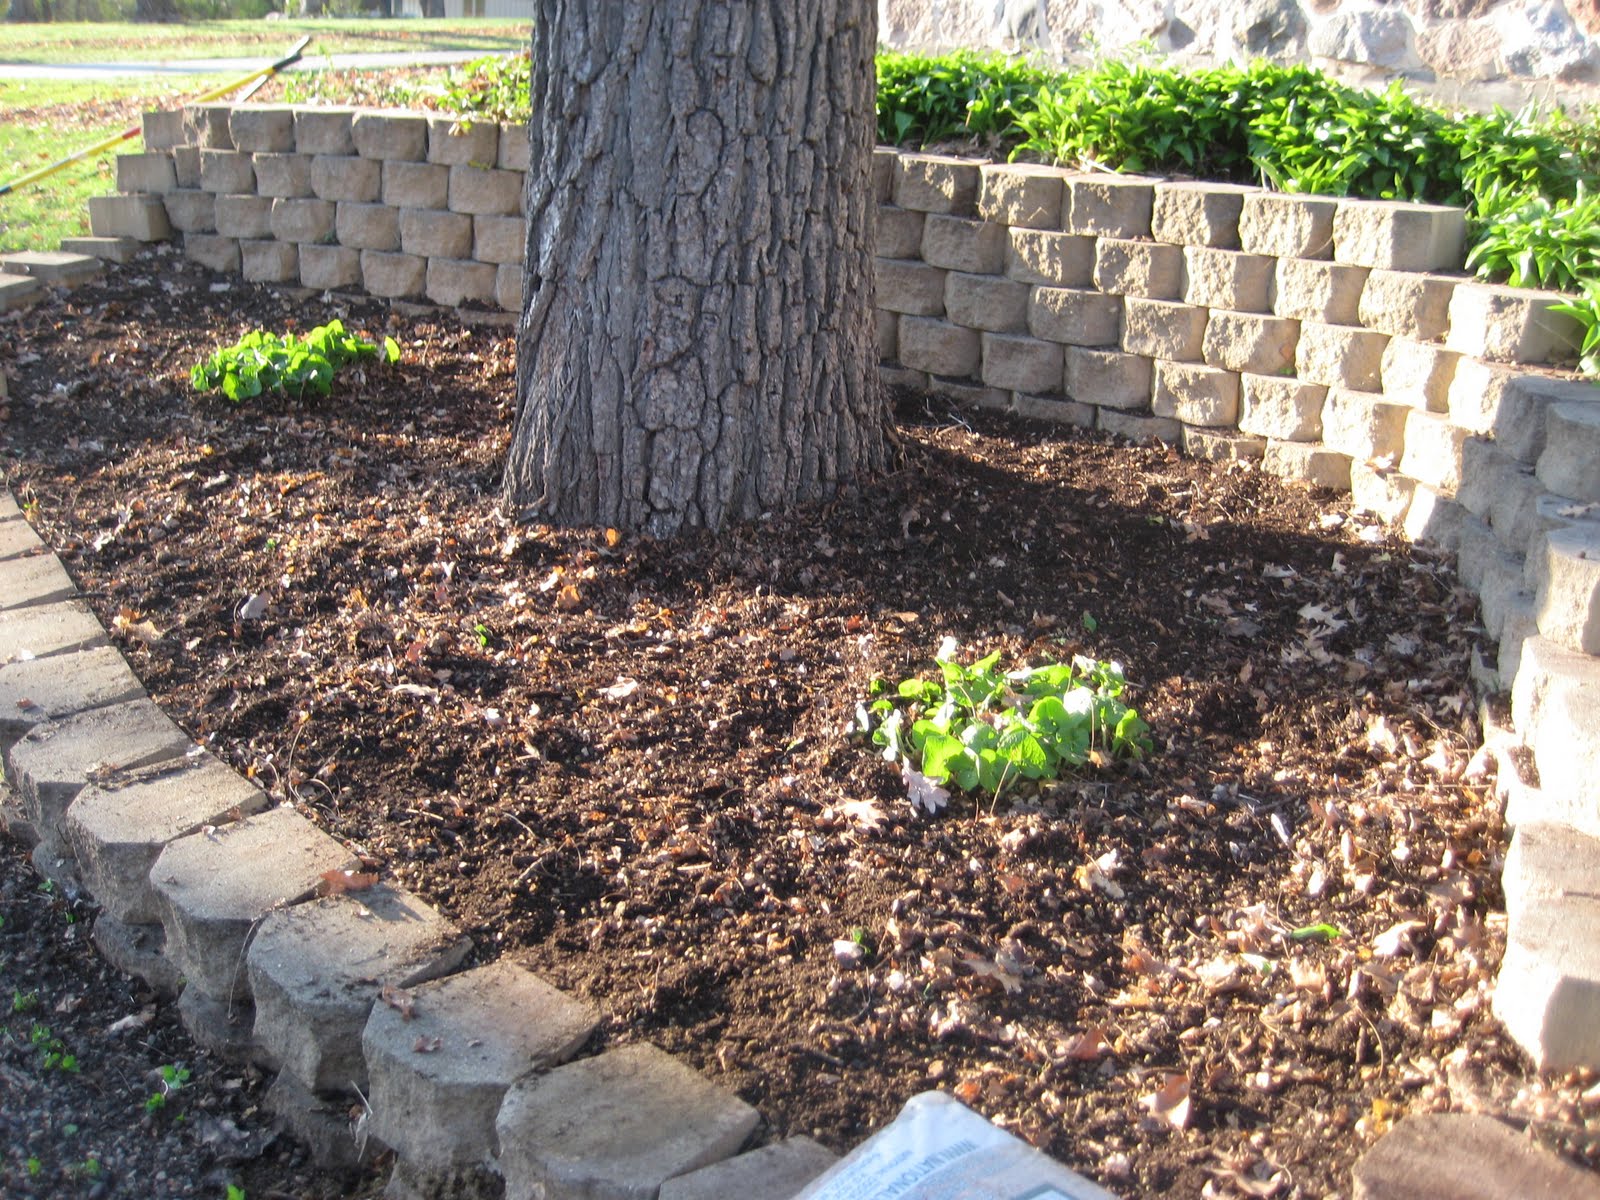
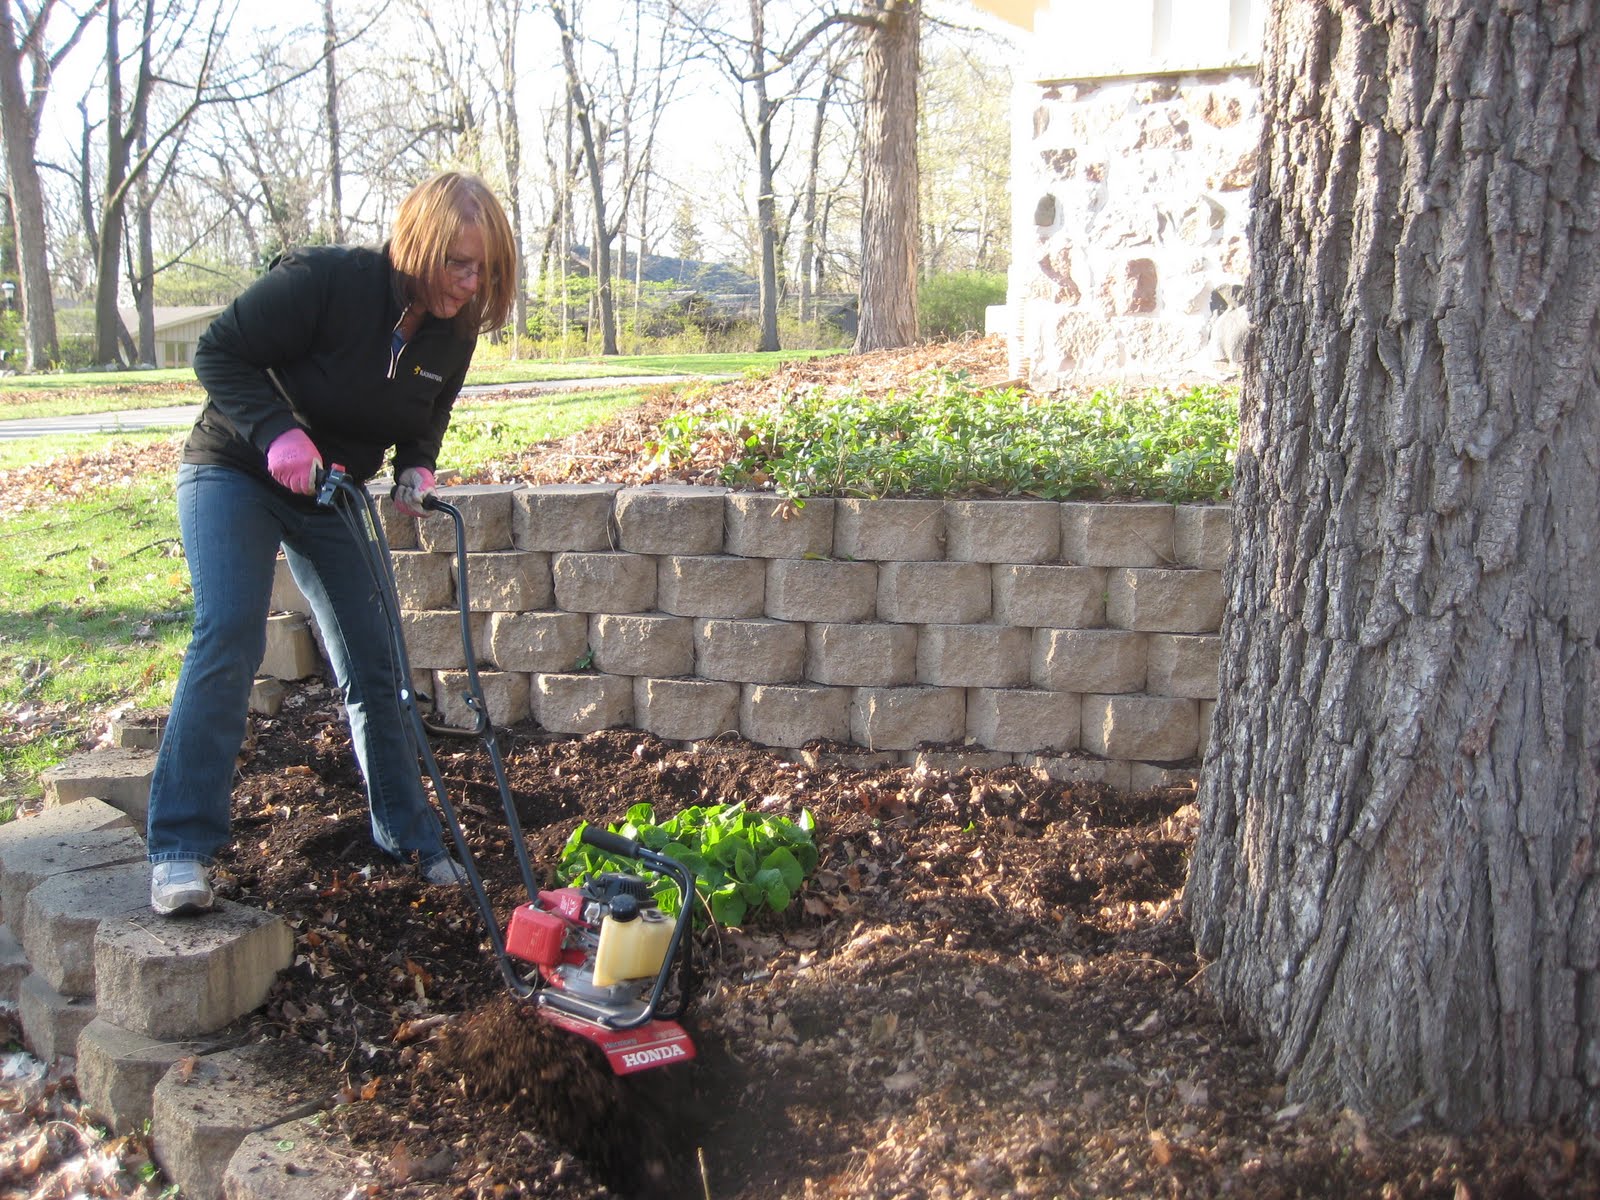
After clearing the weeds, I wanted to amend the soil a bit to prep for planting. There was already a nice coating of chopped partially composted leaves, so added a couple of 50# bags of alfalfa pellets (one of my very special secret garden ingredients), and a few bags of cow manure, and tilled it all up. Ok, I admit, I just wanted to play with some power tools, but the bed needed the work!
Here in Wisconsin, we don’t have just any old cow manure, we have Dairy Cow Manure…….
Now this is much better. Kinda a blank slate. But one thing I do know is that Mother Nature abhors a vaccum and as evidenced by the garlic mustard will fill the space if I don’t. So next weekend will probably involve many yards of mulch. But also some planning.
The scariest part of all this is in many ways it is new territory. I just don’t have the mental palatte of shade plants. In the past, I always knew where I was going with a bed. I might name it by colors and design from there – I had blue and yellow beds, peaches and berries beds. Or design around a favorite plant or combo. But those were all sun plants. I’ve never had a true shade garden. I can’t just start mentally ticking off plants to fill the space.
But wait, I always like a “grape and lemonade” bed. And there’s some great gold leaved hostas, and dark leaved heucheras. Maybe a few dark leaved astilbes. And I saw this incredible tiarella with chartreuse leaves and wine colored veining. Always wanted to grow
Aceta simplex ‘Brunette’. And hakonachloa, oh I love
hakonechloa…….
Yes, there may be hope for this garden.
And for me……
.


 As I worked and took pictures around the garden, I realized that last year I kinda lost steam on updating garden progress on this blog. I think the last phot I did of the front beds looks something like this:
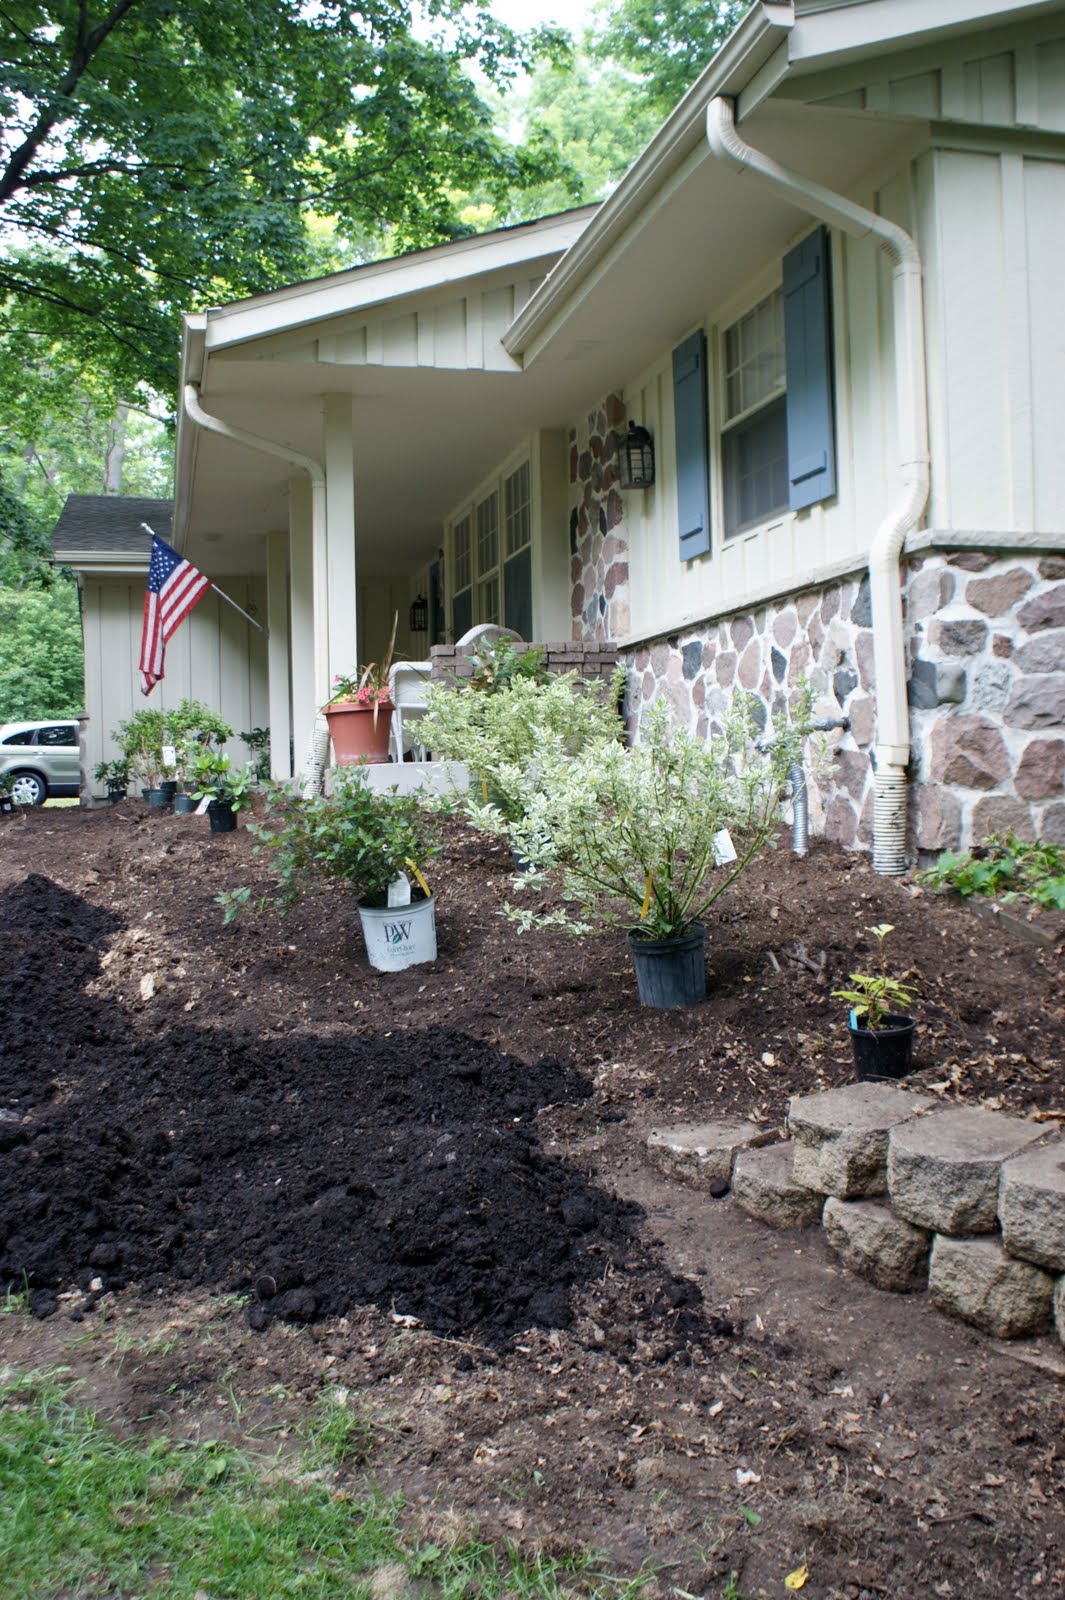


 After clearing the weeds, I wanted to amend the soil a bit to prep for planting. There was already a nice coating of chopped partially composted leaves, so added a couple of 50# bags of alfalfa pellets (one of my very special secret garden ingredients), and a few bags of cow manure, and tilled it all up. Ok, I admit, I just wanted to play with some power tools, but the bed needed the work!