Tag: container gardening
A bit of a slow start…..
June 21, 2011

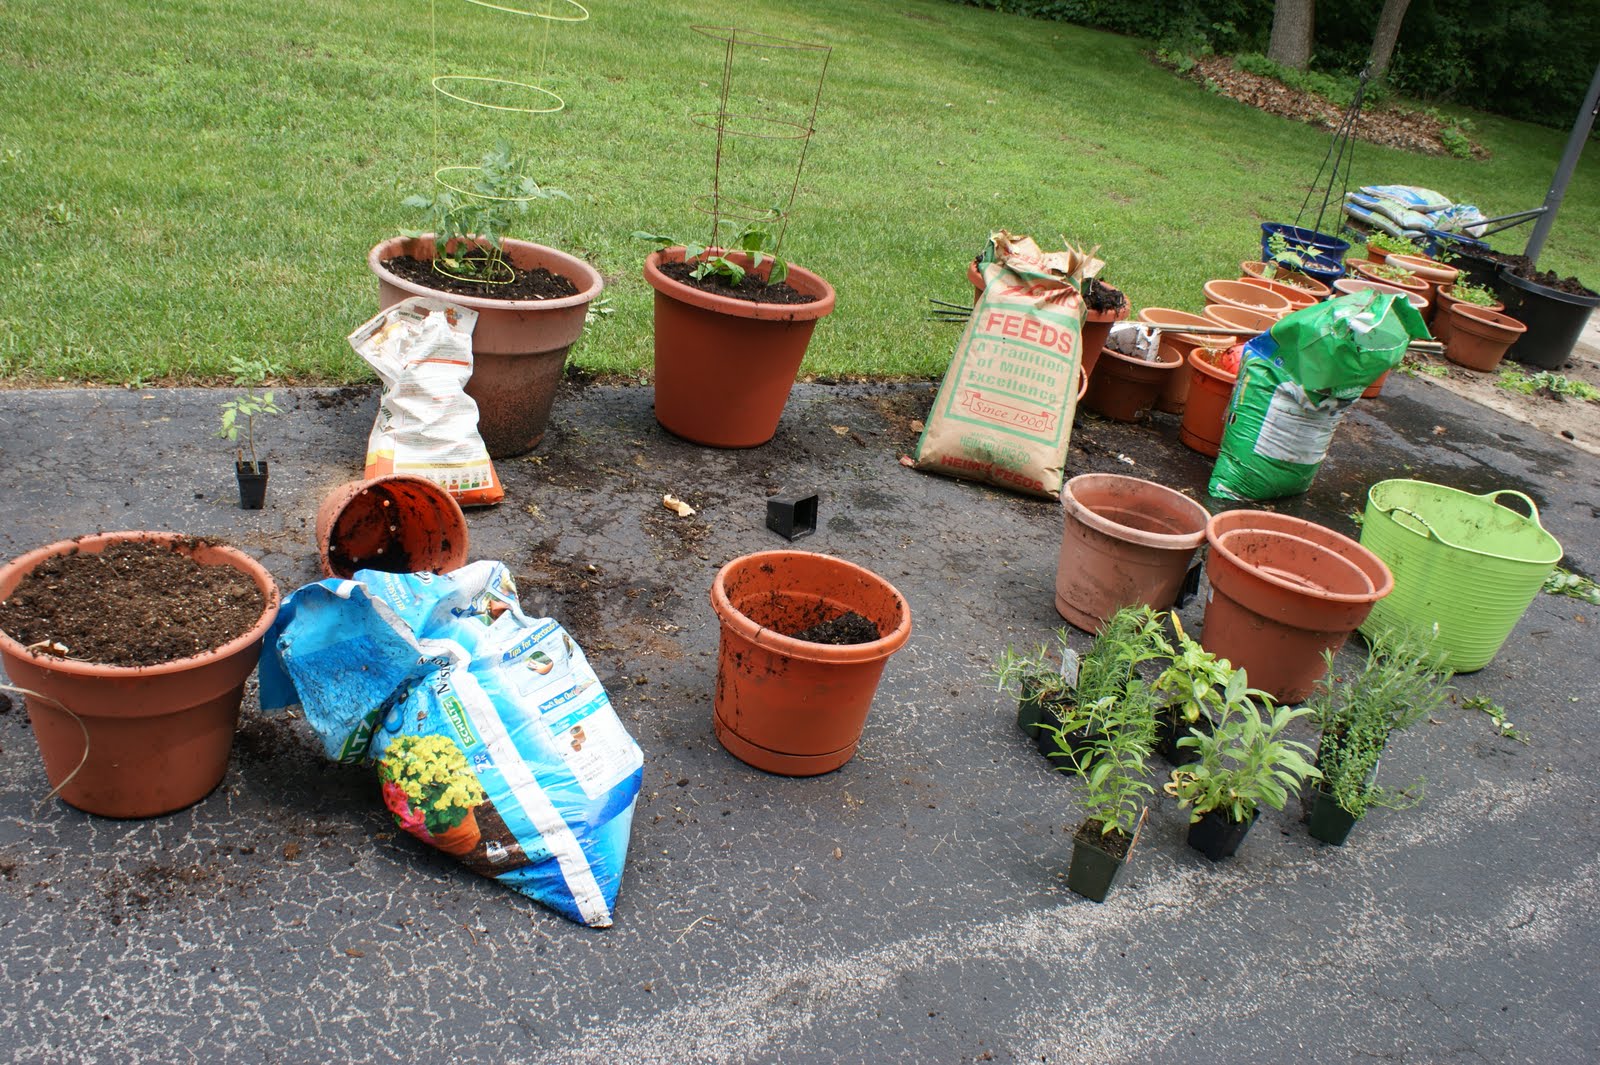
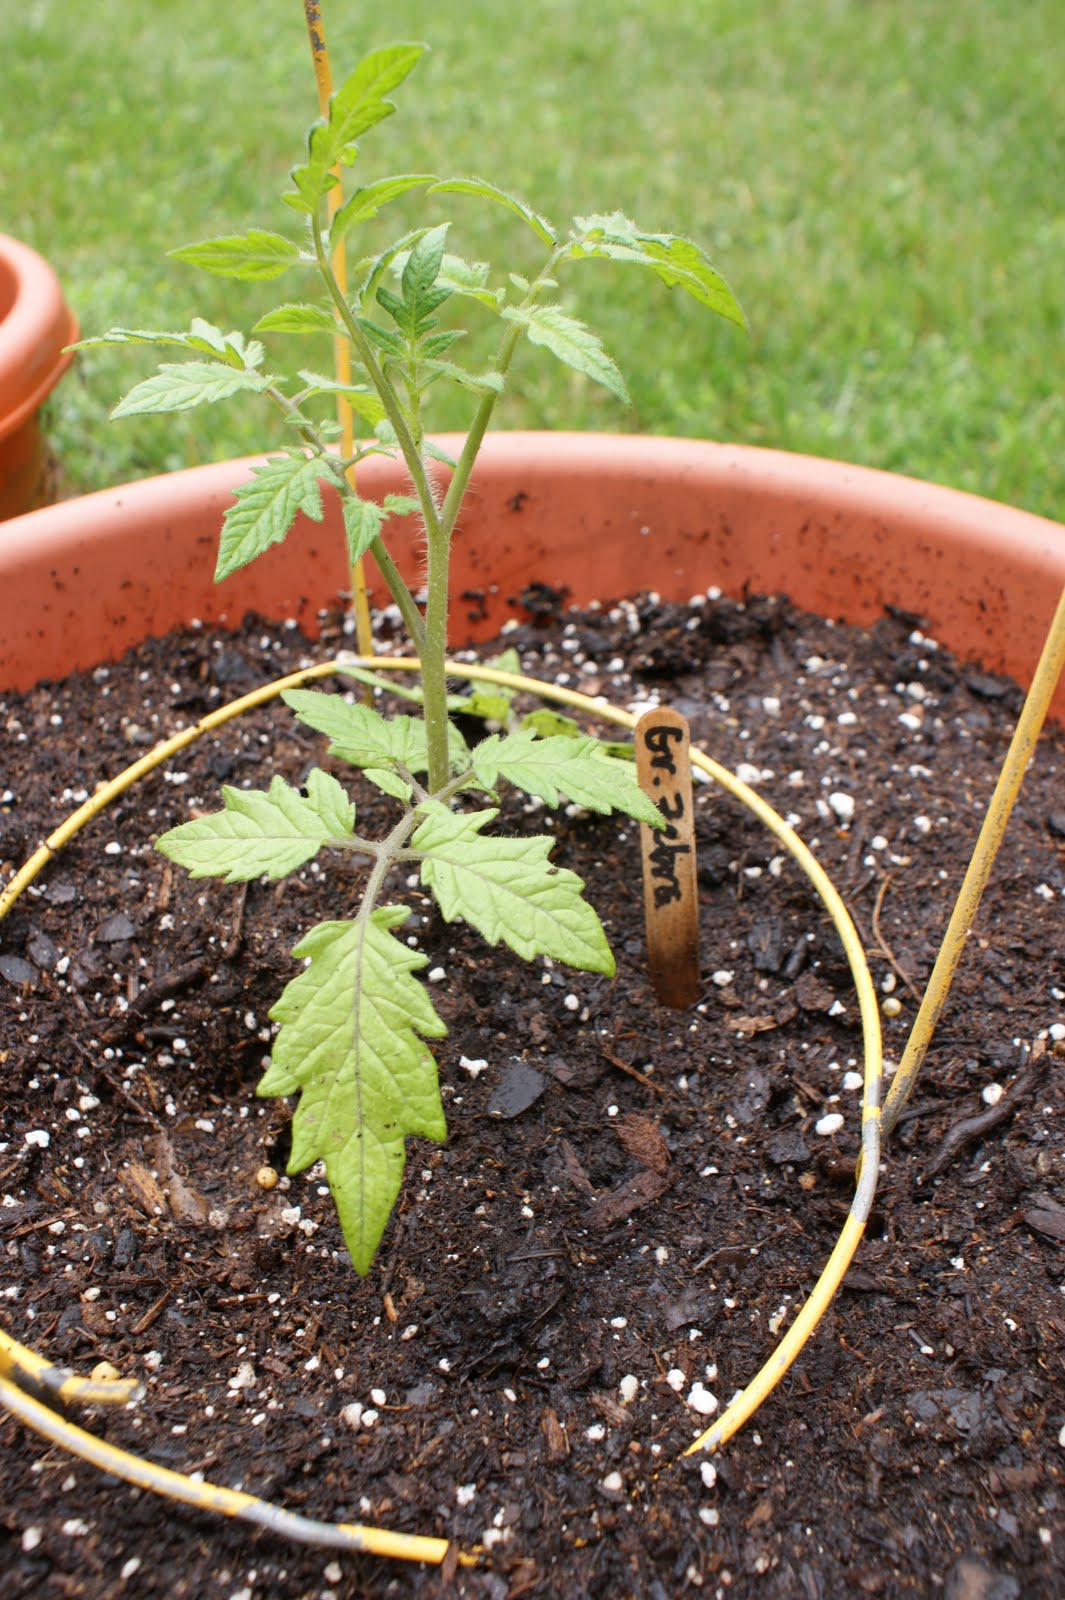
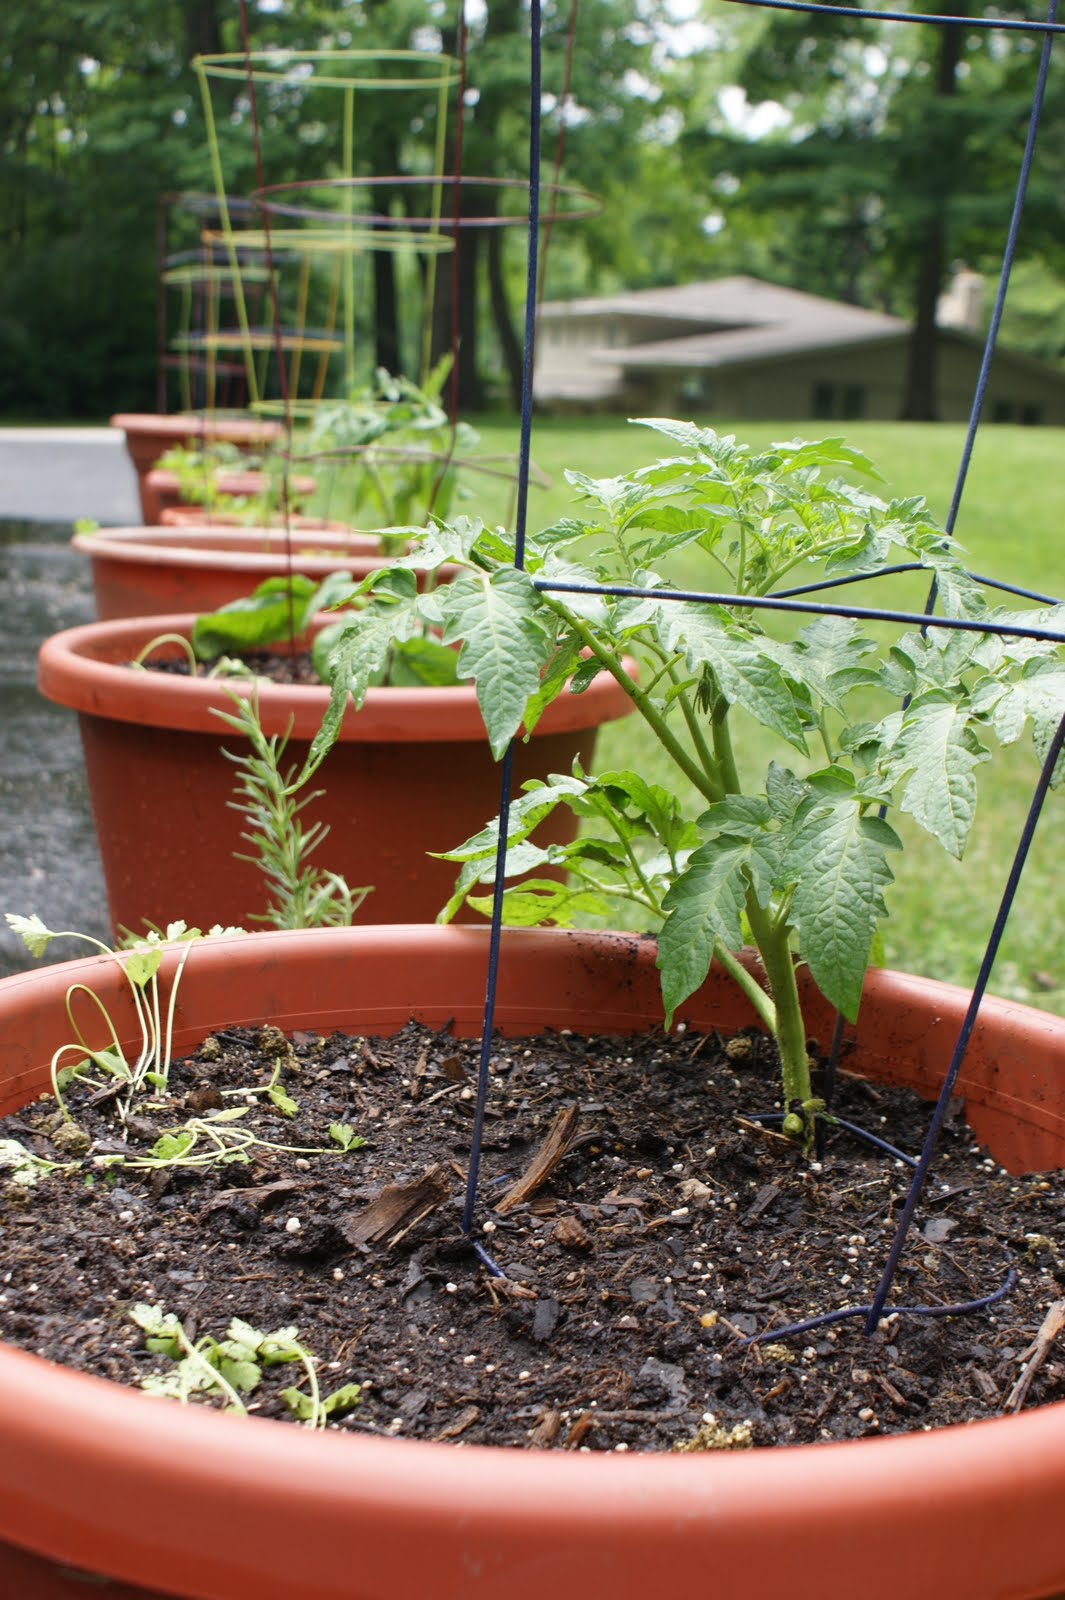
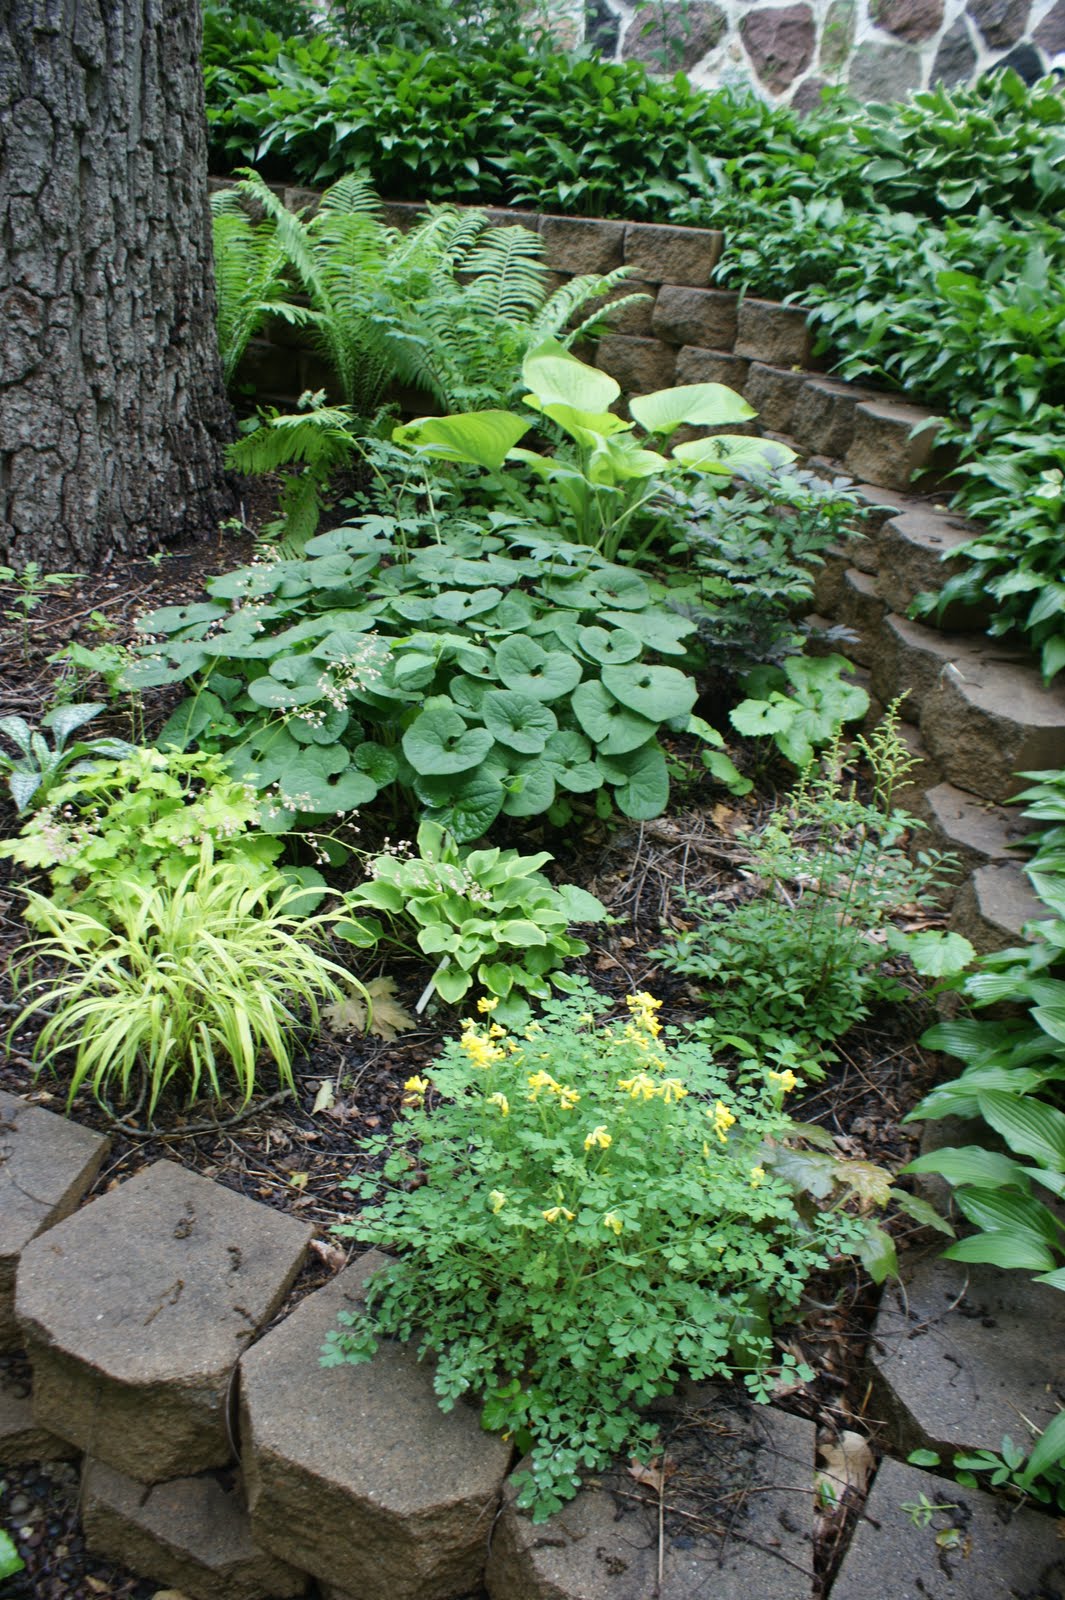
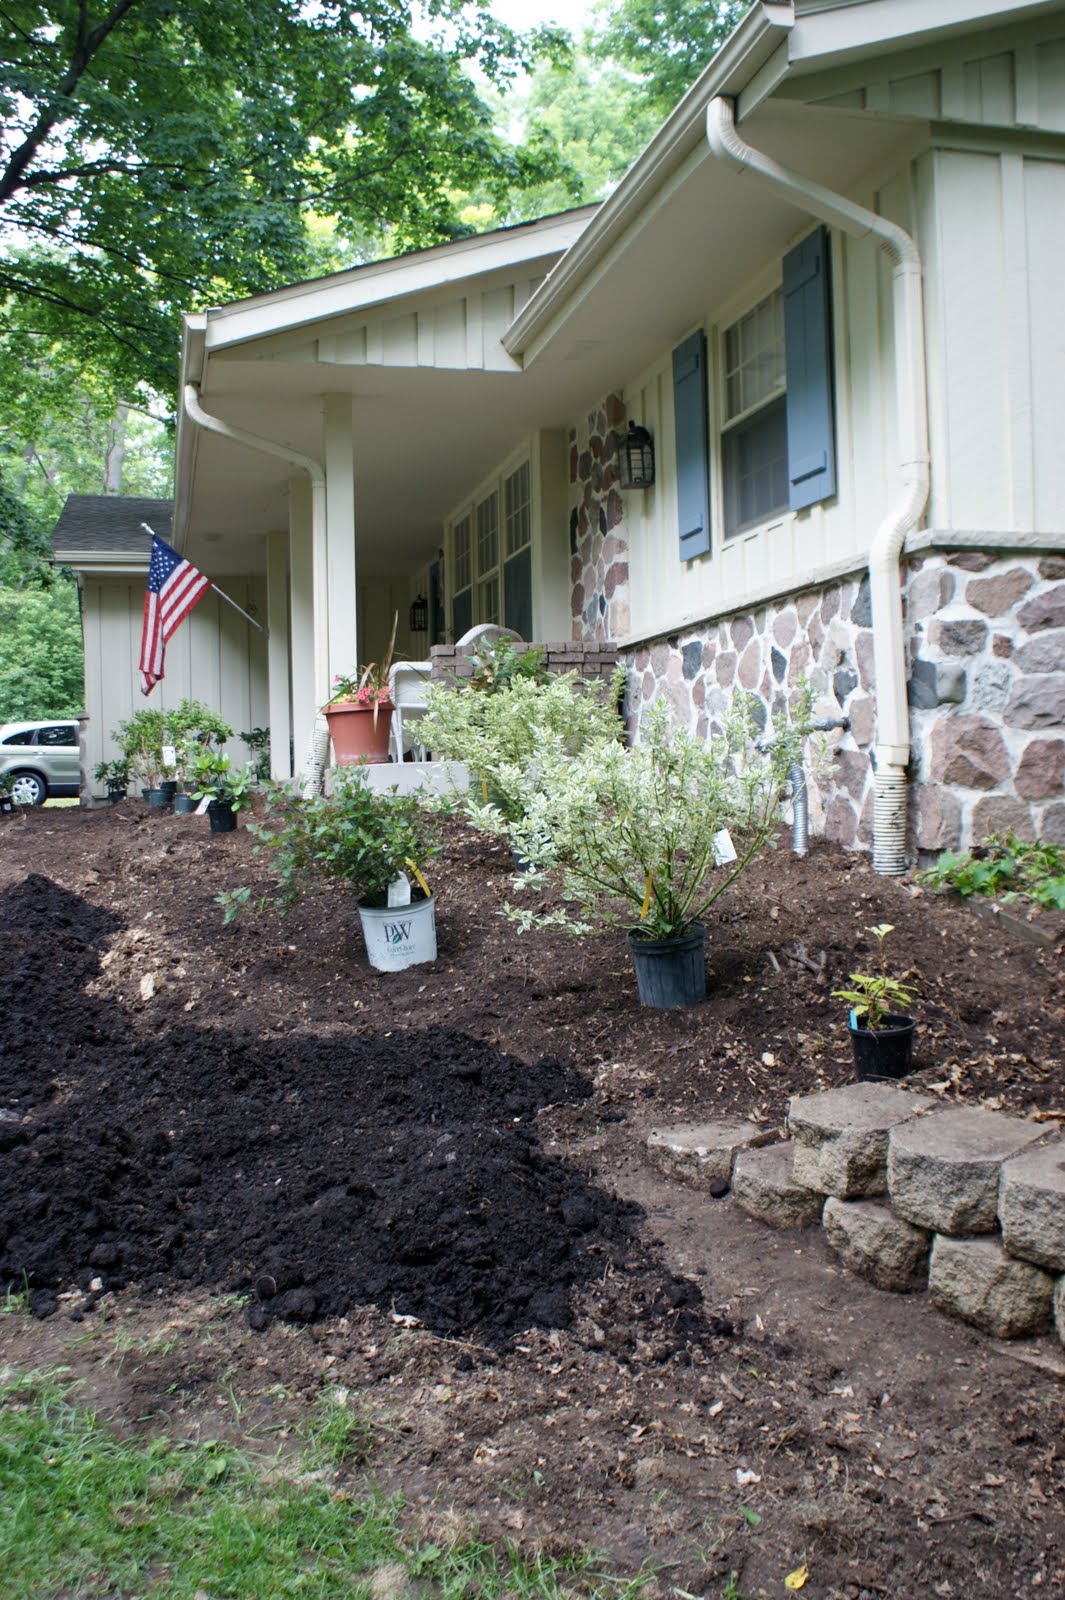
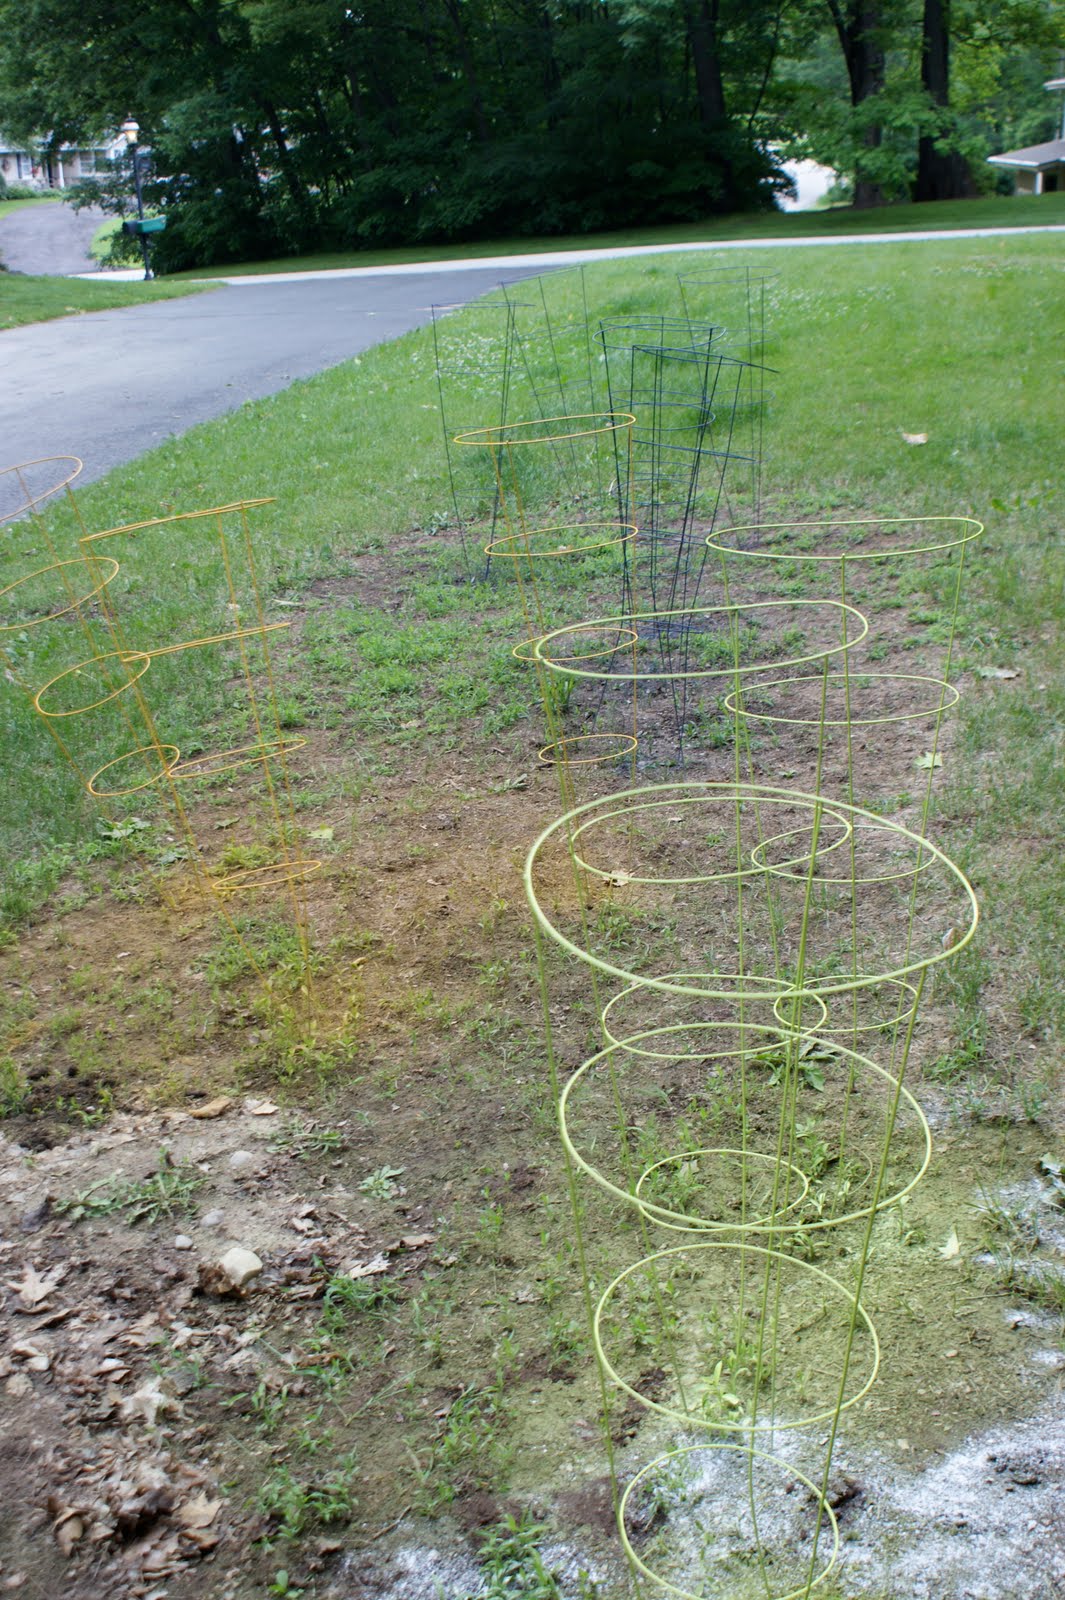
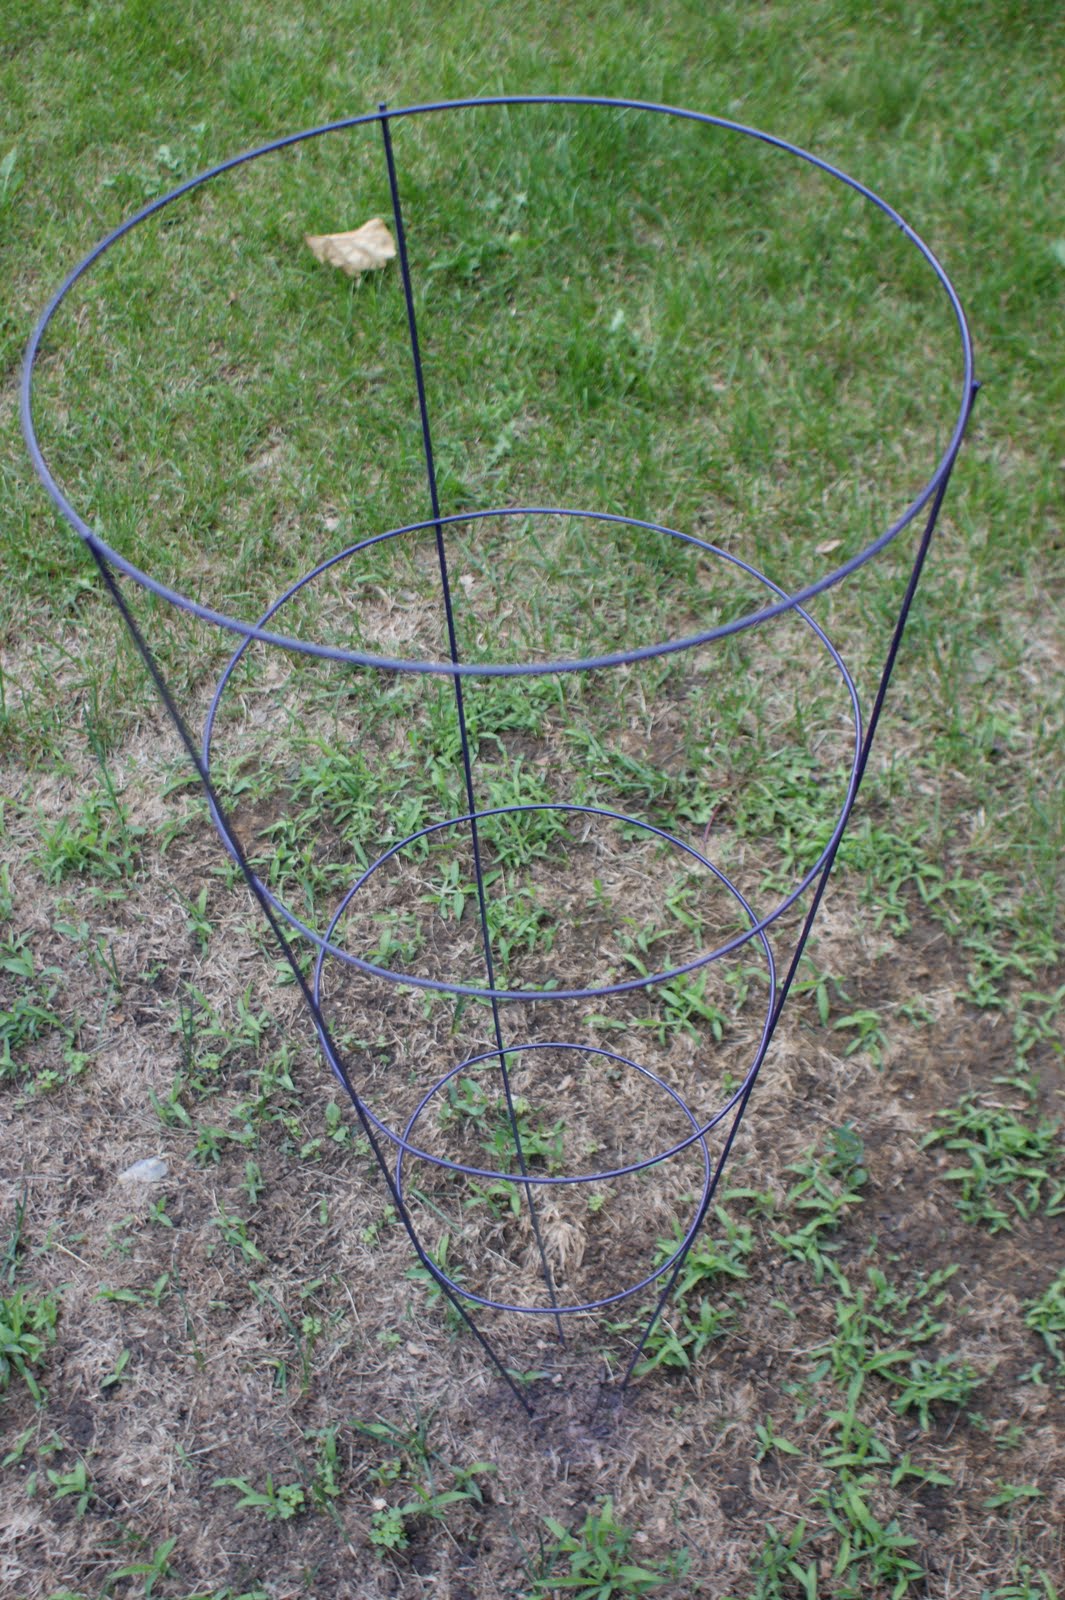
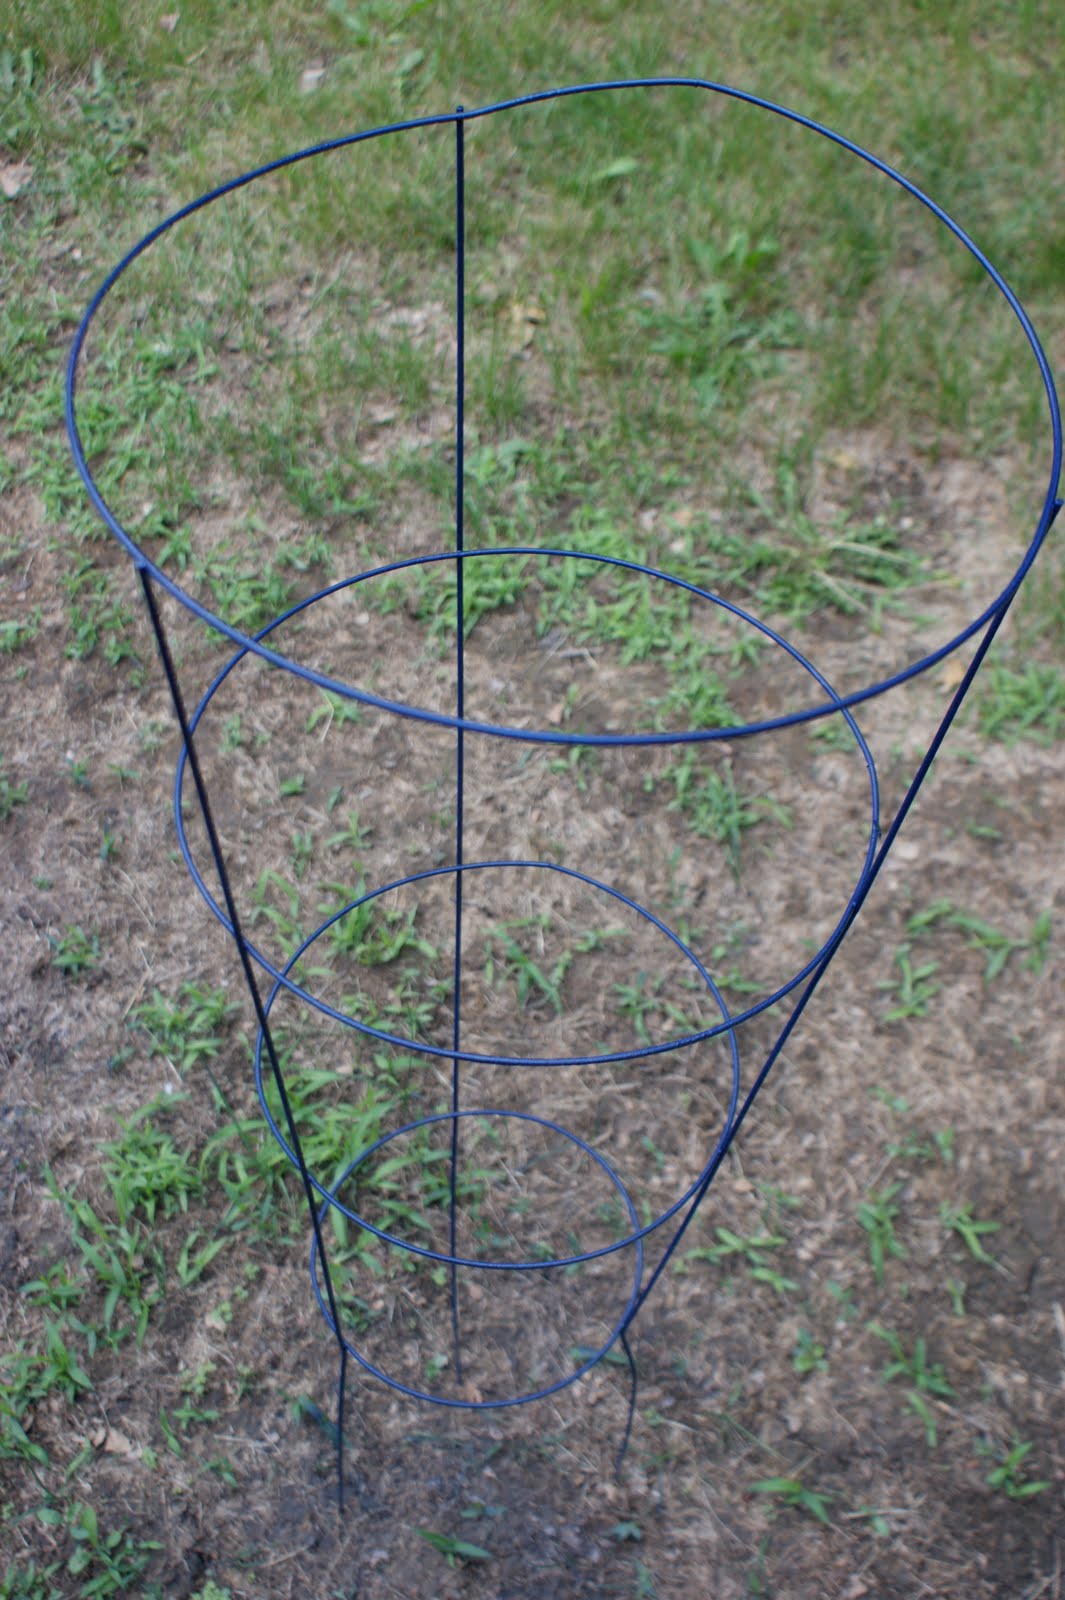
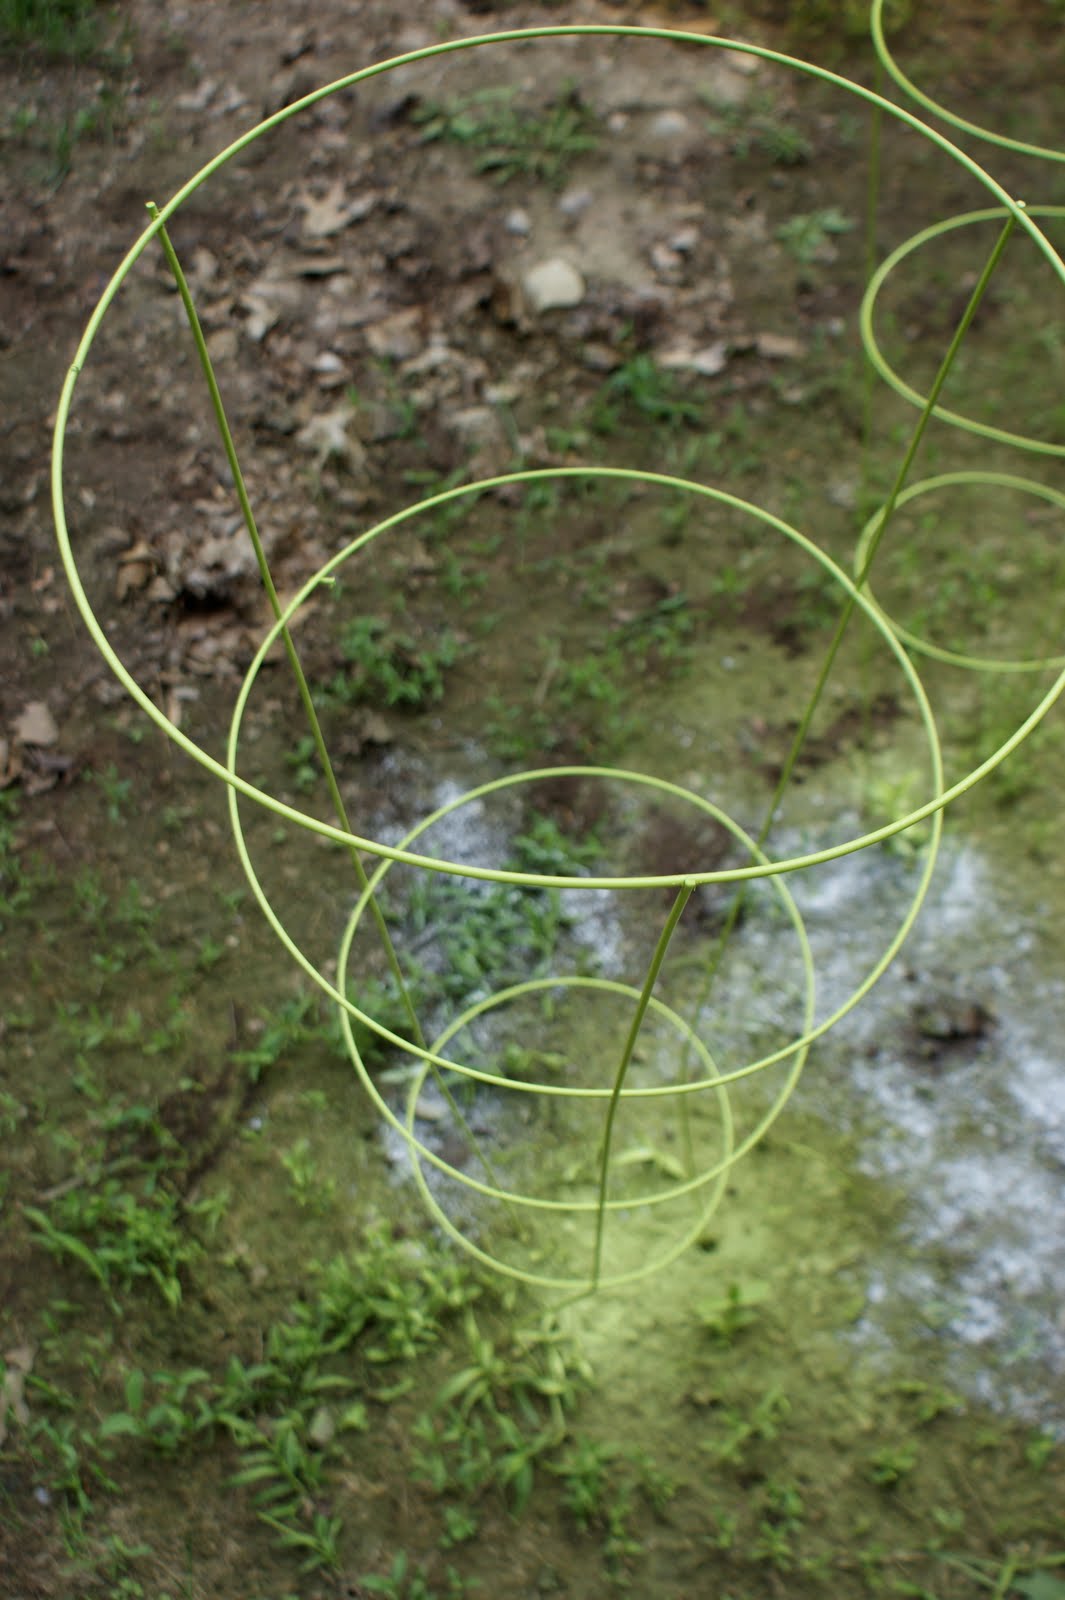
The cool, wet spring (probably better described as long wet winter) combined with a significant amount of both work and personal travel has put me a bit behind on gardening. Did a bit of work a couple weeks ago, and this past weekend finally got out and got dirty – setting back up the driveway farm.
My yard and garden are heavily shaded with only a small area offering enough sun to successfully grow food. And that small spot is centered around and on my driveway. Last year I started experimenting with growing herbs and veggies in pots along the driveway edge. This experiment was mostly successful and has created what I call my driveway farm.


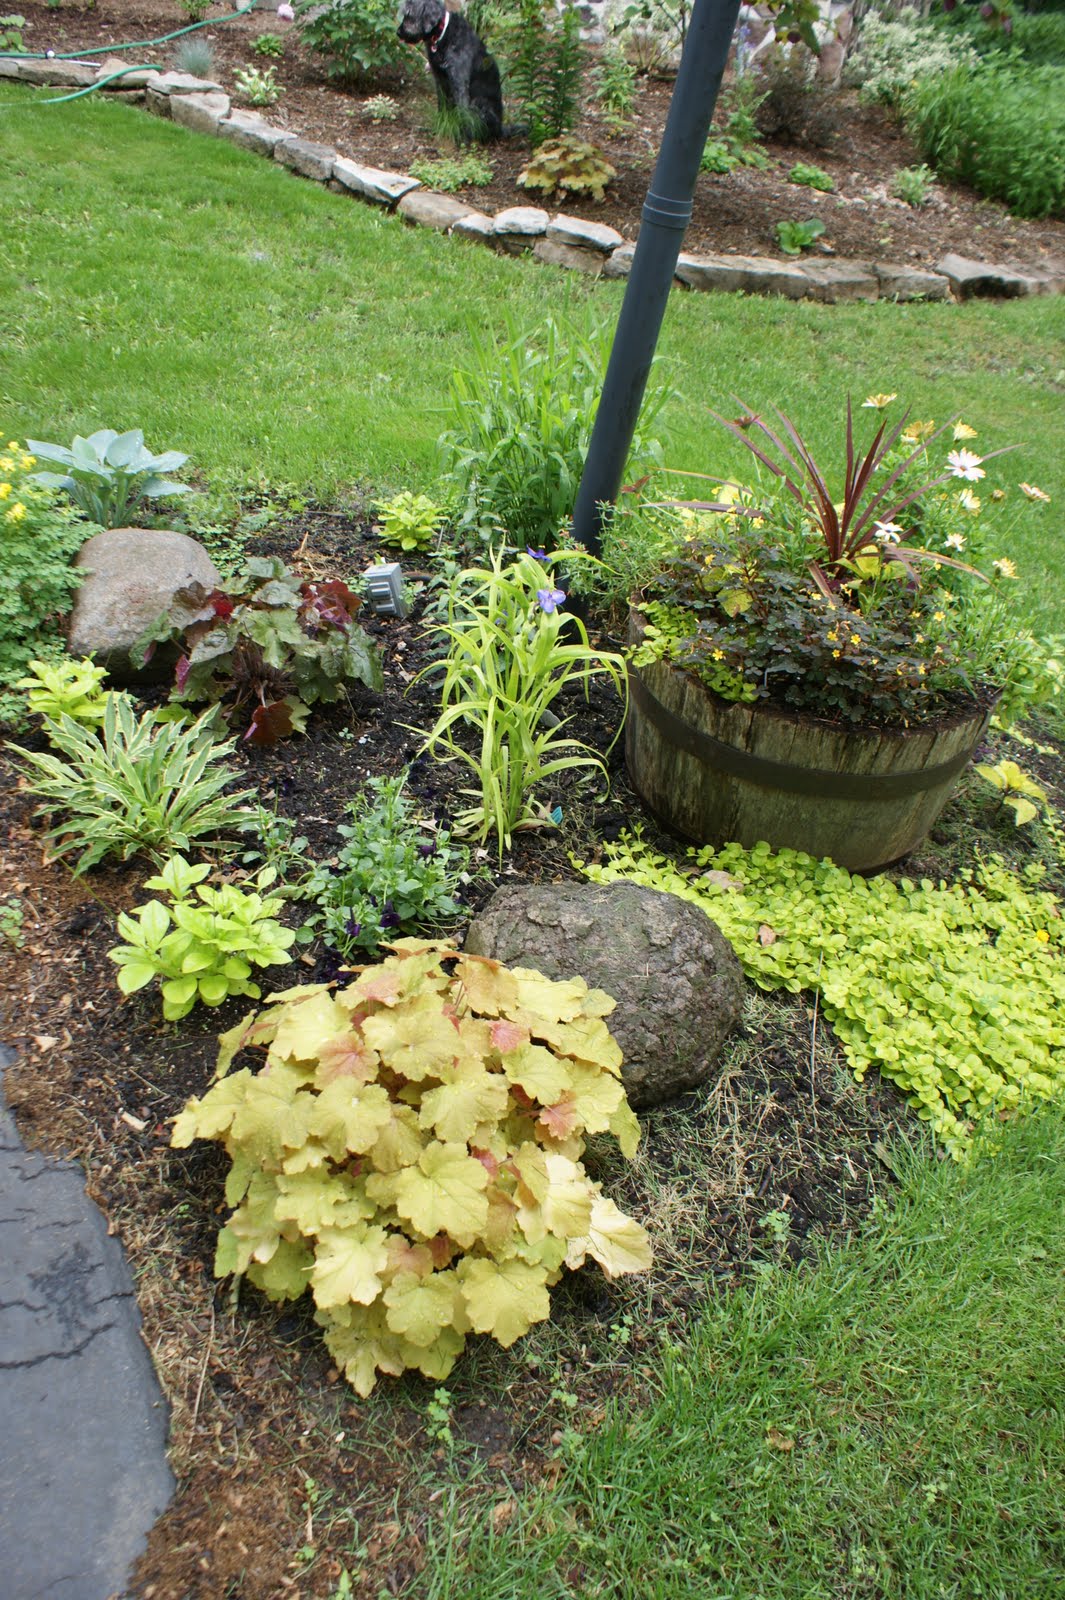

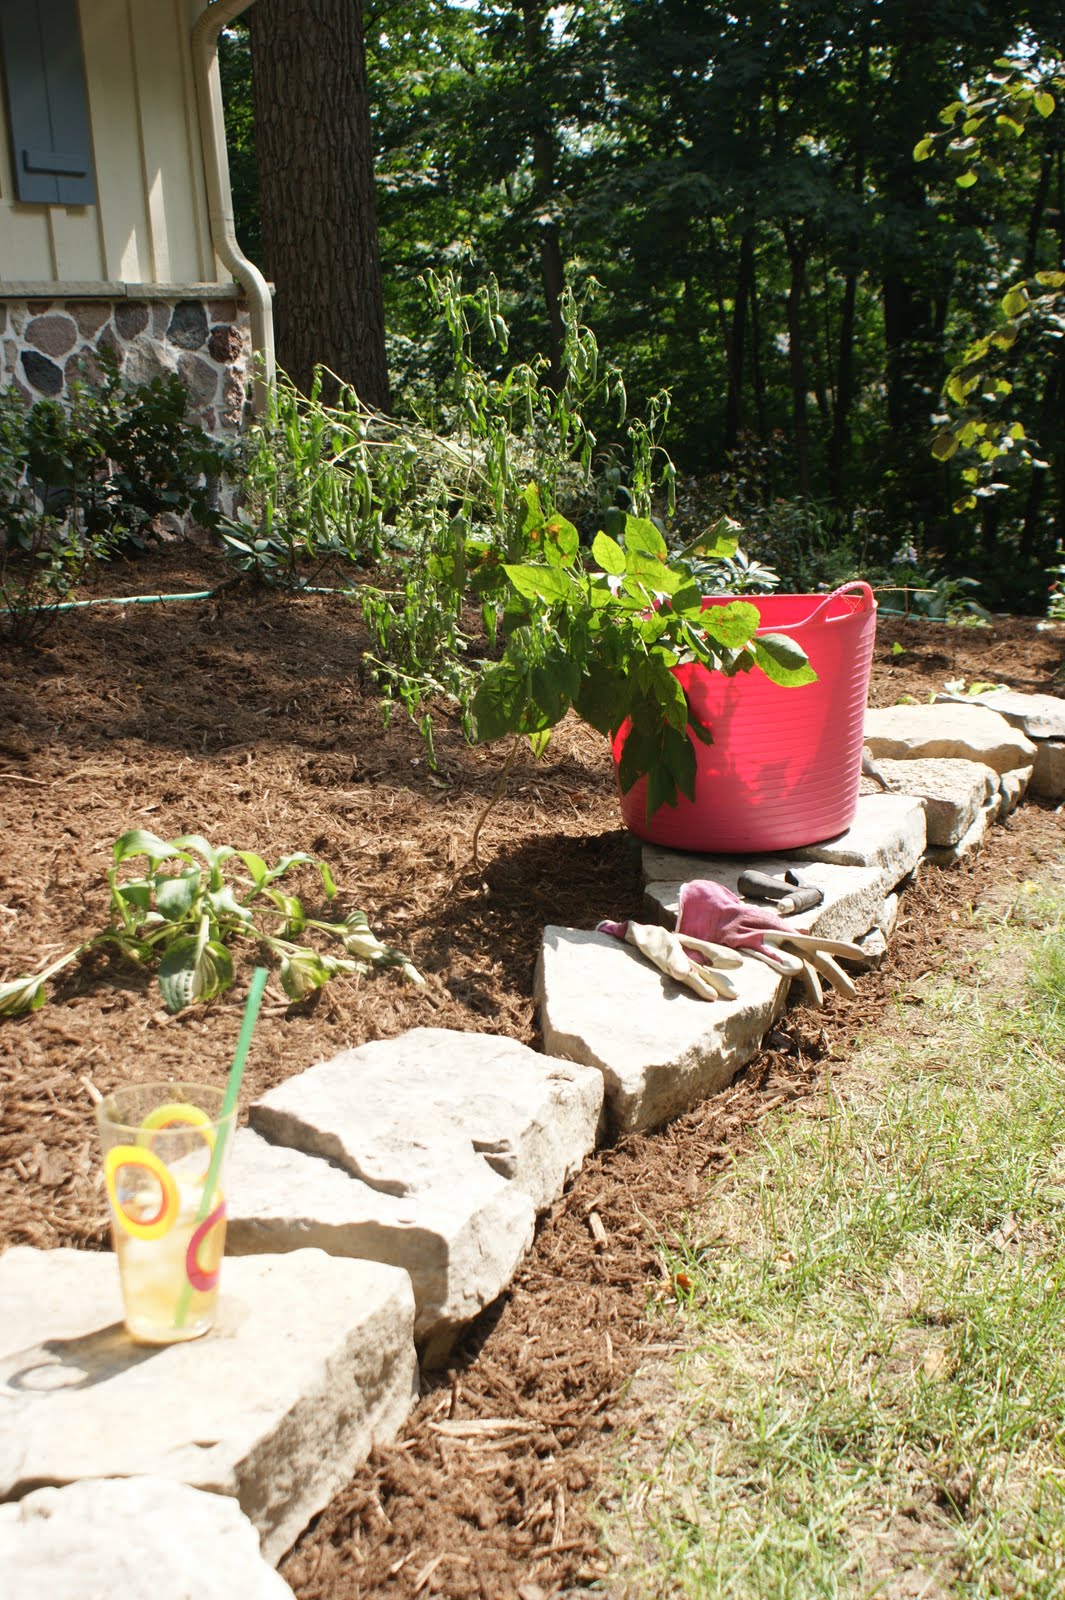
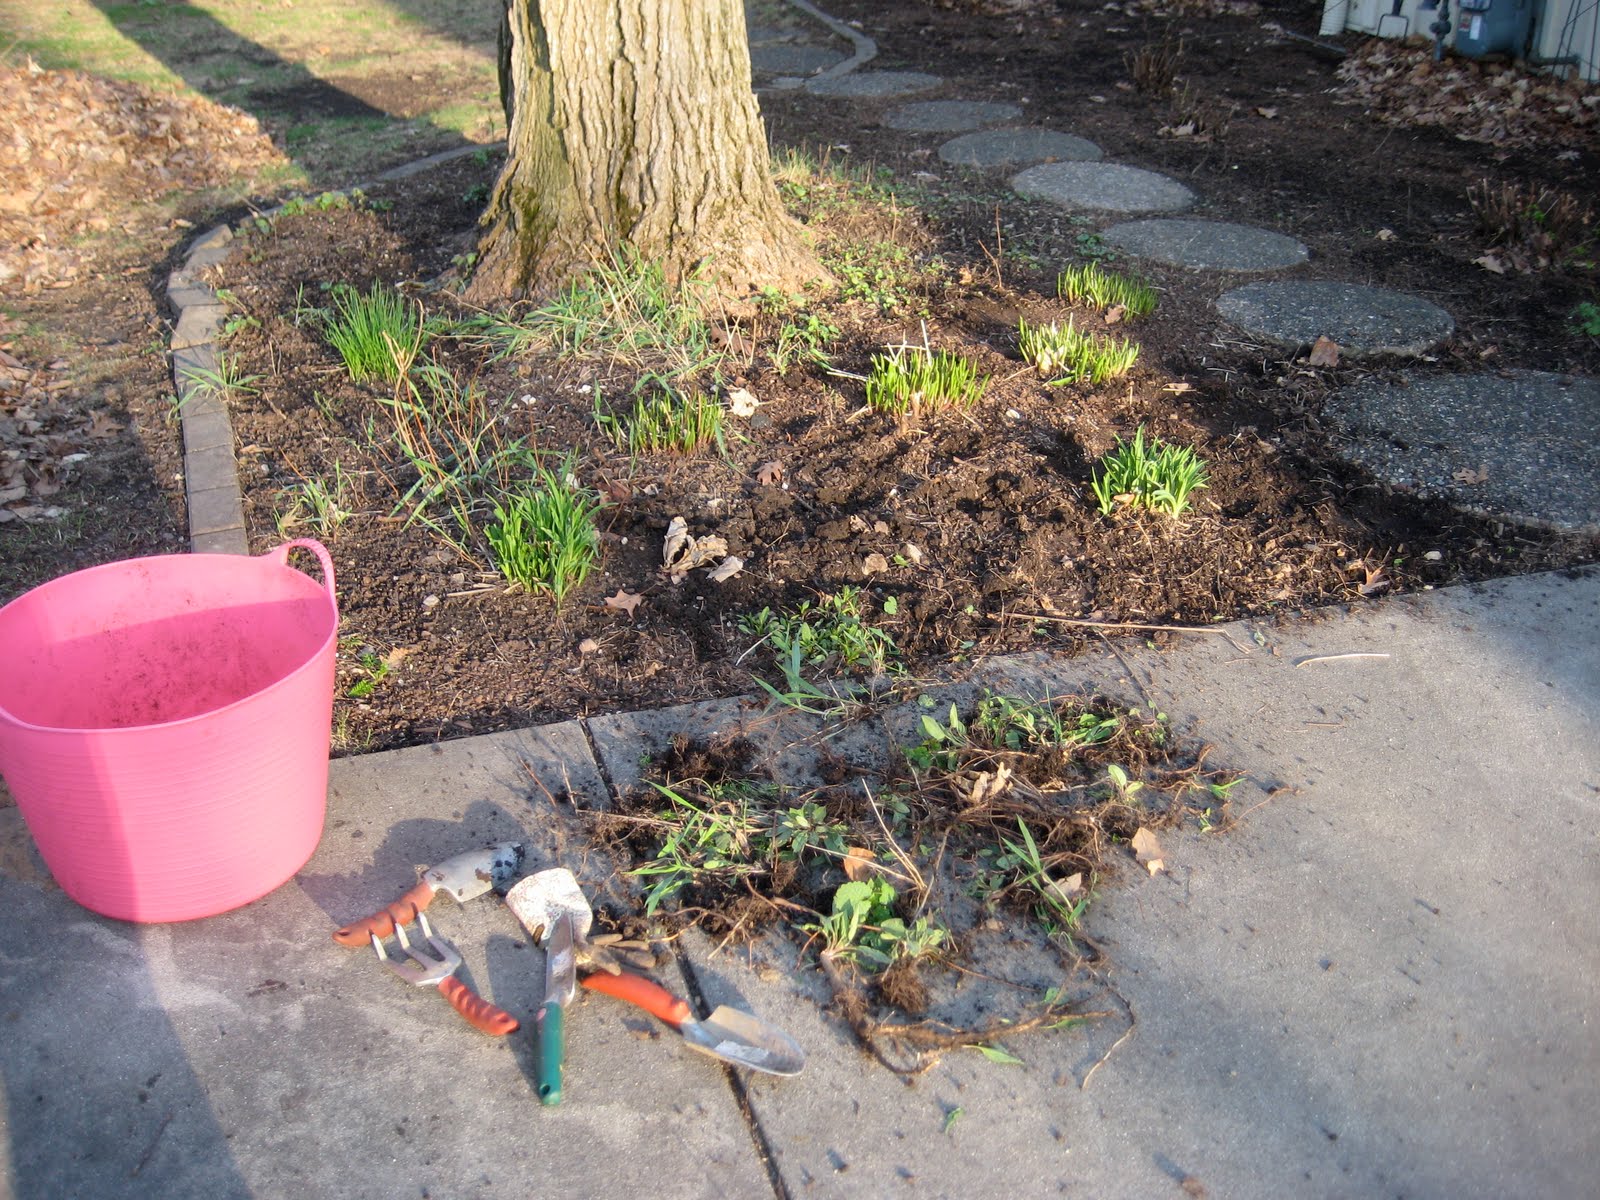
 As I worked and took pictures around the garden, I realized that last year I kinda lost steam on updating garden progress on this blog. I think the last phot I did of the front beds looks something like this:


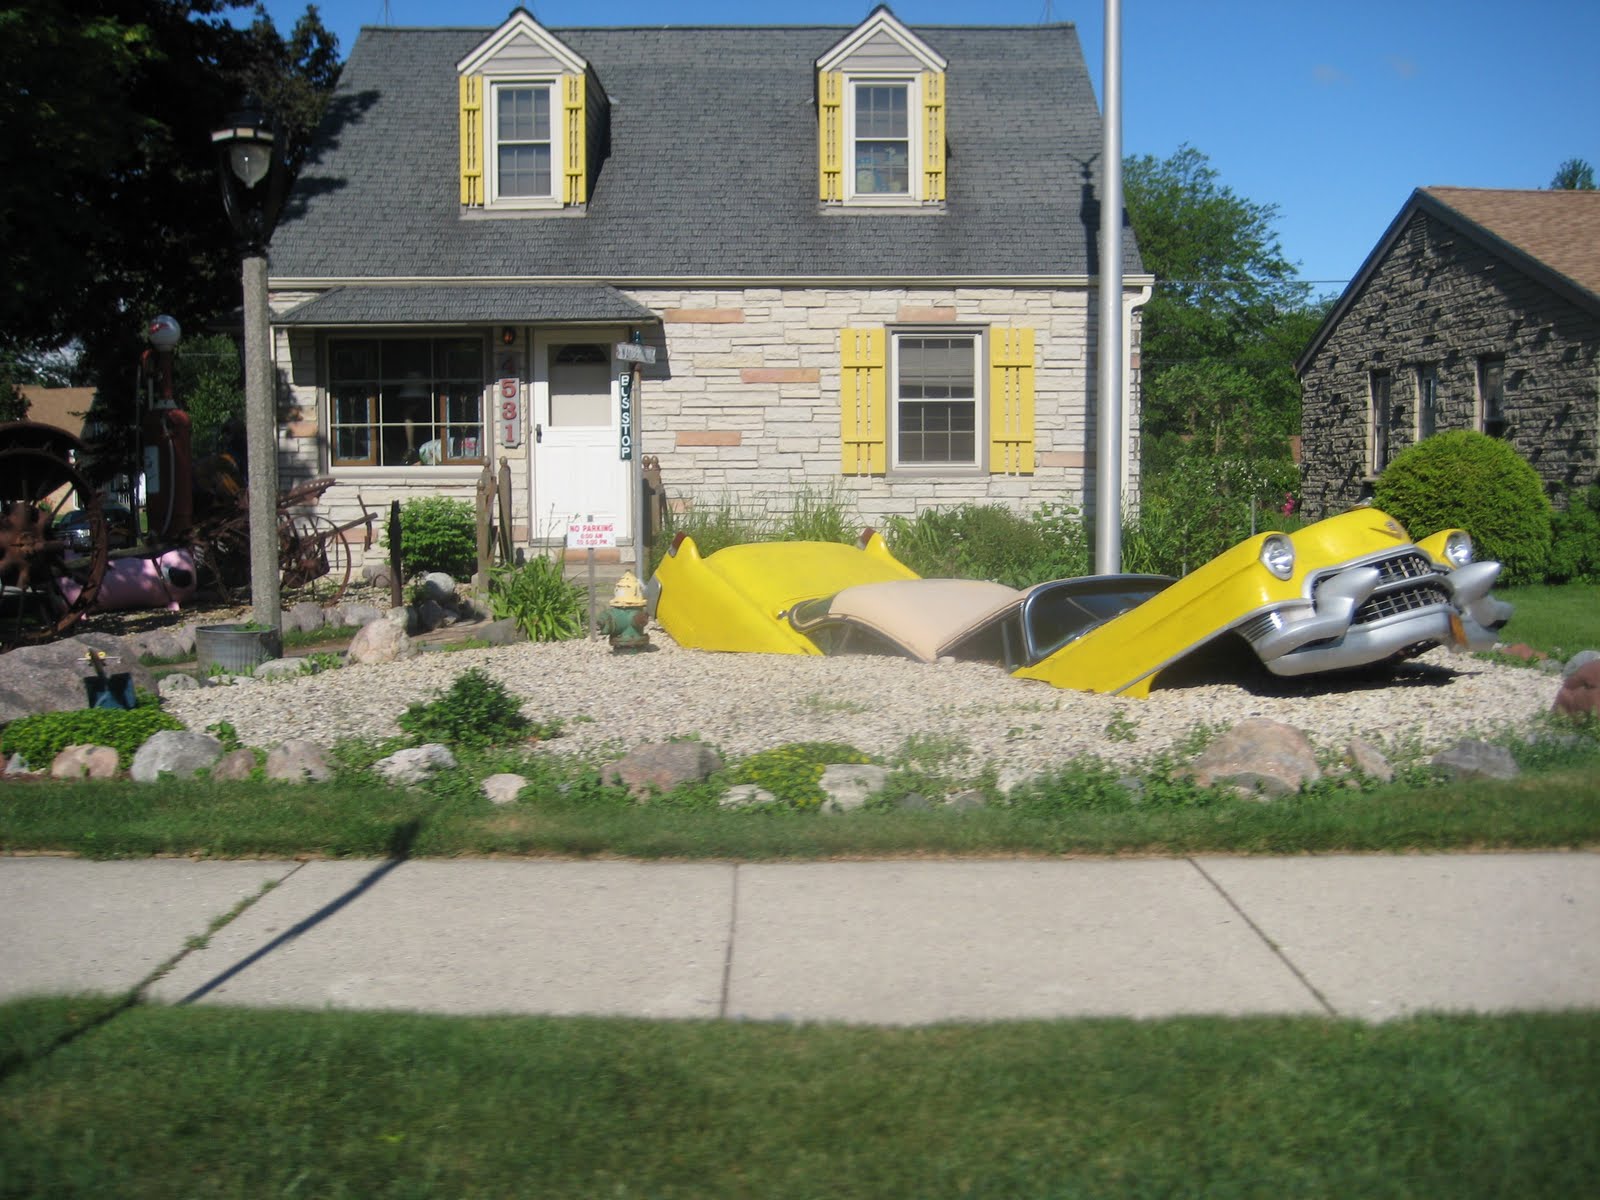
Hey, I *could* have a flock of pink flamingos….
June 7, 2010

Originally I was going to do a post titled “Reduce, reuse, recycle” featuring this planter created from more or less “found” elements…. coupled with details on how I re-use last year’s potting soil with a bit of a mad scientist approach involving fresh potting soil, compost, organic fertilizer, alfalfa pellets and some really grubby, dirty hands. Or how I use the styrofoam packing peanuts to fill the bottom of planters.
Sure, I used an old golf cart found in my parent’s garage, and a very old golf bag. And I do mix up my own potting soil. And, I did save and use the packing peanuts – usually checking to make sure they are styrofoam, rather than corn starch which melts with water, to fill the bottom of large containers
But then, when I posted a picture on facebook of my finished product, my brother commented, “what will the neighbors think”. You see, I live in an established, somewhat conservative, upper middle class suburb of Milwaukee. We did what I think was a brilliant thing – buying the least expensive house in the best neighborhood possible. What we didn’t do was the expected tear down/rebuild or massive remodel/new addition. Instead we are tackling tiny project after tiny project ourselves. The result of which has been comments from our neighbor that our purchase price is “bringing the neighborhood property values down”, or in seeing we were doing landscaping ourselves comments about hiring a professional.
So maybe my neighbor won’t like my golf bag planter. But I sure do! We got the original idea back in 2004 when we attended the PGA Championship at Kohler. There on the streets of Manitowoc, WI was this planter….
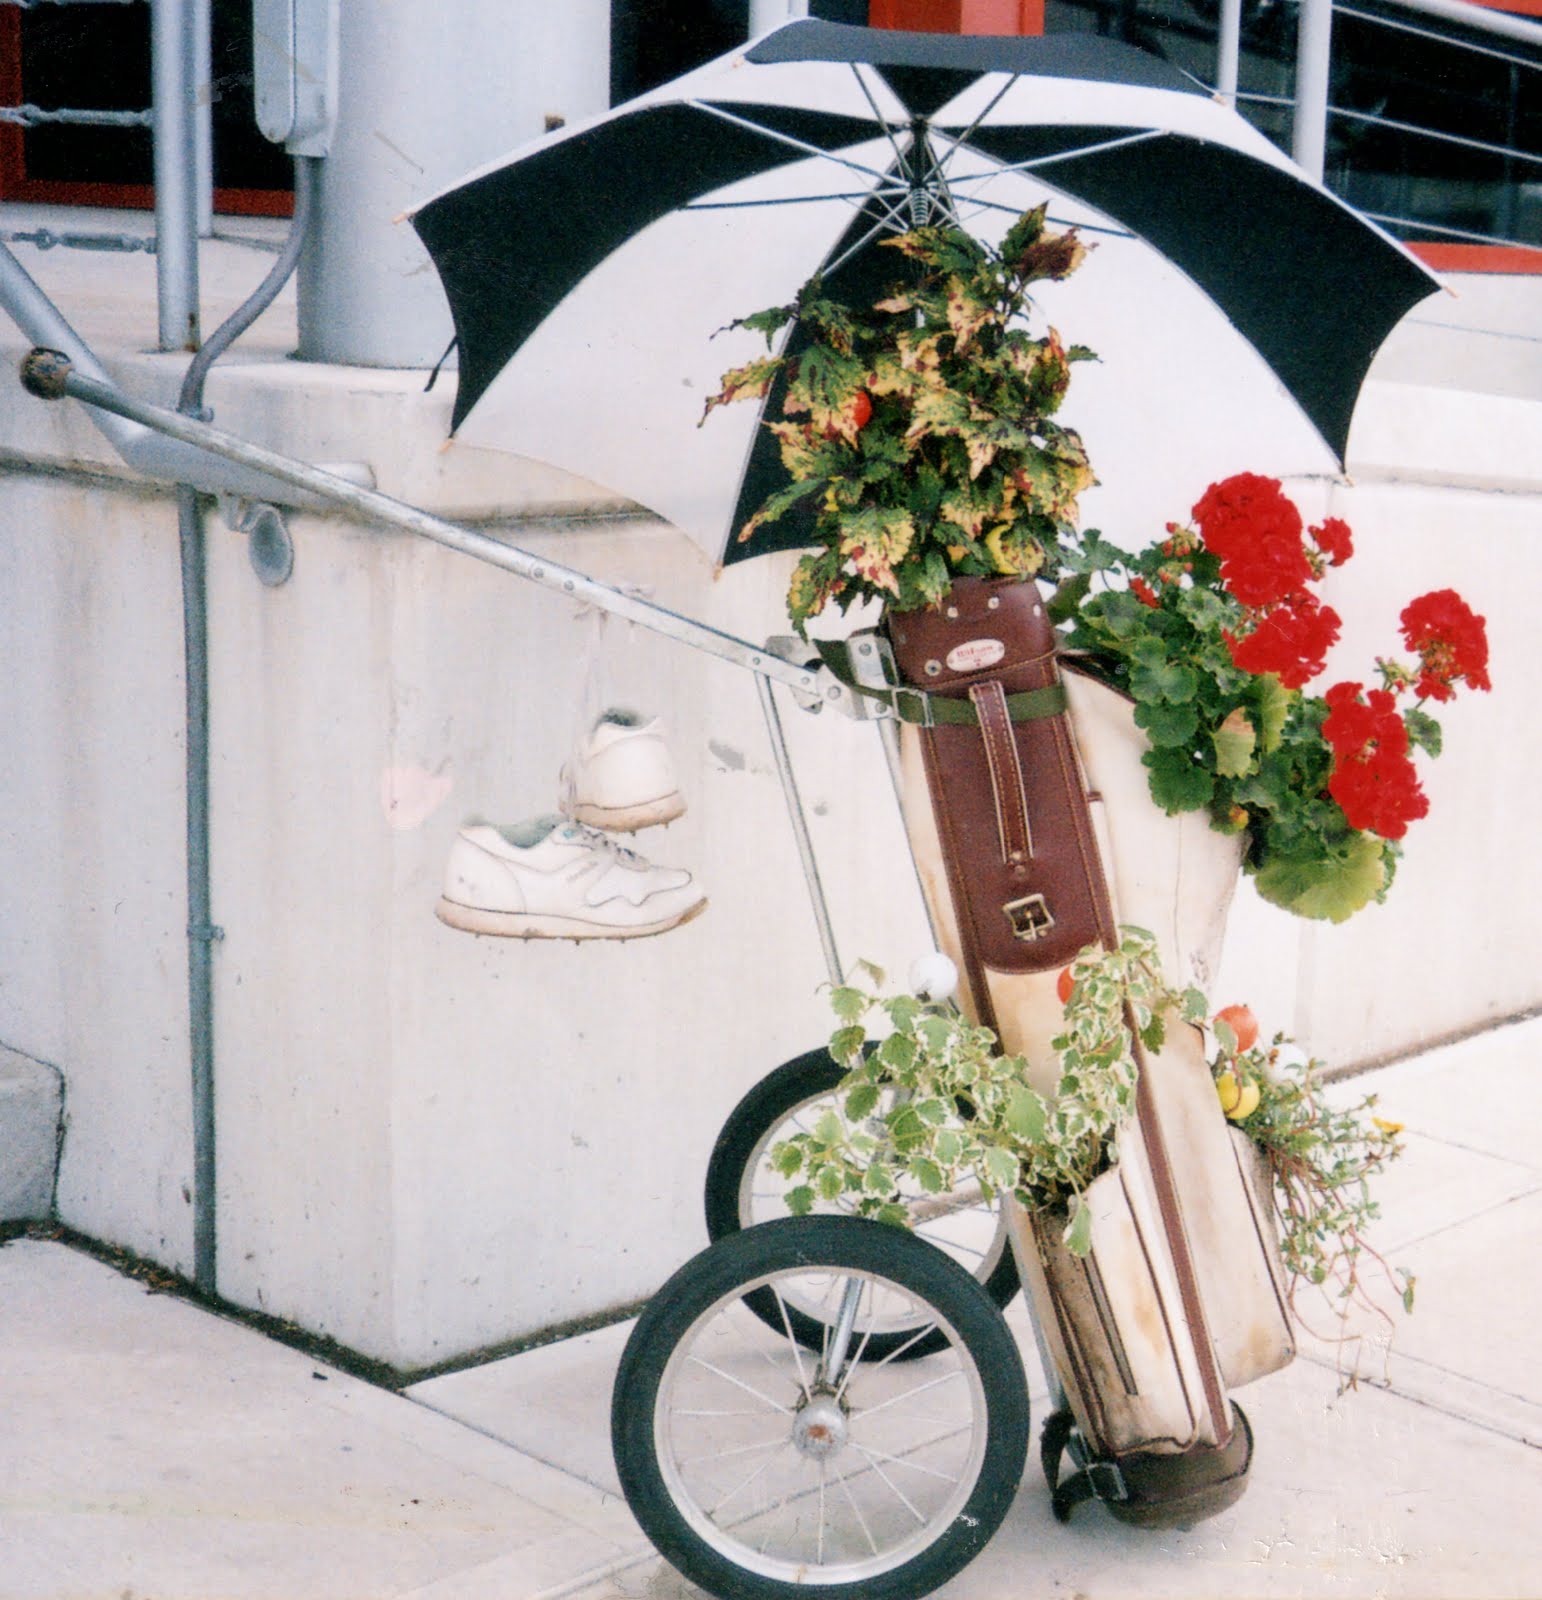

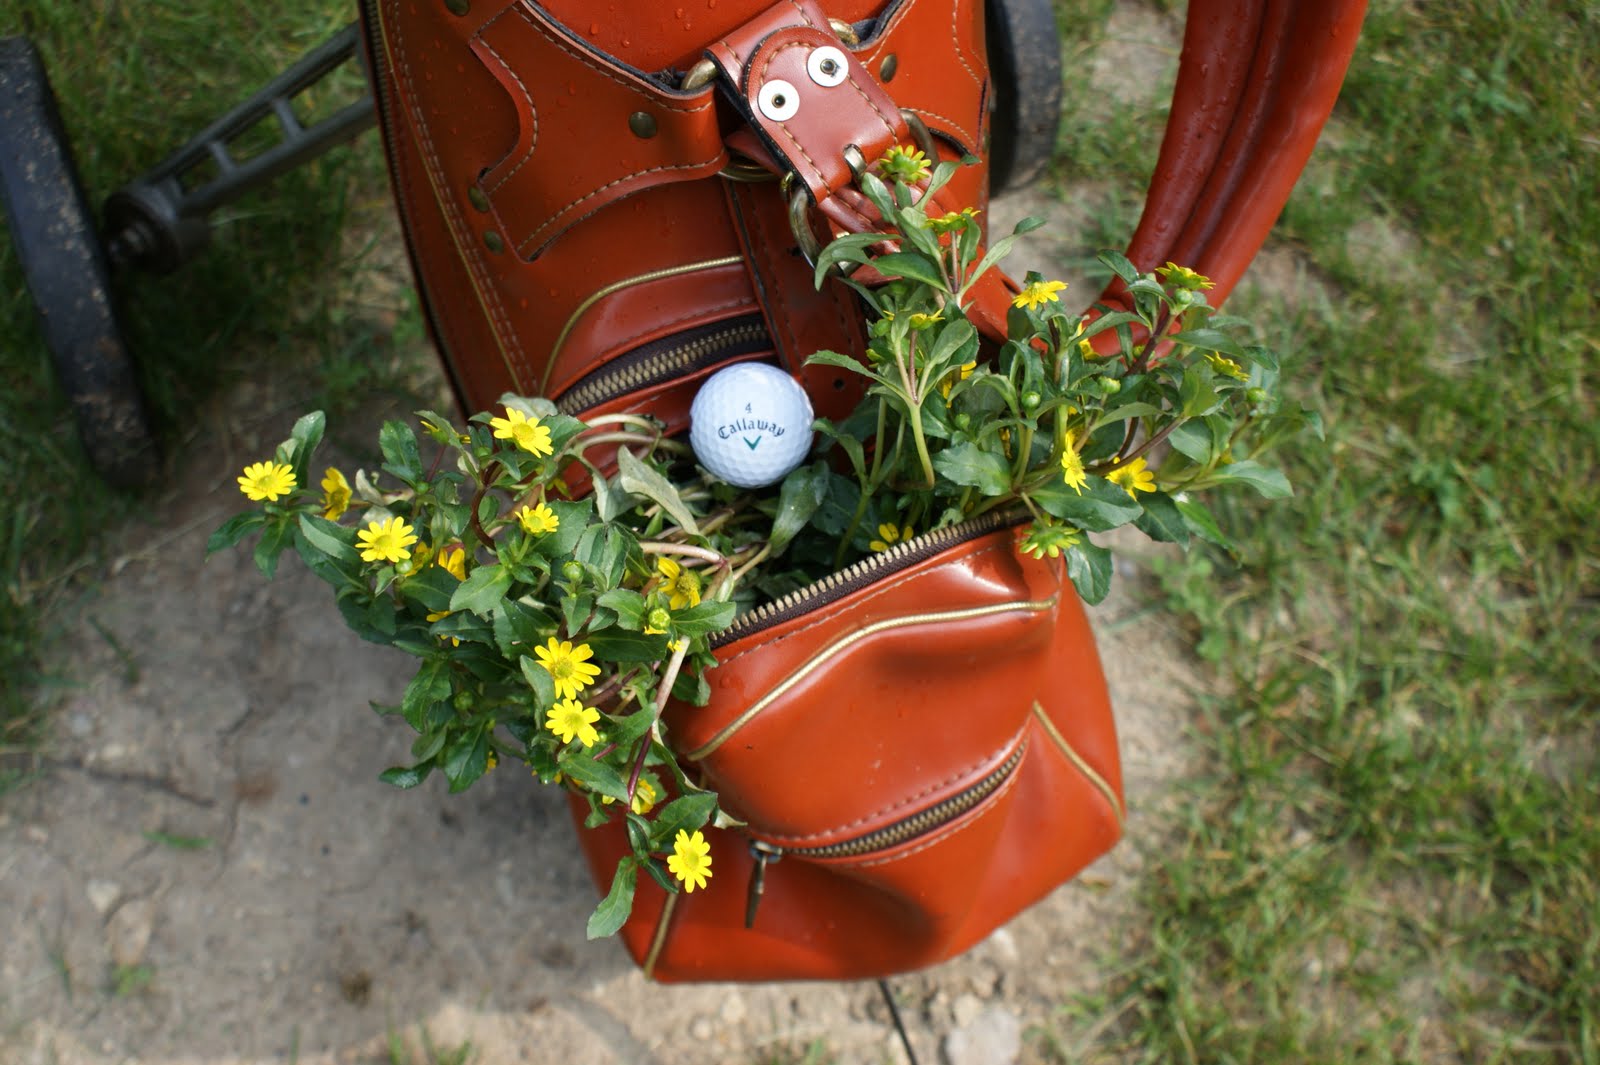
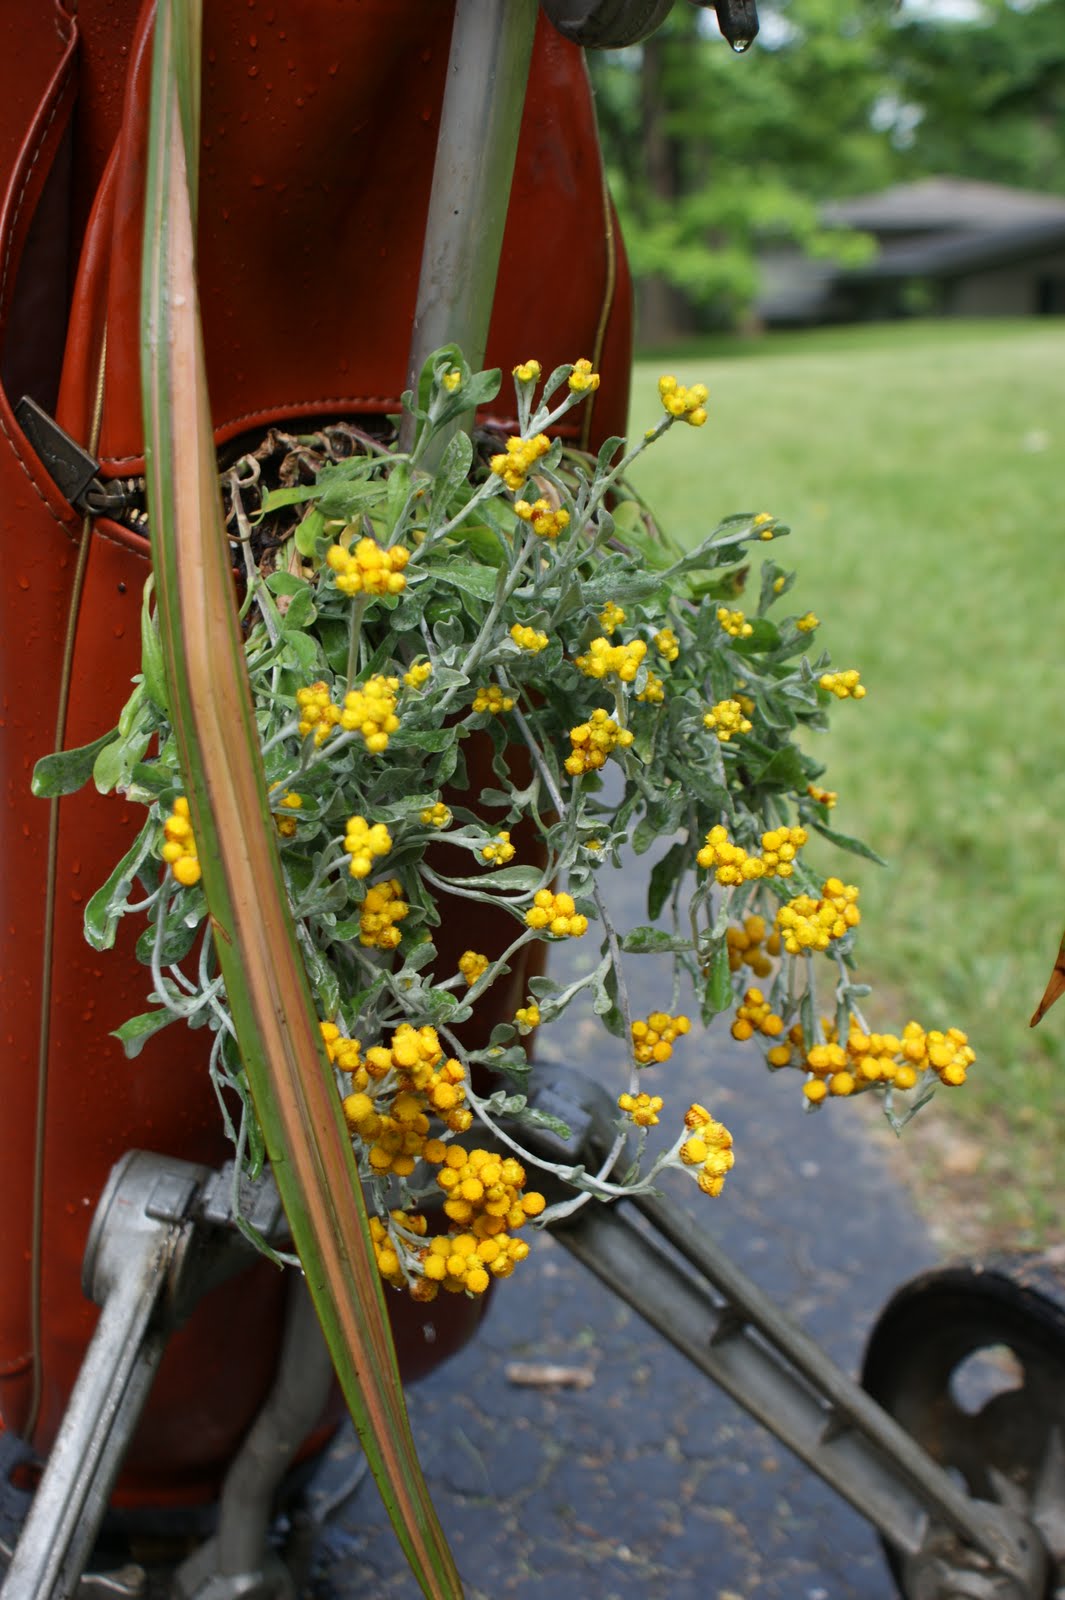
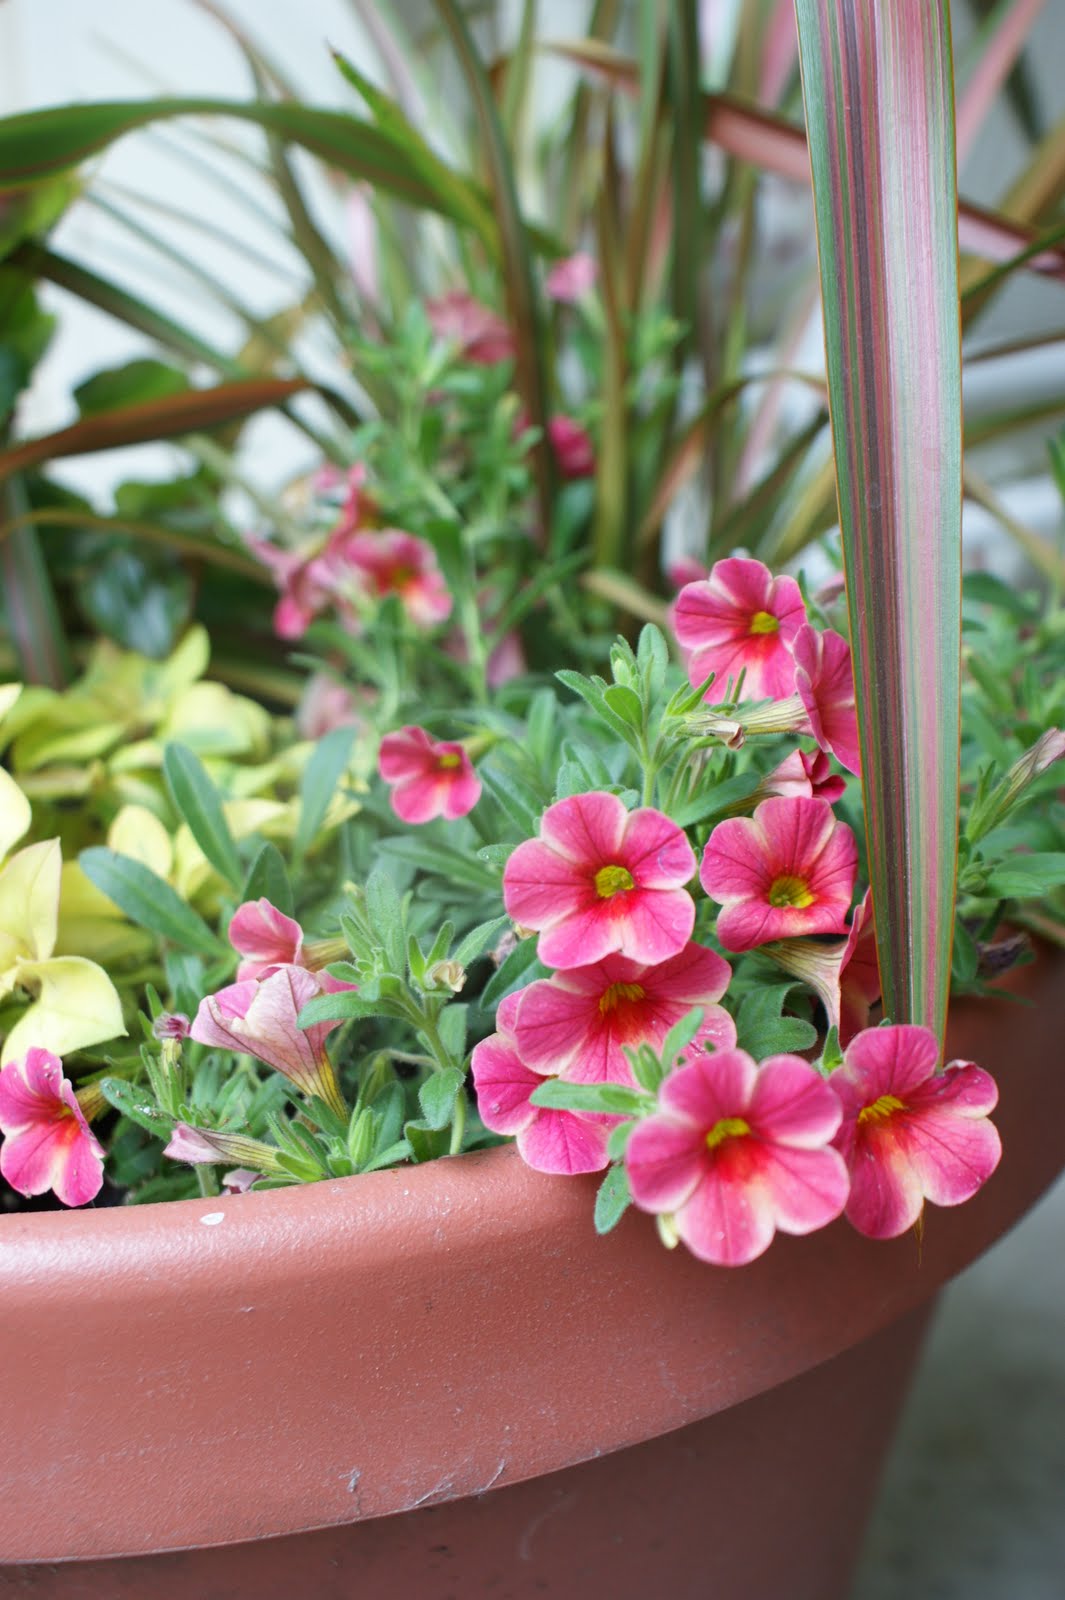
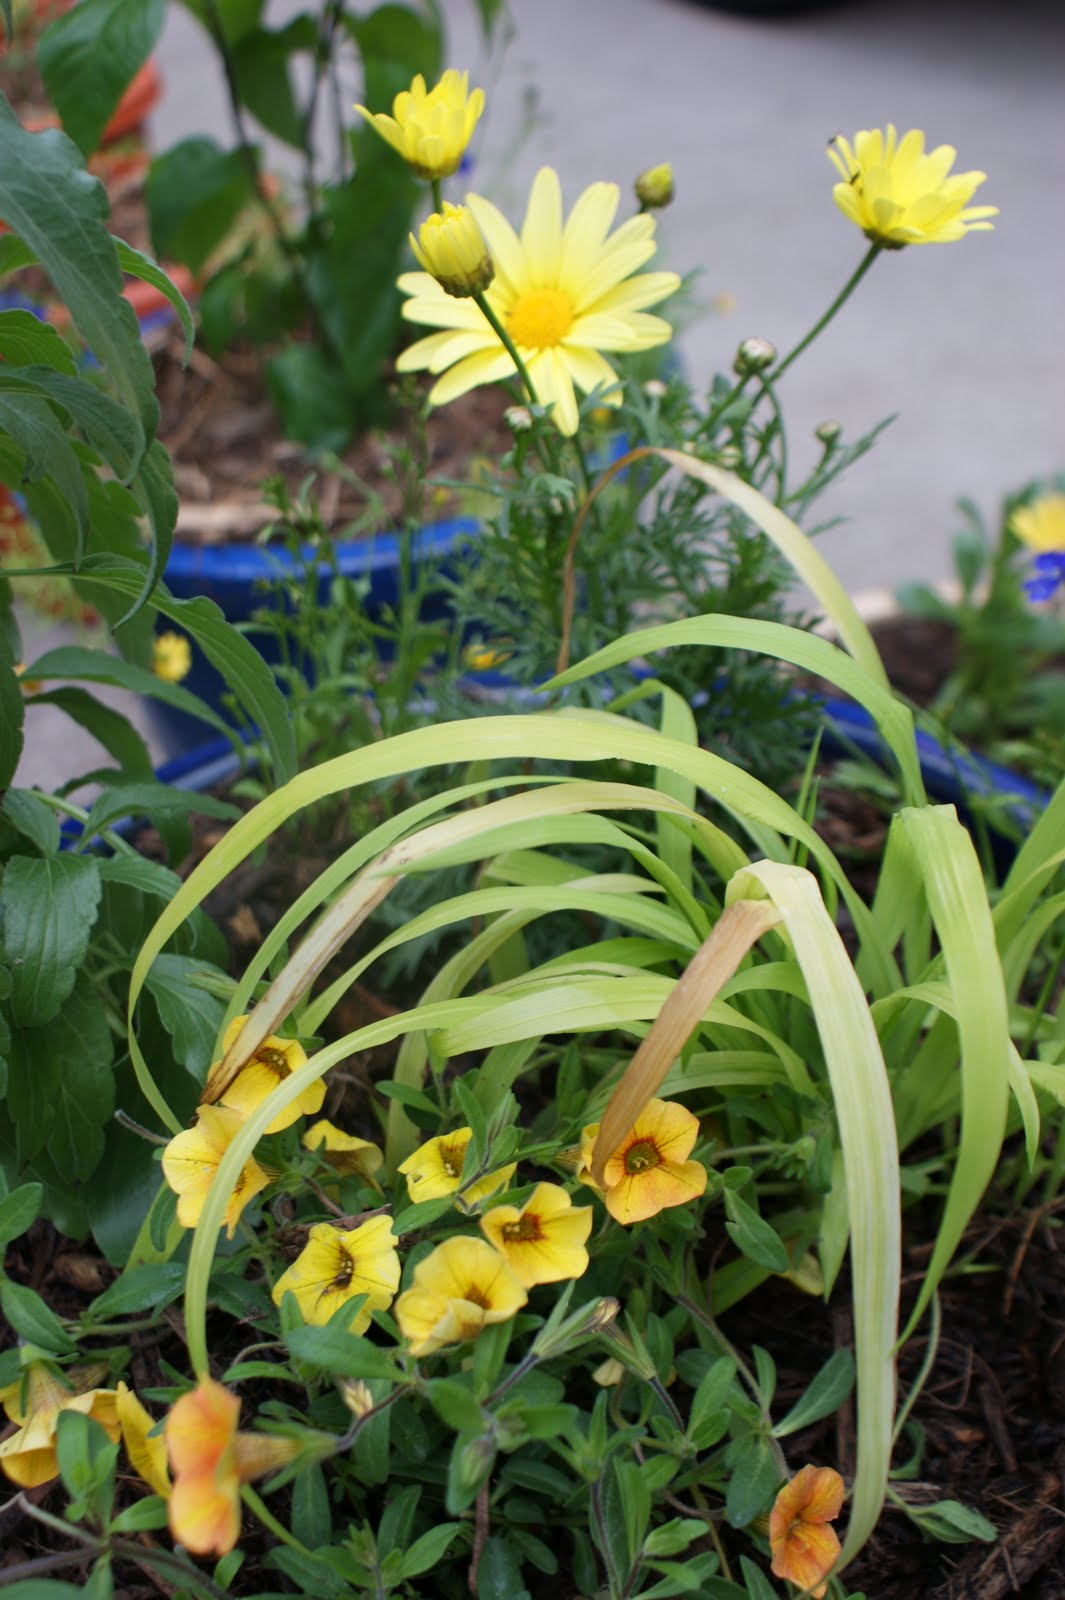
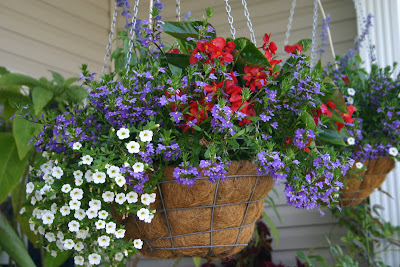
 I think it’ll get better as it fills out and grows. Oh the plants – in the top: Phormium ‘Jester’, Cuphea cyanea ‘Caribbean Sunset’, Cascade Centradenia, and ‘Aloha Red’ calibrachoa. Lower front pocket (with ball) Sanvitalia ‘Sunbini’, back pocket, sorry, lost the tag, maybe a santolina?


Wordless Wednesday: Perfect Companions
June 2, 2010

Wordless Wednesday: Before & After Part 3:
May 19, 2010
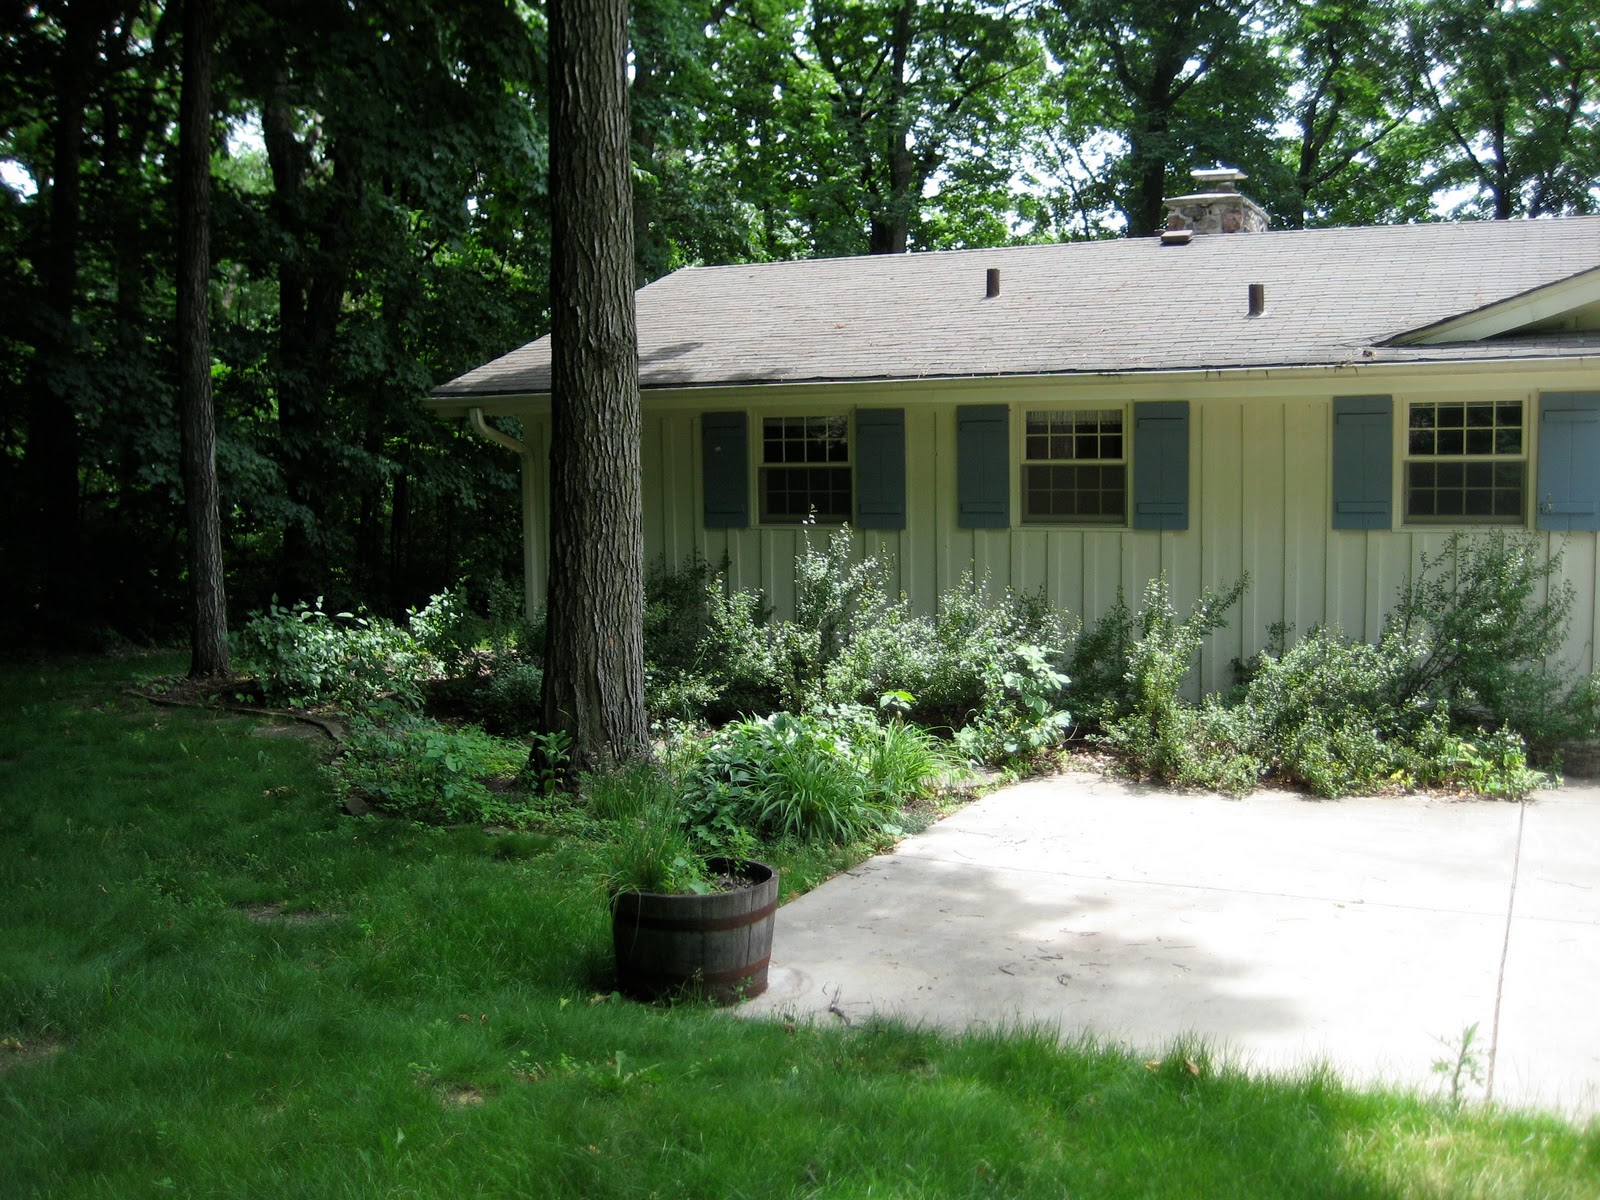
The other side of the house. The one I wasn’t going to touch this year – but then realized if I didn’t tame this, it would make me crazy. First two are last summer, rest from 2010.


Secrets to my success…..
July 8, 2009
A question I often received from my neighbors was how did my hanging baskets, container plantings, pots, etc. always look so good. While I’m sure the use of good potting soil, supplemented with additional organic material such as fine compost, along with ample doses of a semi-organic fertilizer like Epsoma’s Flower-Tone helped, the real secret was water….and plenty of it. I learned quickly that in the heat of summer, particularly as the pots filled out and the plants became lush that the pots needed water at least once a day. Maybe twice.
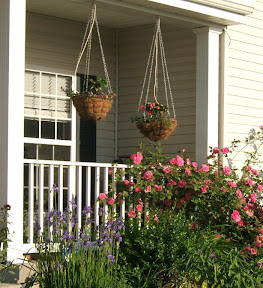
And in our two-career busy family that presented a problem…..which was easily resolved by the use of a battery operated watering timer and plenty of drip irrigation and tubing. In fact if you look at my last post, that Louisville deck was during the time my son was an infant…to two careers plus an infant = must have automatic watering system. Some of the supplies I’d find locally, but a great on-line source is DripWorks. I was even able to find some white supply tubing to use around the inside of the front porch. Here’s early spring with the lines still mostly in their winter rolled up spot, and then snaked down with the chains to the hanging baskets..
I used the 1/2 supply lines in most places with the lines to the pots using 1/4 tubes and emitters. I also discovered 1/4 soaker hose that worked very well…almost better (and cheaper) than the emitters. When we put in the patio, I ran a supply line with the 1/2 tubing along the edge, just under the mulch. New sidewalks always had a 3″ or so piece of PVC pipe laid under to allow supply line/hoses under the sidewalk. In this set of photos you can see first an early spring shot of an empty pot with a 1/4″ soaker hose circle, then a late summer shot where it is hard to even notice the supply line.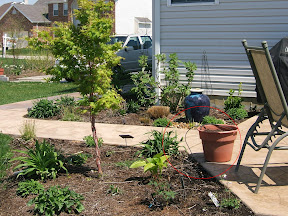
I even ran supply lines out to some of the garden beds for containers placed within beds. Each of the posts in the photo below had a 1/4″ supply line with a drip emitter in each pot. 
At the last house, I had two systems set up, one on each side of the house, each with a two outlet timer – this allowed four unique plant groupings (some with 15-20 pots) each on their own schedule. My only real worry was that the battery would go dead, or an emitter would clog or blow off. However, I took enough walks through to enjoy the garden that problems were easily nipped in the bud so to speak.