Making the Bed(lines)
April 25, 2010
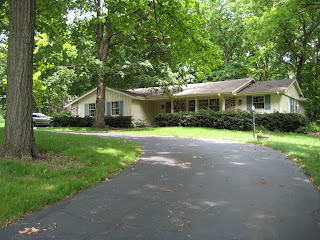
My serious garden project of the season is re-doing the beds along the front of the house. When we first bought the house two summers ago, this area was solid yews. To say that I am not a fan of yews, would be a gross understatement. I detest them.
This was the view in July of 2008.
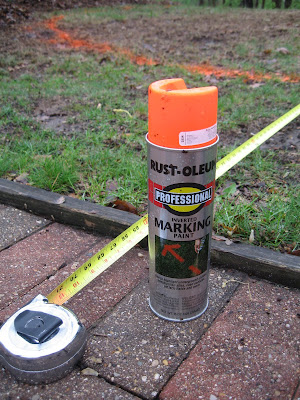
Last summer we cut down all the yews. But got no further. I wanted time to live with the space, observe the amount of sunlight, get to know the soil. This year I’m ready to tackle the space. First step determining the bedlines. Which meant pulling out one of my favorite garden “tools”. Inverted marking paint. I know books and magazines tell you to use a line of lime or other chalky powder, or to lay out a garden hose. I prefer spray paint – downward spraying marking paint to be exact. Easily found at the large box home improvement stores. Usually in a variety of colors.
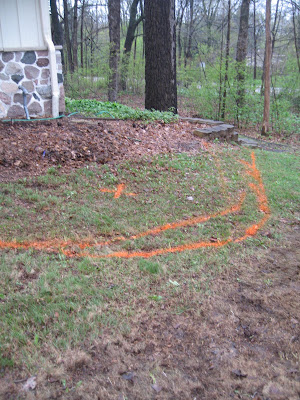
The large tree to the left of the front path makes it impossible to make this a symmetrical design. I knew I wanted to take the bed in front of the tree out to the driveway and slightly widen the border along the front of the garage.
Notice how as I play with the bed lines, the garden part gets larger, not smaller?
On the right side of the front walk, I wanted to bring a bed to the driveway along the walk. I originally thought a 6′ wide bed, but after eyeballing and measuring realized 4 feet made more sense.
From there I’m trying to create a flowing line that is mower friendly.
At the far end, there is an area that gets 4-6 hours of mid day sun. I curved back out to allow me to expand my plant palette into more sun friendly specimens. And where I’ve marked an “X”, I am going to plant the ‘Princess Diana’ Amelanchier I purchased at the Missouri Botanic Garden plant sale in May of 2007, and have been torturing in a succession of pots ever since.
Next steps, wash the orange off my thumb, and begin to plan the plants. Fun times……….


